


Chapter 10: Camera setup
5. Select the recording schedules for the tamper.
Click
Actions
and then select the
Arming Schedule
tab to select the day of the
week and the time periods during the day when motion can be recorded. You can
schedule up to eight time periods in a day. Default is 24 hours.
Click
Apply
to save the settings. Click
Copy
to copy the settings to other days of
the week and holiday period.
Note:
The time periods defined cannot overlap.
6. Select the response method to an external alarm.
Click
Actions
and then select the
Actions
tab to select the method by which you
want the recorder to notify you of the alarm: Full-screen monitoring, Enable alarm
audio, Notify alarm host, Send email, and Trigger alarm output. See page 92 for the
list of alarm notification types.
Click
Apply
to save settings and then
OK
to return to the main window.
7. Click
Exit
to return to live view.
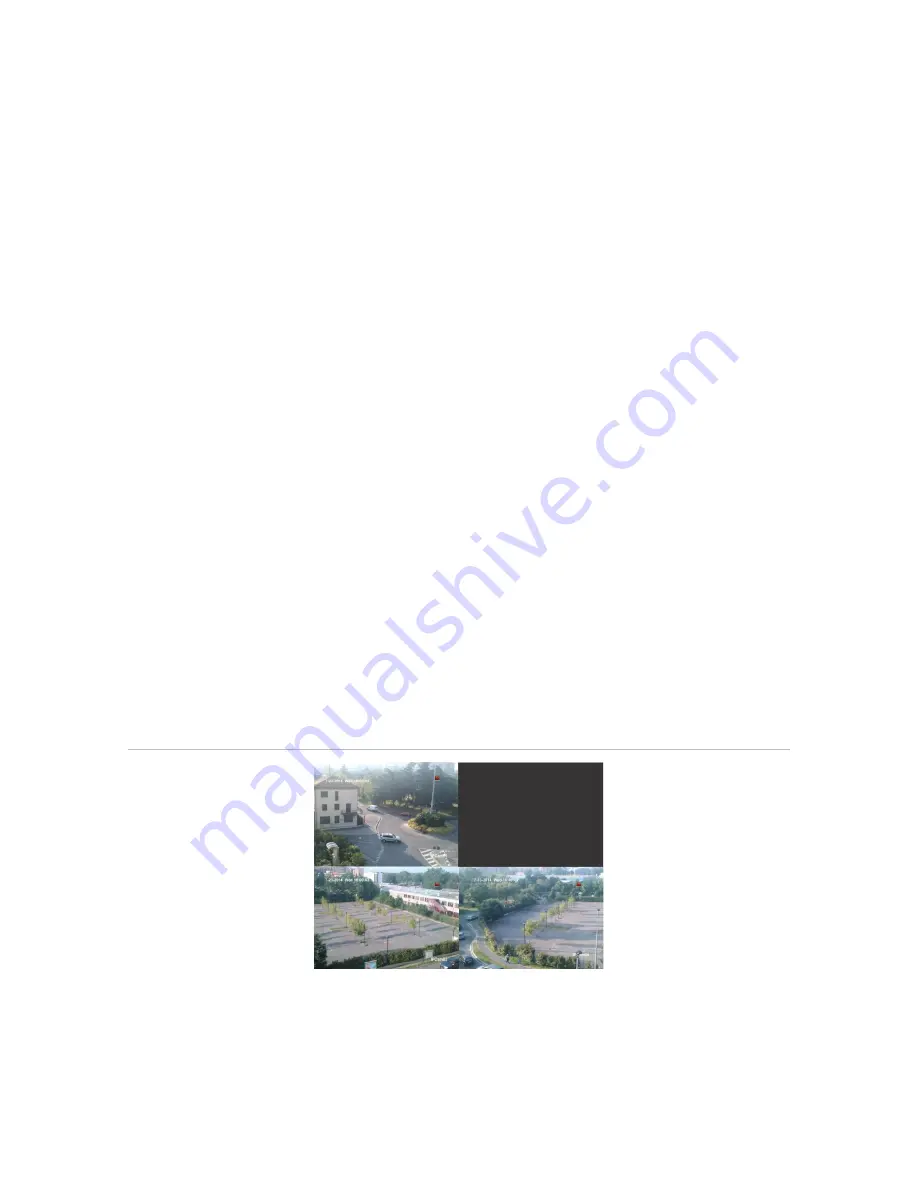
Restricted access camera
Restricted access cameras are cameras that are only visible to specific users.
There may be occasions when you want to control who can see a camera image on a
local monitor, such as if there is a camera located in a changing room. The recorder
lets you select which camera (or cameras) is not displayed on the local monitor unless
the user is logged in and has permission to view the camera images. A restricted
access camera is not displayed on screen when no user is logged in. Instead a person
walking by sees a black screen. See Figure 25 below.
Figure 25: Example of a restricted access camera image
66
TruVision NVR 21 (SP) User Manual


