2.9
Basic operation
Your fax machine also doubles as a convenience copier.
To make copies with your fax machine:
1
Press
COPY
to change to Copy mode.
When the machine is in the Copy mode, the
LCD
shows:
2
Place your original document in
ADF
face up just as you would send a fax.
3
As needed, set the following:
• Adjust resolution mode and contrast
• Enter the number of copies
4
. Select the number of desired copies.
5
Press
START
to start the copying.
Note: When you make multiple copies, your machine always sort copies.
Note: To stop the copying, press
STOP
.
Changing the reduction ratio
Your fax machine is capable of reduction when copying. You can choose from
78% (Legal
→
Letter), 100% and Auto. Your machine is set to 100% by default.
If you set it to “Auto”, the machine automatically reduce the original document size,
up to 78%, to fit on the paper size, which makes the margin as little as possible.
To change the reduction ratio:
1
Press
MENU
, 2, 3, 0, 2,
ENTER
.
2
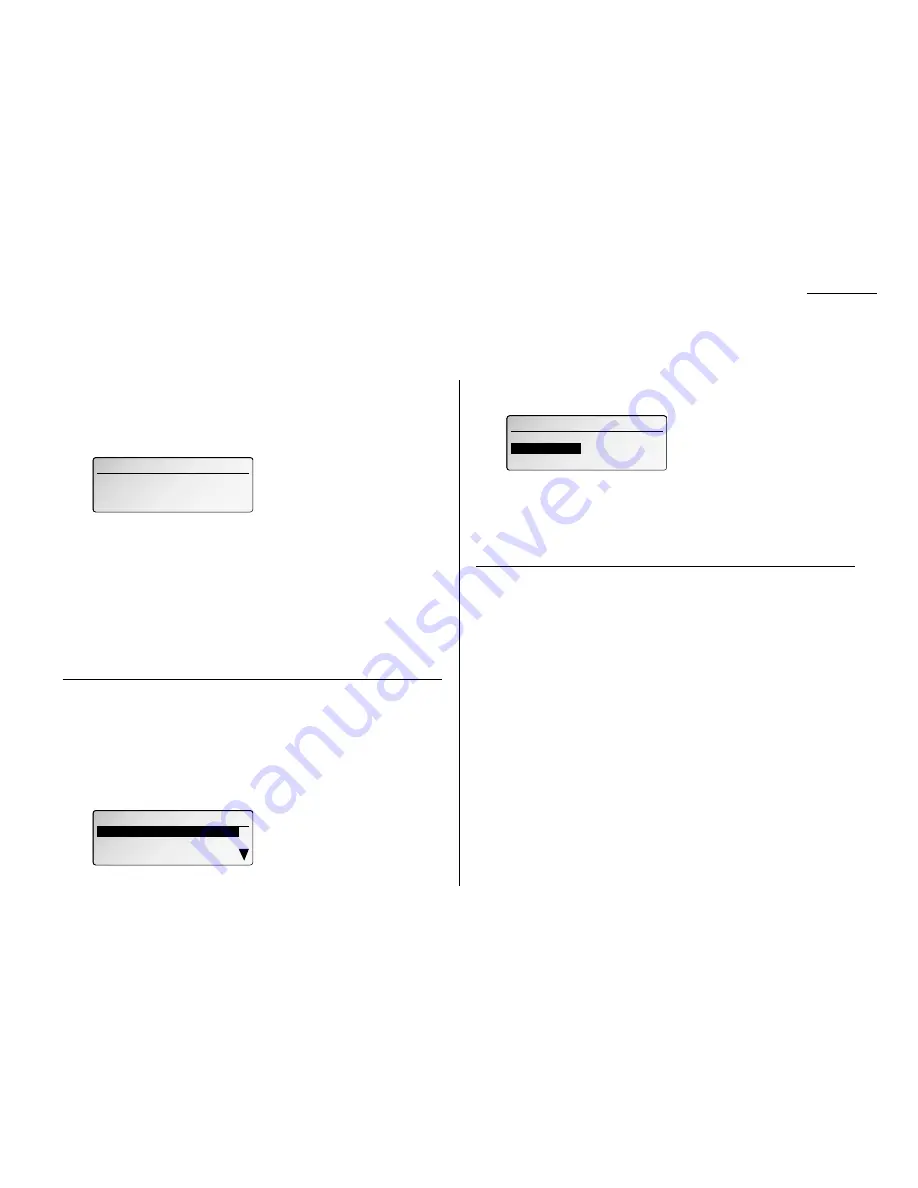
To set the reduction rate for copying, select “Reduction Ratio” using the
cursor key and then press
ENTER
. The
LCD
will show:
3
Select from Auto, 100% or 78% for the copy reduction setting. Then press
ENTER
. Your machine will reduce all copies to the rate you select. If auto is
selected your document will be reduced only as much as necessary to fit on
paper in use.
4
Press
STOP
to return to the standby mode.
Using the bypass tray
When you need to use a size of paper not currently loaded in your machine’s paper cassette(s),
or when you want to use a special type of paper such as an overhead projector transparency
(OHP), use the bypass tray.
Important:
Your machine automatically selects suitable paper according to the document
size and reduction rate. So, if suitable sized paper for your copy is in the paper
cassette, the machine will use it even if you set the paper in the bypass tray.
Note: If the same sized paper is set in the both the paper cassette and bypass tray,
turn the bypass tray priority mode (see page 4.7) to get the priority to use
the paper which is set on the bypass tray than the paper in the cassette.
Note: If loading transparency (OHP) film into the bypass tray, be sure that the sheet is
designed for laser printers and not for copiers.Also, be sure that the film does not
have a paper backing and/or a leading strip. If it does, remove the paper backing
and/or strip before inserting. Only film should go in, not film with backing or strip.
1
Place your original document in
ADF
face up just as you would send a fax.
Note: Place the original document in the same orientation as the paper in the
bypass tray.
2
Set the paper in the bypass tray.
See the table of “Acceptable paper size and cassette capacity” on page 1.7 and “Loading
paper in bypass tray” on page 1.9 for more information.
02. Print Parameters
Auto
100%
78%
02. Print Parameters
02. Print Parameters
Reduction Ratio :100 %
Reduction Ratio :100 %
Exit
Exit
Reduction Margin :24 mm
Reduction Margin :24 mm
Enter Number of Copies : 1
[ Mode ] [Contrast]
Fine Normal
Ratio : 100% Mem:100%
Making copies


