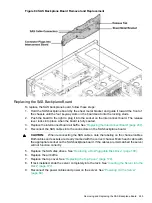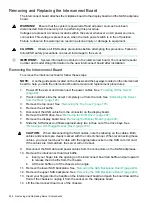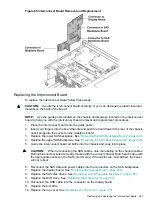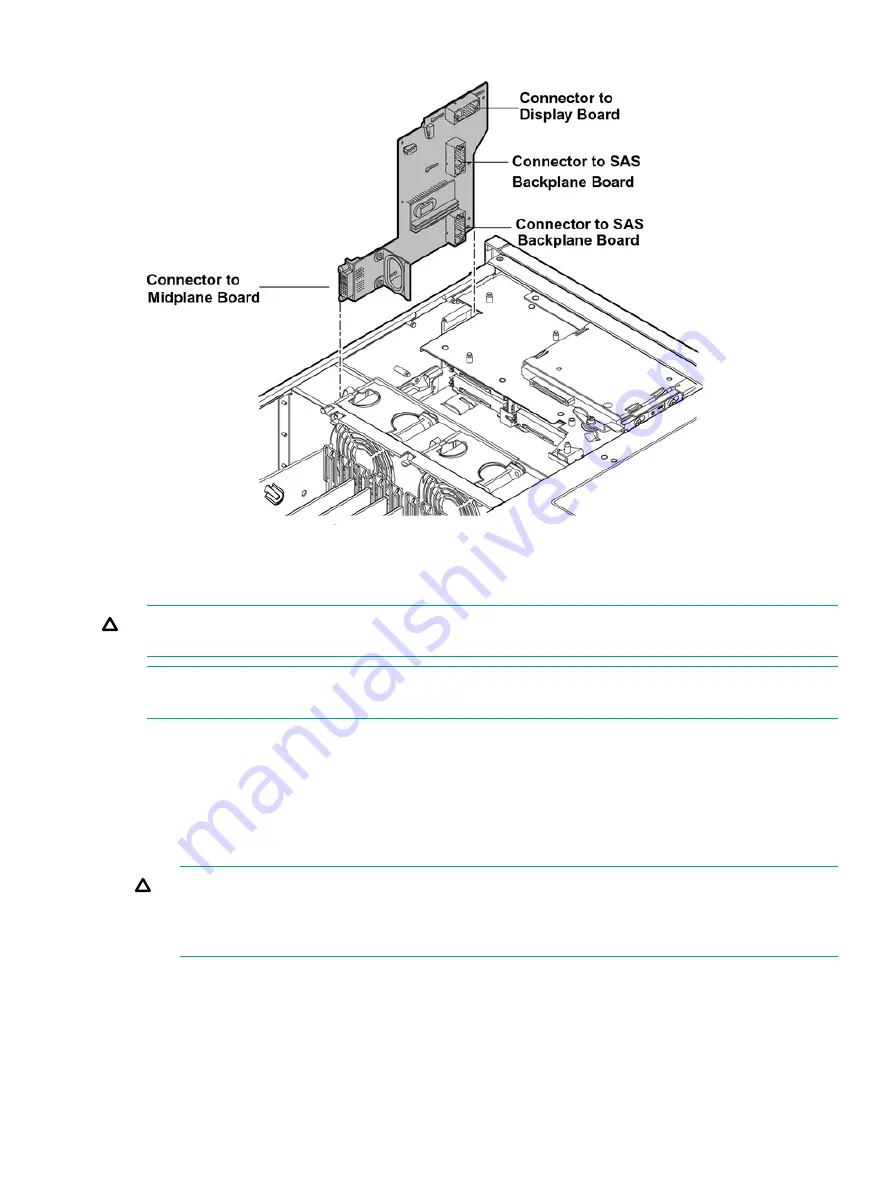
Figure 85 Interconnect Board Removal and Replacement
Replacing the Interconnect Board
To replace the interconnect board, follow these steps:
CAUTION:
Handle the interconnect board carefully, or you can damage the plastic insulator
material on the back of the board.
NOTE:
Use the guide posts located on the chassis and keyways located on the interconnect
board to help you with the interconnect board removal and replacement procedures.
1.
Place the interconnect board onto the guide posts.
2.
Insert your fingers into the board handle and push the board toward the rear of the chassis
until it plugs into the socket on the midplane board.
3.
Replace the lower SAS backplane. See
“Replacing the SAS Backplane Board” (page 245)
4.
Replace the upper SAS backplane. See
“Replacing the SAS Backplane Board” (page 245)
5.
Guide the interconnect board air baffle into the chassis and snap it into place.
CAUTION:
When reconnecting the SAS cables, note the labeling on the channel cables.
Both cables and sockets are clearly marked with the correct channel. Match each cable with
the appropriate socket on the SAS core I/O card. If the cables are mismatched, the server
will not reboot.
6.
Reconnect the SAS data and power cables into the connectors on the SAS backplanes.
7.
Replace the display board. See
“Replacing the Display Board” (page 242)
.
8.
Replace the SAS disk drives. See
“Replacing a Hot-Pluggable Disk Drive” (page 190)
.
9.
Replace the DVD drive. See
“Replacing the DVD Drive” (page 203)
.
10. Reconnect the USB cable into the connector on the display board.
11. Replace the air baffle.
12. Replace the top cover. See
“Replacing the Top Cover” (page 179)
.
Removing and Replacing the Interconnect Board
247


