IMPORTANT:
Before removing the system battery, record all boot and LAN configuration
settings. (Find the settings using the INFO ALL EFI command.) You must reset these values
after replacing the battery.
To remove the core I/O board battery, follow these steps:
1.
Power off the server and disconnect the power cables. See
2.
If rack installed, slide the server completely out from the rack. See
.
3.
Remove the top cover from the chassis. See
“Removing the Top Cover” (page 178)
4.
Remove the core I/O board. See
“Removing the Core I/O Board” (page 234)
.
5.
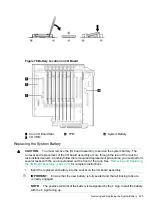
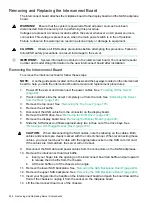
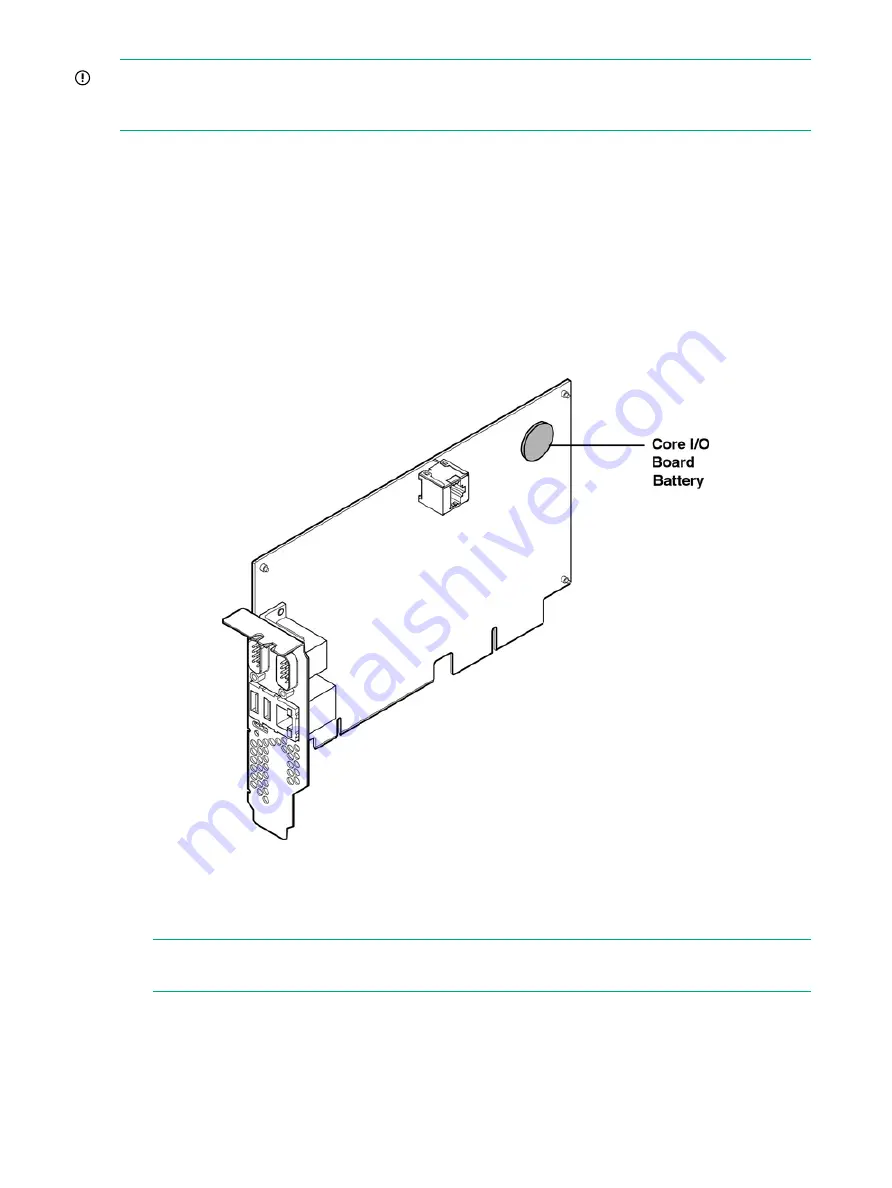
Locate the battery on the core I/O board (
).
6.
Insert a flat tool under the battery and carefully lift upward to pry the battery from the socket.
Figure 81 Battery Location on UCIO Card
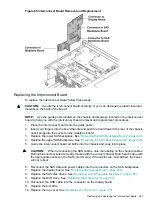
Replacing the Core I/O Board Battery
To replace the core I/O board battery, follow these steps:
1.
Insert the replacement battery into the socket.
NOTE:
The positive terminal of the battery is designated by a
+
sign. Install the battery
with the
+
sign facing up.
2.
Replace the core I/O board. See
“Replacing the Core I/O Board” (page 235)
3.
Replace the top cover. See
“Replacing the Top Cover” (page 179)
.
4.
If rack installed, slide the server completely into the rack. See
“Inserting the Server into the
.
5.
Reconnect the power cables and power on the server. See
236
Removing and Replacing Server Components


