2.
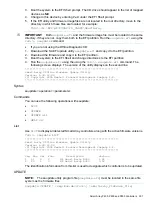
At the
ORCA
prompt:
•
If you are connected using a headless console, press the
Esc+8
combination.
•
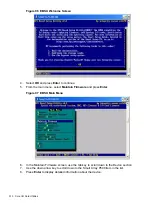
Otherwise, press
F8
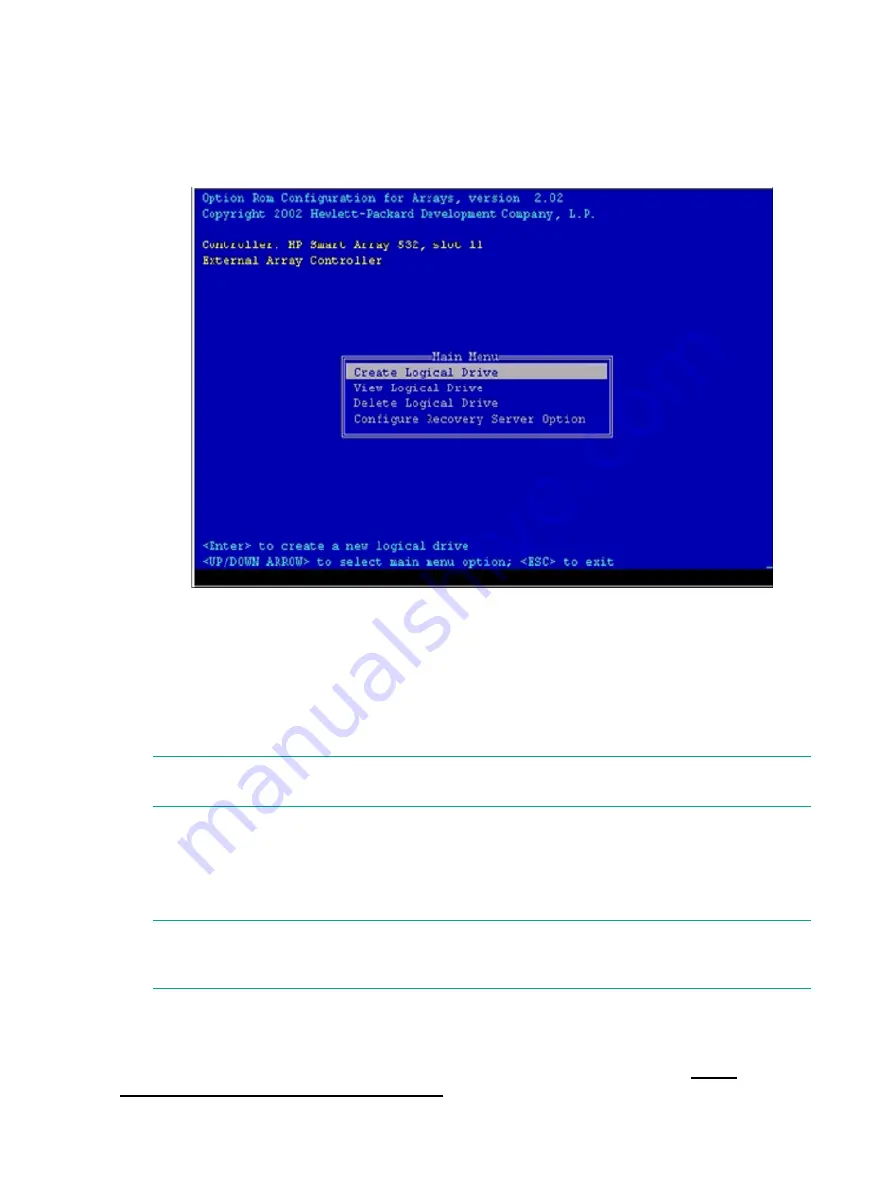
. The ORCA Main Menu displays, enabling you to create, view, or
delete a logical drive.
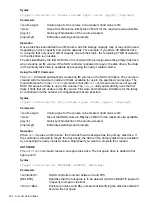
Figure 100 ORCA Main Menu
Creating a Logical Drive Using ORCA
To create a logical drive using
ORCA
, follow these steps:
1.
Select
Create Logical Drive
. The screen displays a list of all available (unconfigured)
physical drives and the valid RAID options for the system.
2.
Use the
Arrow
keys,
Spacebar
, and
Tab
to navigate around the screen and set up the
logical drive, including an online spare drive if one is required.
NOTE:
You cannot use
ORCA
to configure one spare drive to be shared among several
arrays. Only
ACU
enables you to configure shared spare drives.
3.
Press
Enter
to accept the settings.
4.
Press
F8
to confirm the settings and save the new configuration. After several seconds, the
Configuration Saved screen displays.
5.
Press
Enter
to continue. You can now create another logical drive by repeating the previous
steps.
NOTE:
Newly created logical drives are invisible to the operating system. To make the
new logical drives available for data storage, format them using the instructions given in the
operating system documentation.
ACU Utility
For detailed information about using
ACU
, see the Array Configuration Utility User Guide at I/O
Cards and Networking Software on the Hewlett Packard Enterprise website at
www.hpe.com/info/integrity-iocards-docs
314
Core I/O Card Utilities

