


XI581/2 BUSWIDE OPERATOR INTERFACE
EVERYDAY OPERATIONS
35
EN2B-0126 (74-3554-8)
Hardware Interface Configuration
5.
From the second screen of the Start-up Sequence (shown above), select
Controller Setup and press Enter (
↵
).
RESULT: A screen appears with a list of hardware interface configuration
options.
HW-Interface Configuration
C-Bus
▲
▲
▲
▲
Lon-Bus
1
B-Port
■
The contents of this listbox will depend upon the exact hardware configuration of the
controller.
6.
Select a hardware interface and press Enter (
↵
) to continue.
C-Bus
If
C-Bus
is selected from the 'Hardware Configuration' listbox, the following screen
appears:
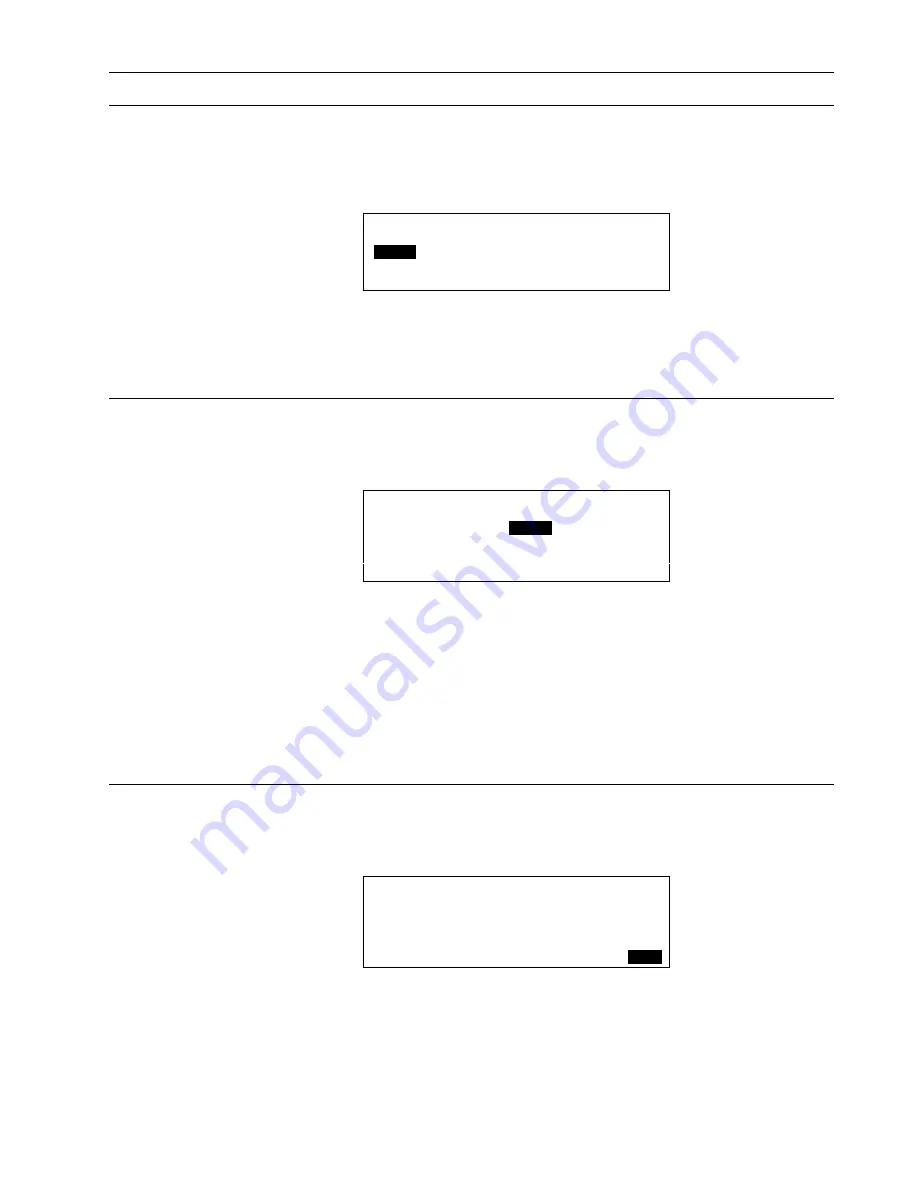
C-Bus Configuration
Baudrate
:
76800
Controller No.:
23
BACK
7.
The 'Baudrate' value field is highlighted by default. Or use the down arrow key to
move to and highlight the 'Controller No.' value field. In either case, after
pressing Enter (
↵
) to select the given field, one of the digits will begin blinking.
Use the plus and minus keys to increment/decrement data, and press Enter (
↵
)
to complete the field entry.
IMPORTANT
If no controller number is set or if the number shown is not reconfirmed, the
controller will not go online on the C-Bus after start-up.
8.
Use the right arrow key to move to and highlight
BACK
. Press Enter (
↵
).
LON-Bus
If
LON-Bus
(i.e. L
ON
W
ORKS
network) is selected from the Hardware Configuration
listbox, the following screen appears:
LON-Bus Configuration
Contr. Neuron ID: ACF123BDE789
BACK
The Neuron ID is the unique number assigned to the controller’s processor and
cannot be edited.
7.
Press Enter (
↵
) to select
BACK
.