Document 800-04559
Rev D
75
11/09
Configuration
5.
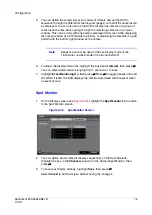
You can define the screen layout in a variety of formats and set the DVR to
sequence through the different screen layouts (pages) so that all the cameras will
be displayed. You can also set up the DVR to display one camera or a group of
cameras all the time while cycling through the remaining cameras in a cameo
window. This can be done with one camera displayed full screen while displaying
the cameo window as a PIP (picture in picture), or displaying the cameras in a grid
pattern with the bottom right window as the cameo.
Note
Sequence cannot be used in the 4x4 display mode of the
16-channel, and 3x3 mode of the 8-channel DVR.
6.
To adjust the display dwell time, highlight the box beside Interval, then press
#
.
You can select dwell intervals ranging from 1 second to 1 minute.
7.
Highlight Event Monitoring On, then press
#
. Press
#
to toggle between On and
Off. When it is On, the DVR displays the camera associated with the event when
an event occurs.
Spot Monitor
1.
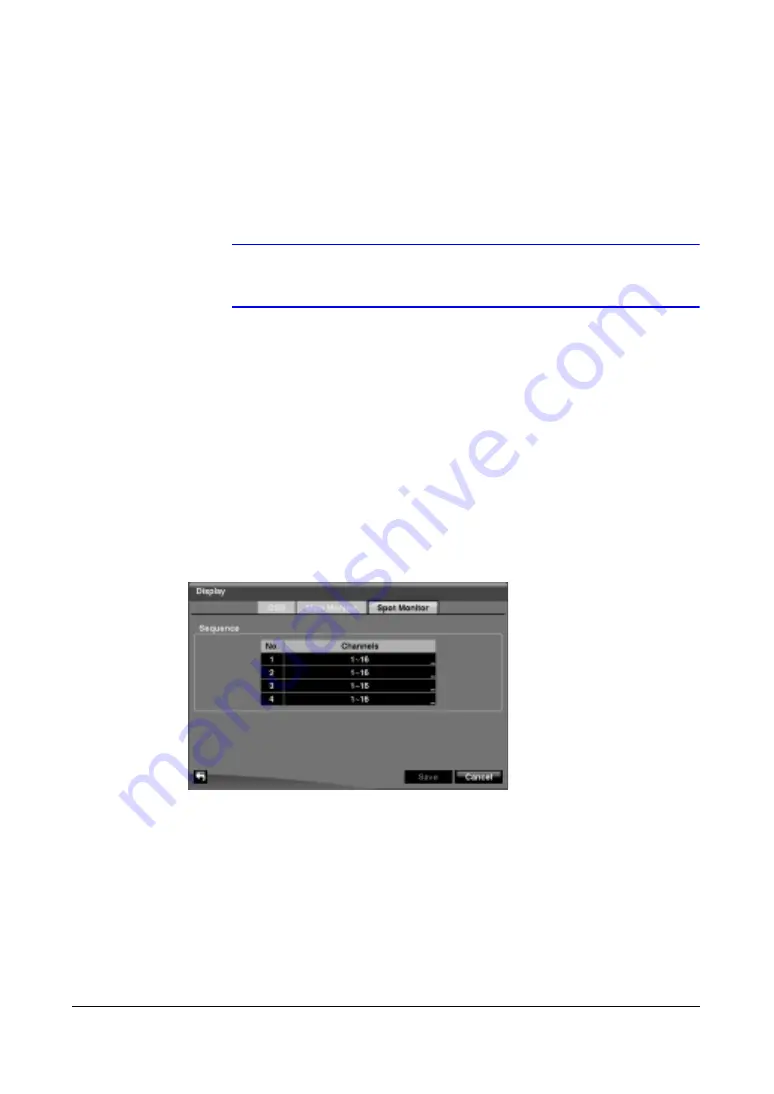
On the Display screen (see
), highlight the Spot Monitor tab to switch
to the Spot Monitor screen.
Figure 3-45
Spot Monitor Screen
2.
You can define which cameras display sequentially on the Spot Monitors.
Highlight the box in the Channels column for the desired Spot Monitor, then
press
#
.
3.
To save your Display settings, highlight Save, then press
#
.
Select Cancel to exit the screen without saving the changes.
Summary of Contents for HRXDS16
Page 8: ...8 ...
Page 12: ...Contents 12 ...
Page 18: ...Tables 18 ...
Page 24: ...24 HRXDS Series DVR User Guide ...
Page 102: ...102 HRXDS Series DVR User Guide ...
Page 138: ...138 HRXDS Series DVR User Guide ...
Page 152: ...152 HRXDS Series DVR User Guide ...
Page 154: ...154 HRXDS Series DVR User Guide ...
Page 156: ...156 HRXDS Series DVR User Guide ...
Page 160: ...160 HRXDS Series DVR User Guide ...
Page 162: ...162 HRXDS Series DVR User Guide ...
Page 164: ...164 HRXDS Series DVR User Guide ...
Page 171: ......

