


DS-6700HUHI-K Series Encoder User Manual
41
Figure 5. 18
Create Self-signed Certificate
(3)
Enter the country, host name/IP, validity and other information.
(4)
Click
OK
to save the settings.
If you already had a certificate installed, the Create Self-signed Certificate is grayed out.
Create the authorized certificate
(1)
Select
Create the certificate request first and continue the installation
as the Installation Method.
(2)
Click
Create
to create the certificate request. Fill in the required information in the popup window.
(3)
Download the certificate request and submit it to the trusted certificate authority for signature.
(4)
After receiving the signed valid certificate, import the certificate to the device.
4.
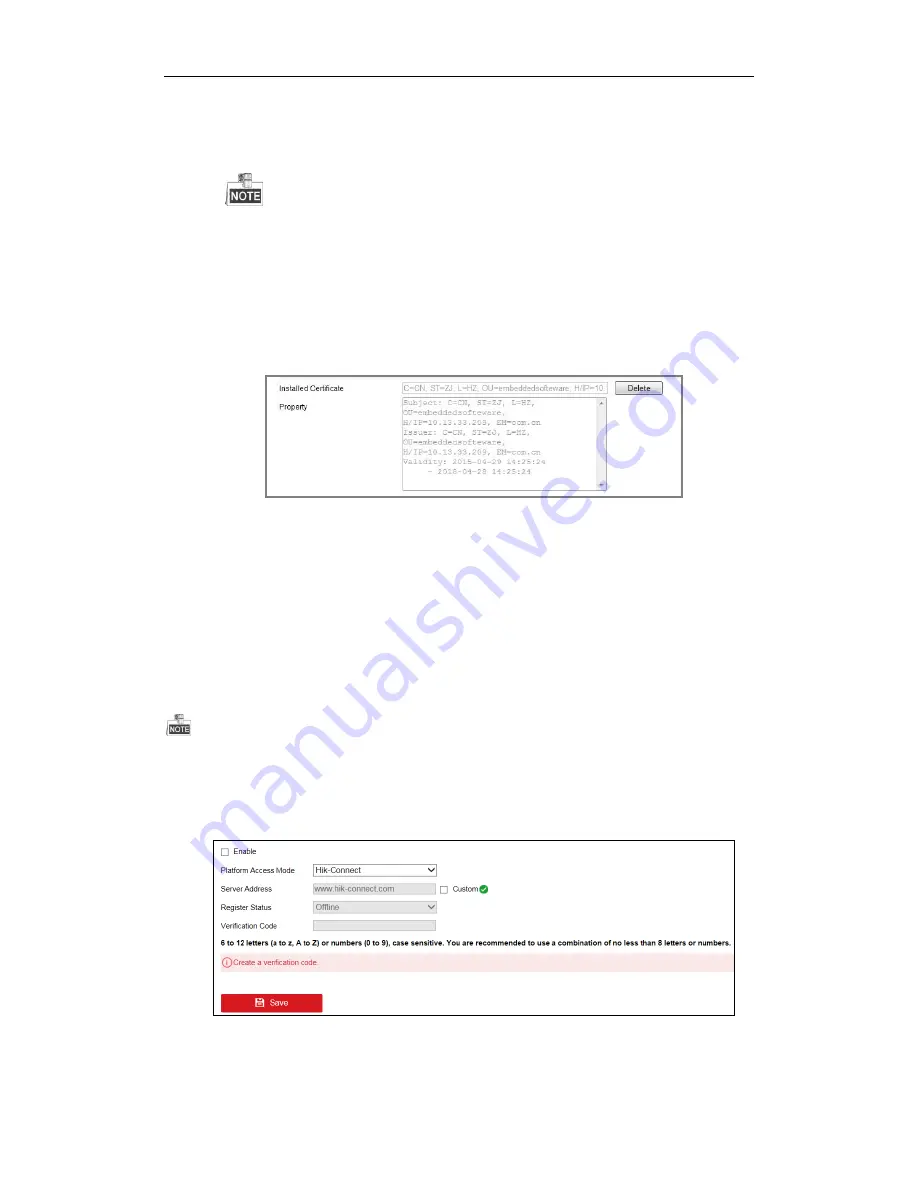
There will be the certificate information after your successfully creating and installing the certificate.
Figure 5. 19
Installed Certificate
5.
Click
Save
to save the settings.
5.3.8
Configuring Hik-Connect
Purpose:
Hik-Connect provides the mobile phone application and the service platform page (www.hik-connect.com) to
access and manage your connected encoder, which enables you to get a convenient remote access to the
surveillance system.
The Hik-Connect can be enabled via operation on SADP software, GUI and Web browser. We introduce the
operation steps on GUI in this section.
Steps:
1.
Go to
Configuration > Network > Advanced Settings > Platform Access
to enter the Hik-Connect Settings
page.
Figure 5. 20
Hik-Connect Settings
2.
Check the
Enable
checkbox to activate the function.
Then the Service Terms page pops up as below.