GE H
EALTHCARE
D
IRECTION
5461425-8EN, R
EVISION
B
RIVO
XR118 S
ERVICE
M
ANUAL
Chapter 5 - - Installation & Configuration
Page 65
8.2.4
Backup Images
Note:
Pressing the eject button on the DVD drive will not open the CD tray. While working with the
Image Management screen open, always use the eject option within the [Tools] drop-down list.
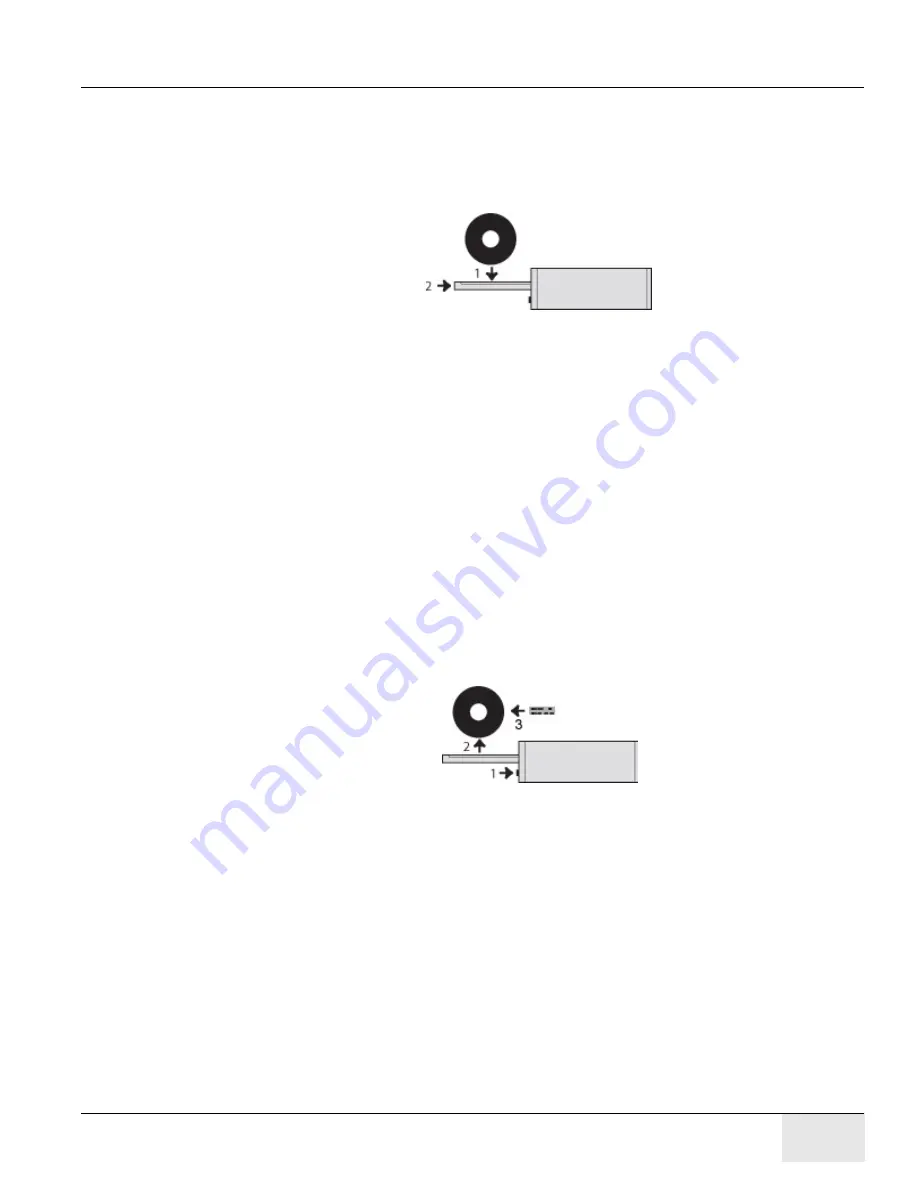
1.) Open the CD tray by selecting Eject from within the [Image Tools] drop-down list.
2.) Insert your blank CD/DVD into the tray.
3.) Now, select the exams you wish to copy.
4.) Click on [Media] as the destination. The CD Write screen will appear with the following options:
-
Deselect All - Deselects all exams on the list.
-
Store Optimally - Automatically checks if the selected images will fit on the CD. It will
automatically deselect any items that cannot fit onto the CD.
-
Write - Begins the copy process.
-
Cancel - Closes the screen and returns you to the Image Management screen.
5.) Confirm that the exams to be copied are the ones you have chosen. Deselect any exams you
do not want saved to the CD/DVD.
6.) Click on [Write].
a.) The CD/DVD begins copying. You will notice the yellow light on the front of DVD drive will
flash, while data is being written to disk.
b.) To see the status of the exams being copied, click on [Transfer Log] located at the bottom
of the Image Management screen.
c.) The transfer log screen will appear.
d.) Click on [Close] and return to the Image Management screen.
7.) Remove the CD/DVD from tray and label as Image Data (include current date and time).


