GE Multilin
L60 Line Phase Comparison System
5-87
5 SETTINGS
5.2 PRODUCT SETUP
5
On the rising edge of the configured operand (such as when the pushbutton is pressed), the displays are invoked by
showing the last user-definable display shown during the previous activity. From this moment onward, the operand
acts exactly as the down key and allows scrolling through the configured displays. The last display wraps up to the first
one. The
INVOKE AND SCROLL
input and the DOWN key operate concurrently.
When the default timer expires (set by the
DEFAULT MESSAGE TIMEOUT
setting), the relay will start to cycle through the
user displays. The next activity of the
INVOKE AND SCROLL
input stops the cycling at the currently displayed user dis-
play, not at the first user-defined display. The
INVOKE AND SCROLL
pulses must last for at least 250 ms to take effect.
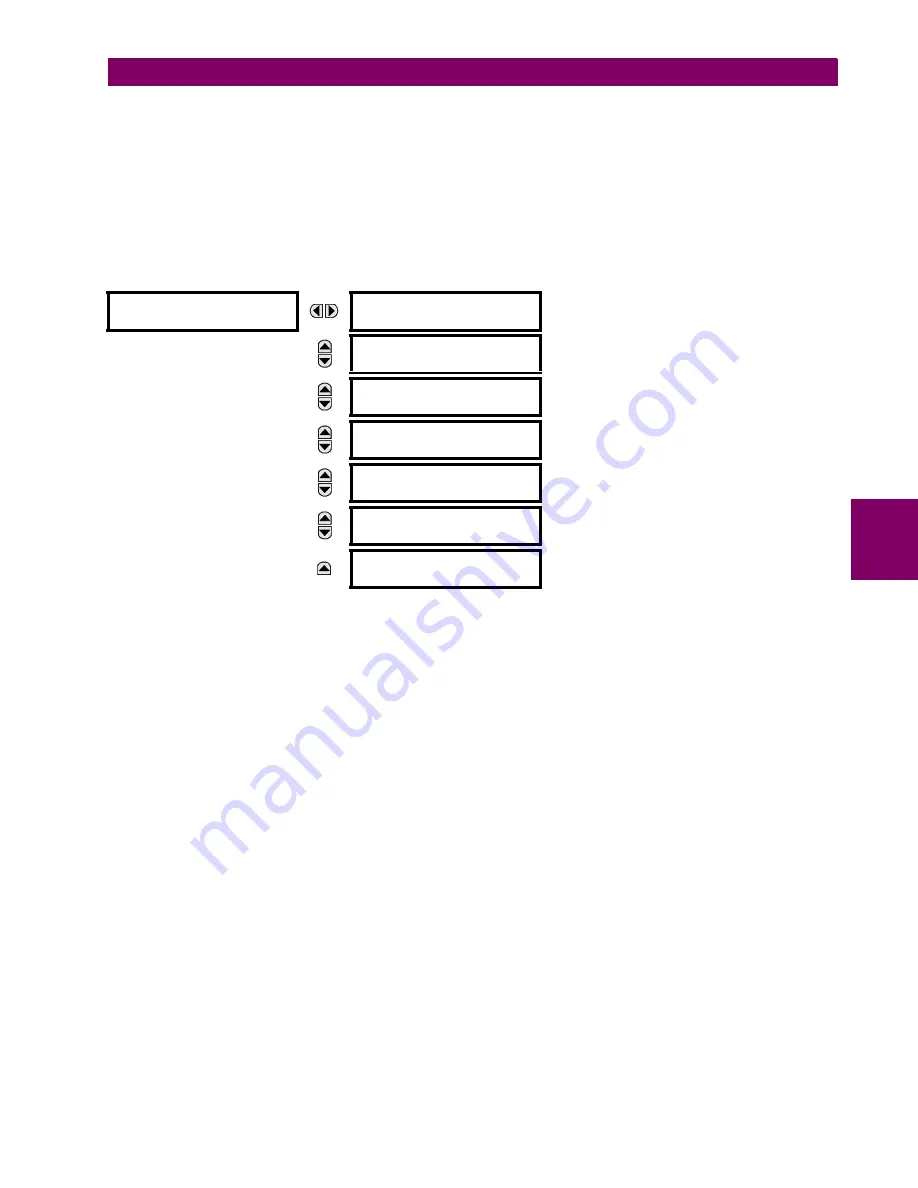
b) USER DISPLAY 1(16)
PATH: SETTINGS
PRODUCT SETUP
USER-DEFINABLE DISPLAYS
USER DISPLAY 1(16)
Any existing system display can be automatically copied into an available user display by selecting the existing display and
pressing the ENTER key. The display will then prompt
ADD TO USER DISPLAY LIST?
. After selecting “Yes”, a message indi-
cates that the selected display has been added to the user display list. When this type of entry occurs, the sub-menus are
automatically configured with the proper content – this content may subsequently be edited.
This menu is used to enter user-defined text and user-selected Modbus-registered data fields into the particular user dis-
play. Each user display consists of two 20-character lines (top and bottom). The tilde (~) character is used to mark the start
of a data field – the length of the data field needs to be accounted for. Up to five separate data fields can be entered in a
user display – the
n
th tilde (~) refers to the
n
th item.
A user display may be entered from the faceplate keypad or the EnerVista UR Setup interface (preferred for convenience).
The following procedure shows how to enter text characters in the top and bottom lines from the faceplate keypad:
1.
Select the line to be edited.
2.
Press the decimal key to enter text edit mode.
3.
Use either VALUE key to scroll through the characters. A space is selected like a character.
4.
Press the decimal key to advance the cursor to the next position.
5.
Repeat step 3 and continue entering characters until the desired text is displayed.
6.
The HELP key may be pressed at any time for context sensitive help information.
7.
Press the ENTER key to store the new settings.
To enter a numerical value for any of the five items (the
decimal form
of the selected Modbus address) from the faceplate
keypad, use the number keypad. Use the value of “0” for any items not being used. Use the HELP key at any selected sys-
tem display (setting, actual value, or command) which has a Modbus address, to view the
hexadecimal form
of the Modbus
address, then manually convert it to decimal form before entering it (EnerVista UR Setup usage conveniently facilitates this
conversion).
USER DISPLAY 1
DISP 1 TOP LINE:
Range: up to 20 alphanumeric characters
MESSAGE
DISP 1 BOTTOM LINE:
Range: up to 20 alphanumeric characters
MESSAGE
DISP 1 ITEM 1
0
Range: 0 to 65535 in steps of 1
MESSAGE
DISP 1 ITEM 2
0
Range: 0 to 65535 in steps of 1
MESSAGE
DISP 1 ITEM 3
0
Range: 0 to 65535 in steps of 1
MESSAGE
DISP 1 ITEM 4
0
Range: 0 to 65535 in steps of 1
MESSAGE
DISP 1 ITEM 5:
0
Range: 0 to 65535 in steps of 1
Summary of Contents for L60
Page 10: ...x L60 Line Phase Comparison System GE Multilin TABLE OF CONTENTS ...
Page 57: ...GE Multilin L60 Line Phase Comparison System 2 27 2 PRODUCT DESCRIPTION 2 3 SPECIFICATIONS 2 ...
Page 58: ...2 28 L60 Line Phase Comparison System GE Multilin 2 3 SPECIFICATIONS 2 PRODUCT DESCRIPTION 2 ...
Page 482: ...6 26 L60 Line Phase Comparison System GE Multilin 6 5 PRODUCT INFORMATION 6 ACTUAL VALUES 6 ...
Page 554: ...10 8 L60 Line Phase Comparison System GE Multilin 10 2 BATTERIES 10 MAINTENANCE 10 ...
Page 674: ...B 110 L60 Line Phase Comparison System GE Multilin B 4 MEMORY MAPPING APPENDIX B B ...
Page 704: ...C 30 L60 Line Phase Comparison System GE Multilin C 7 LOGICAL NODES APPENDIX C C ...
Page 720: ...E 10 L60 Line Phase Comparison System GE Multilin E 1 PROTOCOL APPENDIX E E ...
Page 732: ...F 12 L60 Line Phase Comparison System GE Multilin F 2 DNP POINT LISTS APPENDIX F F ...
Page 742: ...H 8 L60 Line Phase Comparison System GE Multilin H 3 WARRANTY APPENDIX H H ...


