Appendix
GreatCut Plug-In A-6
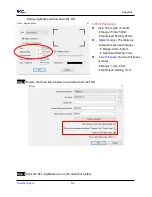
Step 8
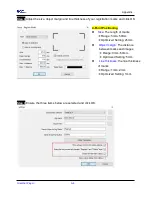
Complete the Number in X/Y (the number of copies desired on the X/Y axis) and
Distance in X/Y (distance between each copy) settings then click OK. Confirm that the
value of Distance in X/Y must be the same with step 6.
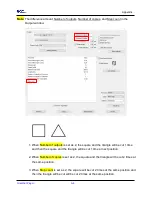
Note:
The spacing of vertical & horizontal (Offset X & Y) should be ≥ 20mm or = 0mm; users are
advised to set the Distance in X/Y as 0 mm to remove the space between each copy to
avoid the waste of materials.
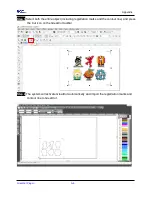
Step 9
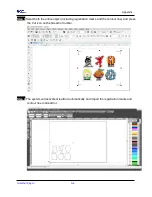
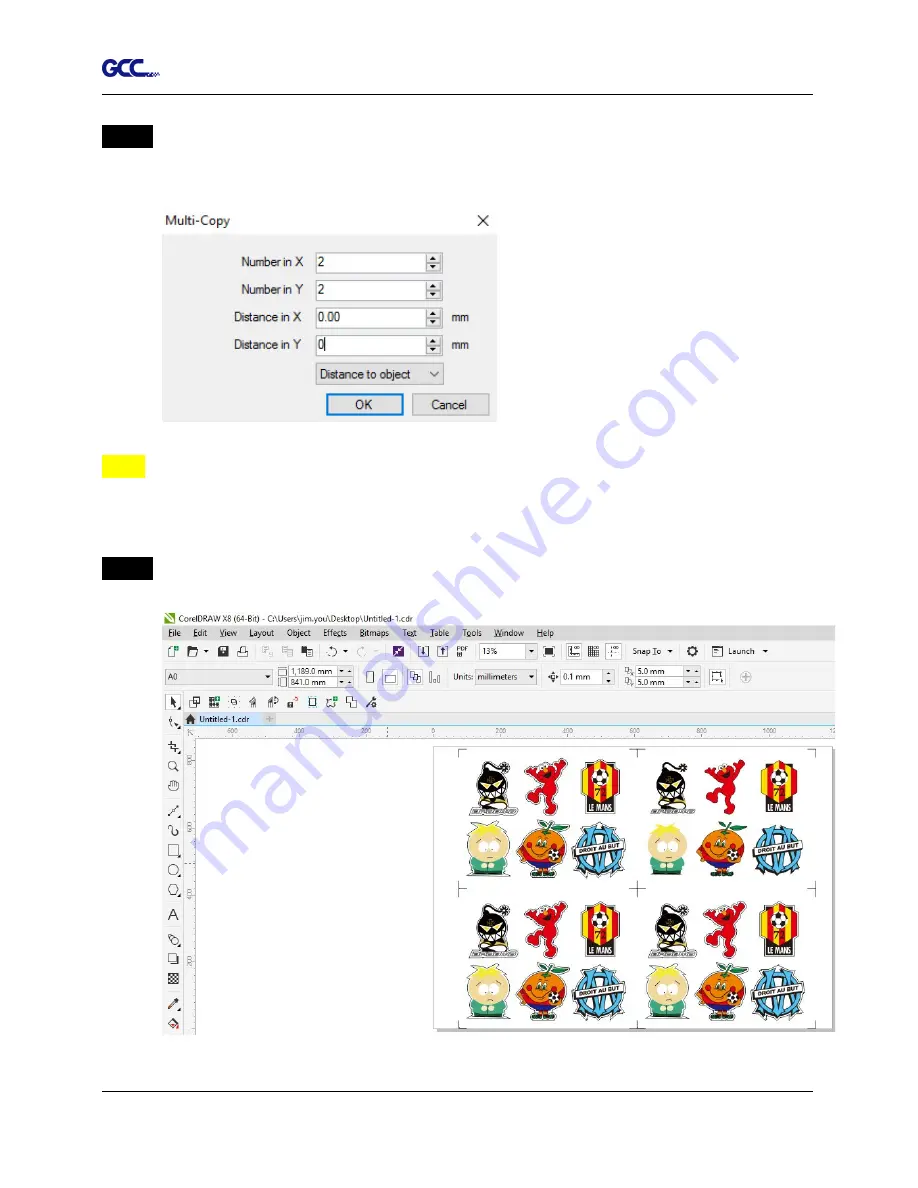
The system will create several copies of the object with registration marks as shown in
the picture below.
Summary of Contents for AFJ-24S
Page 1: ...V 2 2022 Aug http www GCCworld com AFJ 24S User Manual...
Page 12: ...AFJ 24S User Manual 12 RS232 cable 1 pc Installation guide 1 copy Media blocks 2 pcs...
Page 19: ...AFJ 24S User Manual 19 Download the driver according to the type of connection...
Page 44: ...AFJ 24S User Manual 44...
Page 142: ...Appendix GreatCut Plug In A 6...
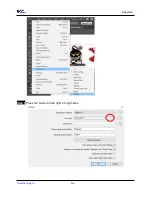
Page 166: ...Appendix GreatCut Plug In A 6 Step 5 Press the button on the right of Jog marks...
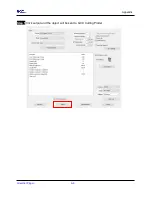
Page 182: ...Appendix GreatCut Plug In A 6 Step 11 Go to GreatCut window press Output button...
Page 183: ...Appendix GreatCut Plug In A 6...
Page 185: ...Appendix SignPal 12 Instruction A 7...
Page 198: ...Appendix SignPal Instruction A 6...
Page 200: ...Appendix SignPal Instruction A 6 4 Select File Document Setup in SignPal and select paper size...
Page 205: ...Appendix SignPal Instruction A 6...

