190-01115-01
G3X/G3X Touch Installation Manual - Airframe Specific Installation Guidance
Rev. AC
Page A-17
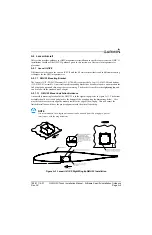
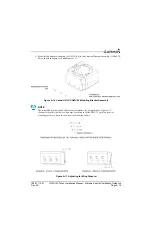
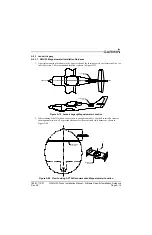
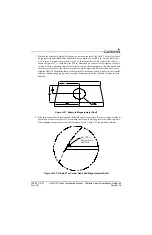
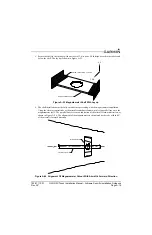
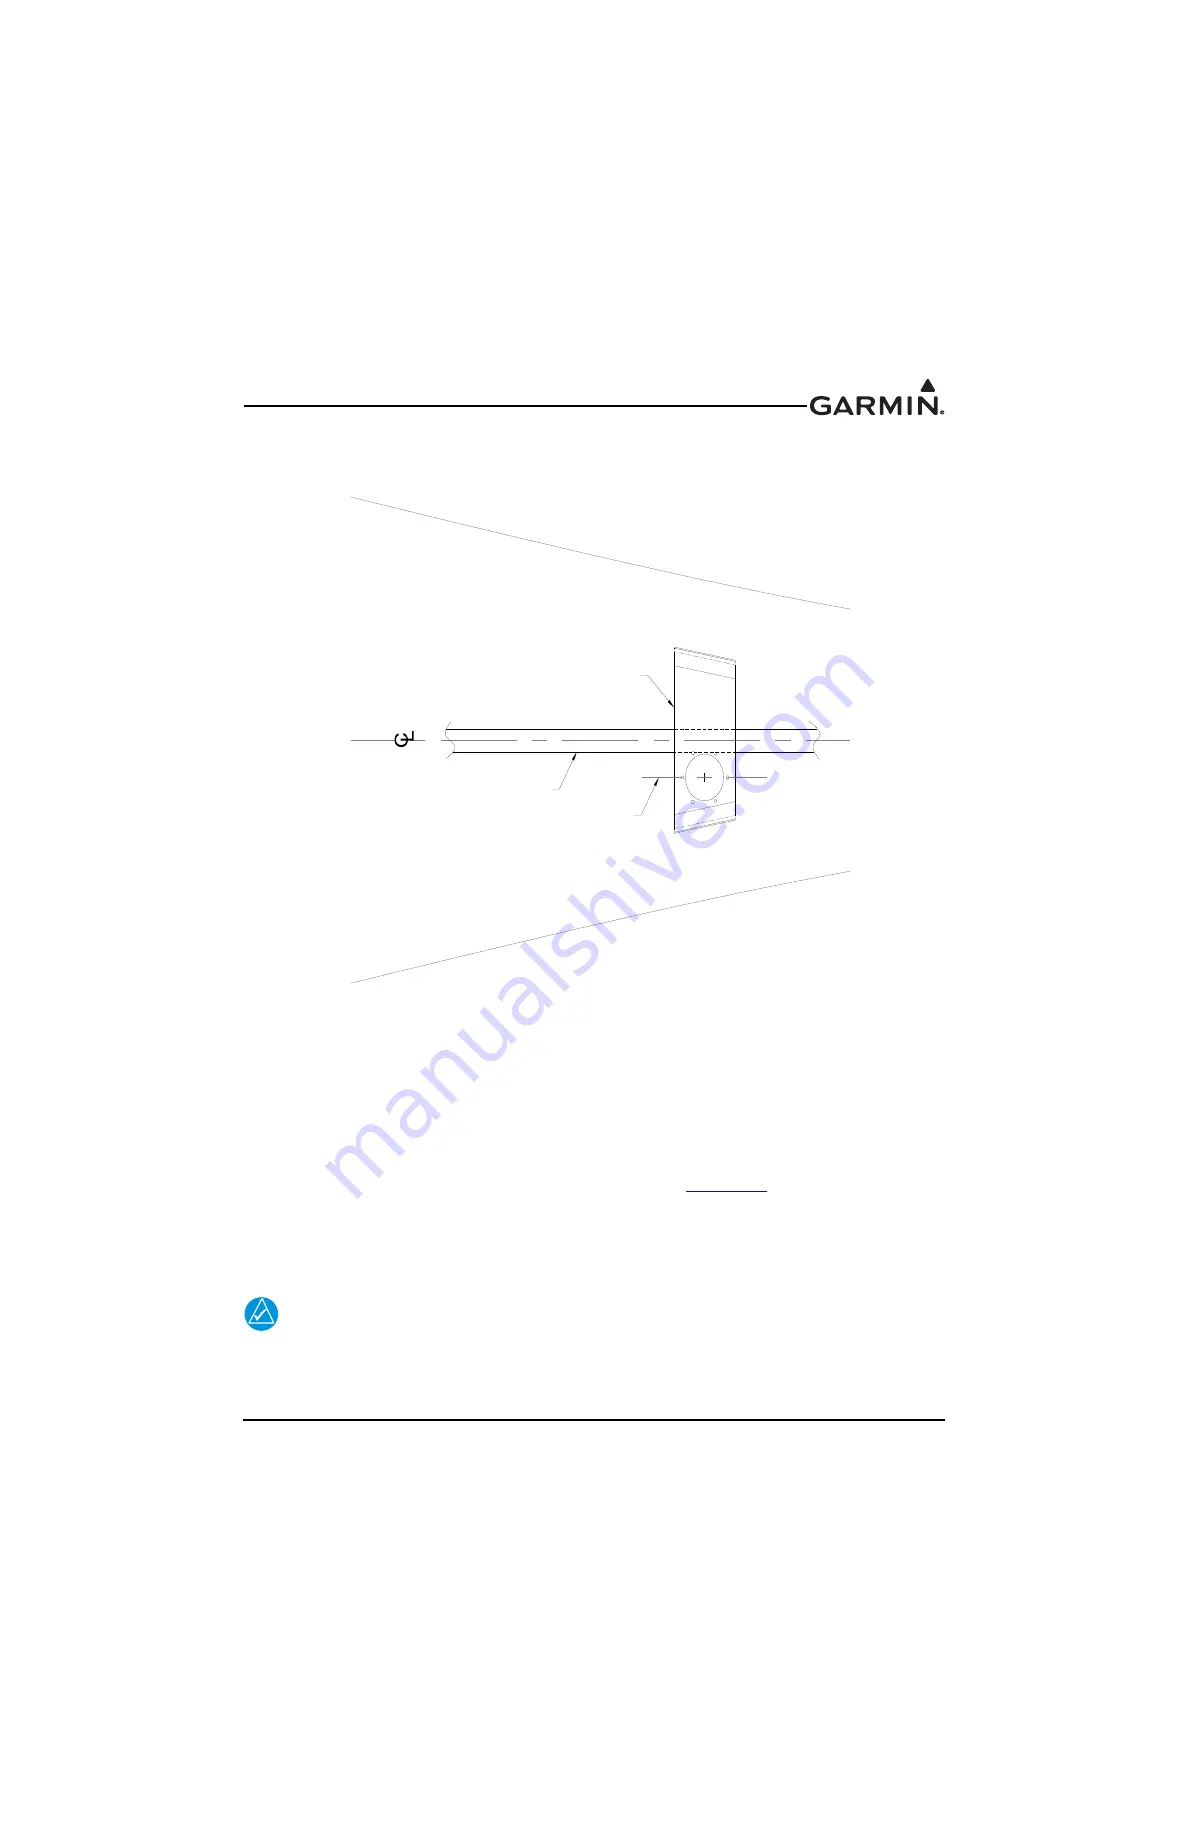
Alternately, if the 2.50 in. diameter hole is drilled off of centerline as shown in Figure A-25, project a
parallel line to the aircraft’s centerline reference using the elevator control tube as a reference line. Mark a
parallel line at the offset cutout to create the forward direction reference.
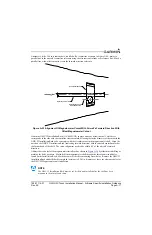
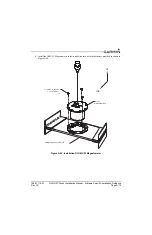
Figure A-25 Alignment Of Magnetometer Cutout With Aircraft’s Forward Direction With
Offset Magnetometer Cutout
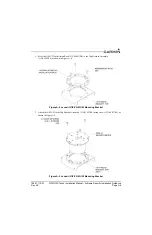
Clamp the GMU 22 Installation Rack (115-00481-X0) in place above or below the shelf, whichever
corresponds to the side with the centerline reference mark, allowing the inside diameter of the cutout in the
GMU 22 Installation Rack to be concentric with the circular cutout in the magnetometer shelf. Align the
notch on the GMU 22 Installation Rack (indicating forward direction) with the aircraft centerline mark at
the forward end of the shelf. The cutout alignment needs to be within 0.5
°
of the aircraft’s forward
direction.
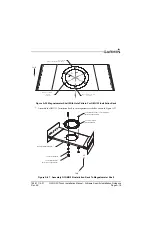
Address the six holes for the magnetometer install rack as shown in
by either match drilling or
marking the holes as shown. Match drill the magnetometer shelf through the three countersunk holes
found on the Installation Rack. Mark the center of the three mounting screw holes. Remove the GMU 22
Installation Rack and drill the three marked locations to 0.203 in. diameter, as these are clearance holes for
the GMU 22 Magnetometer unit installation.
NOTE
The GMU 22 Installation Rack must be set, drilled, and installed after the shelf has been
mounted in the aircraft and cured.
ELEVATOR CONTROL TUBE
MAGNETOMETER SHELF
MAINTAIN PARALLEL TO
FORWARD DIRECTION

