1. OPERATIONAL OVERVIEW
1-9
1.4.5
How to switch the active screen
In the plotter split screen, you can switch the active screen with the
CURSOR ON/OFF
key. Long-press the key to select the screen to make active. The active screen is cir-
cumscribed with an orange rectangle. The orange frame flashes three times then goes
off. The icon
is displayed at the left top of the active screen.
Note:
The icon
is displayed on the non-split screen. However, the icon can be dif-
ficult to see when the NAV information box is displayed at the top of the screen and
the value for the transparency of the NAV information box is low.
1.5
Menu Overview
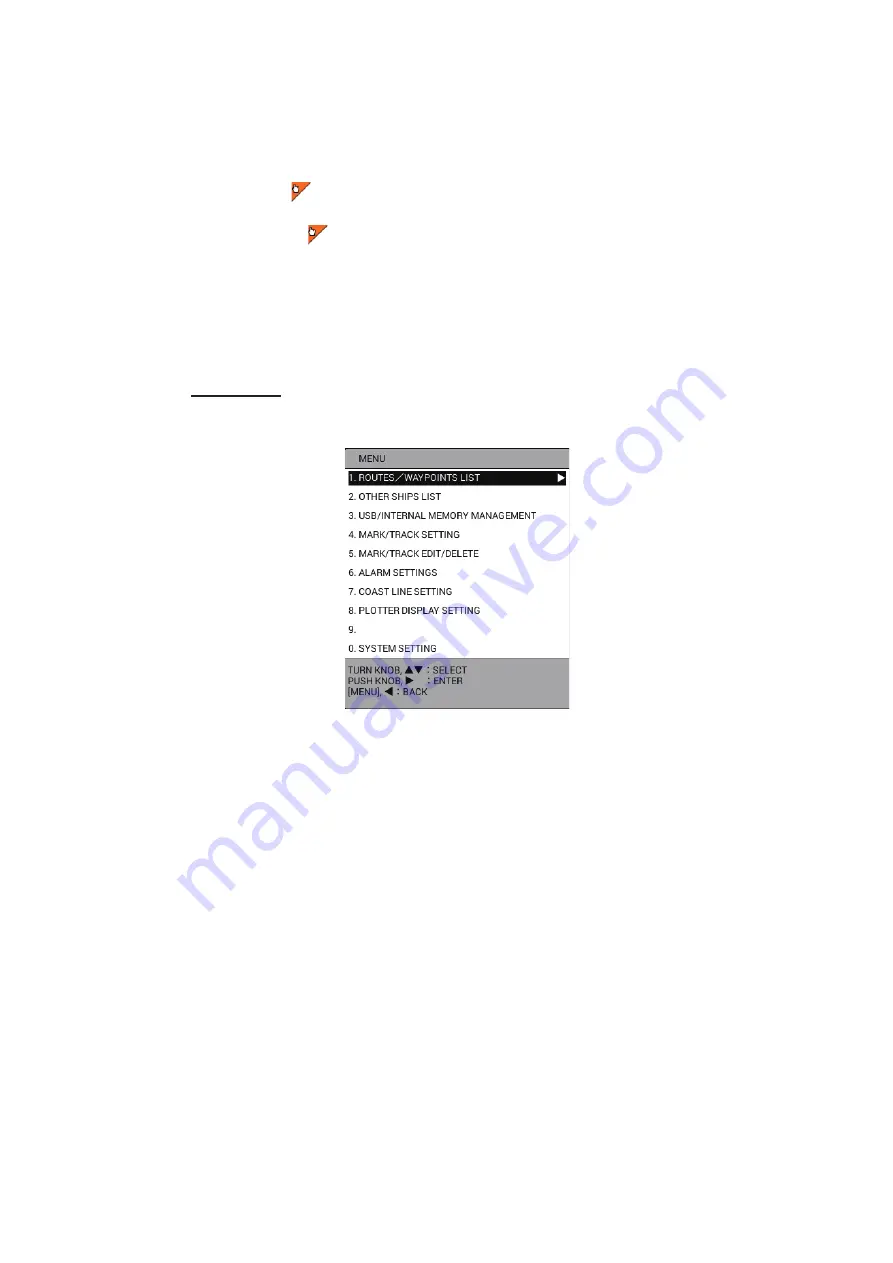
Main menu
1. Press the
MENU
key to open the main menu.
2. Rotate the
ENTER
knob to select a menu item, then push the knob to confirm your
selection. Counterclockwise rotation moves the cursor downward or leftward;
clockwise rotation moves the cursor upward or rightward. Selection can also be
confirmed by pressing the
CENTER
key. Menus can also be selected by pressing
the numeric key corresponding to the menu item number.
Note:
The procedures in this manual, for sake of brevity, replace the “rotate” and
“push” actions with “select”. For example, we write “Select [0. SYSTEM SET-
TING]” in place of “Rotate the
ENTER
knob to select the [0. SYSTEM SETTING]
menu, then push the knob to confirm your selection”.
A menu that shows a right arrow (
X
) indicates additional sub menus.
3. If the menu has additional sub menus, repeat step 2 to select menu items on the
sub menus. To go back one layer, press the
MENU
key or
W
.
4. Select required menu option, like in step 2.
5. Press the
DISP
key to close the menu.


