85
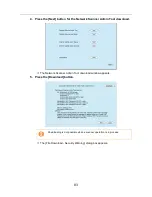
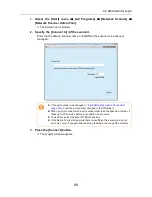
8. Specify an installation folder for the Admin Tool and the target user
setting.
To select a different folder, press the [Browse] button.
To check the free space available for the currently selected folder, press the [Disk
Cost] button.
9. Press the [Next] button.
D
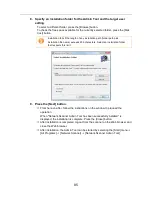
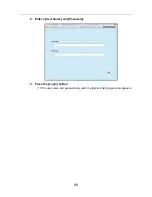
From here on after, follow the instructions on the window to proceed the
operation.
When "Network Scanner Admin Tool has been successfully installed" is
displayed, the installation is complete. Press the [Close] button.
D
After installation is completed, log out from the scanner on the Web browser and
close the Web browser.
D
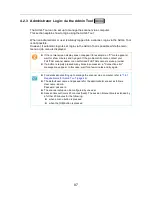
After installation, the Admin Tool can be started by selecting the [Start] menu
J
[All Programs]
J
[Network Scanner]
J
[Network Scanner Admin Tool].
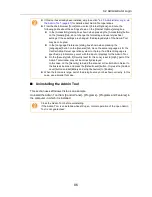
Installation fails if the length of any installation path (folder path plus
installation file name) exceeds 259 characters. Select an installation folder
that respects this limit.
Summary of Contents for ScanSnap N1800
Page 1: ...ScanSnap N1800 Network Scanner Operator s Guide P3PC 3182 01ENZ0 ...
Page 17: ...17 ...
Page 29: ...29 ...
Page 55: ...55 ...
Page 65: ...65 ...
Page 73: ...73 ...
Page 271: ...271 7 Press the Back button D The Central Admin Console main window appears again ...
Page 355: ...355 D The Main Menu window is shown again ...
Page 415: ...415 ...
Page 441: ...441 ...
Page 481: ...481 ...
Page 492: ...492 Appendix D Scanner Specifications This appendix gives specifications for the scanner ...
Page 527: ...527 ...
Page 528: ...528 Appendix G Glossary ...
Page 533: ...533 ...
Page 535: ...535 ...

