167
■
Registering a Network Printer (Network Path)
1. Select [Network Settings]
J
[Print]
J
[Network Printer].
D
The [Network Printer] window appears.
2. Press the [Add] button.
D
The window for selecting a network printer appears.
3. Press the [Network Path] button.
D
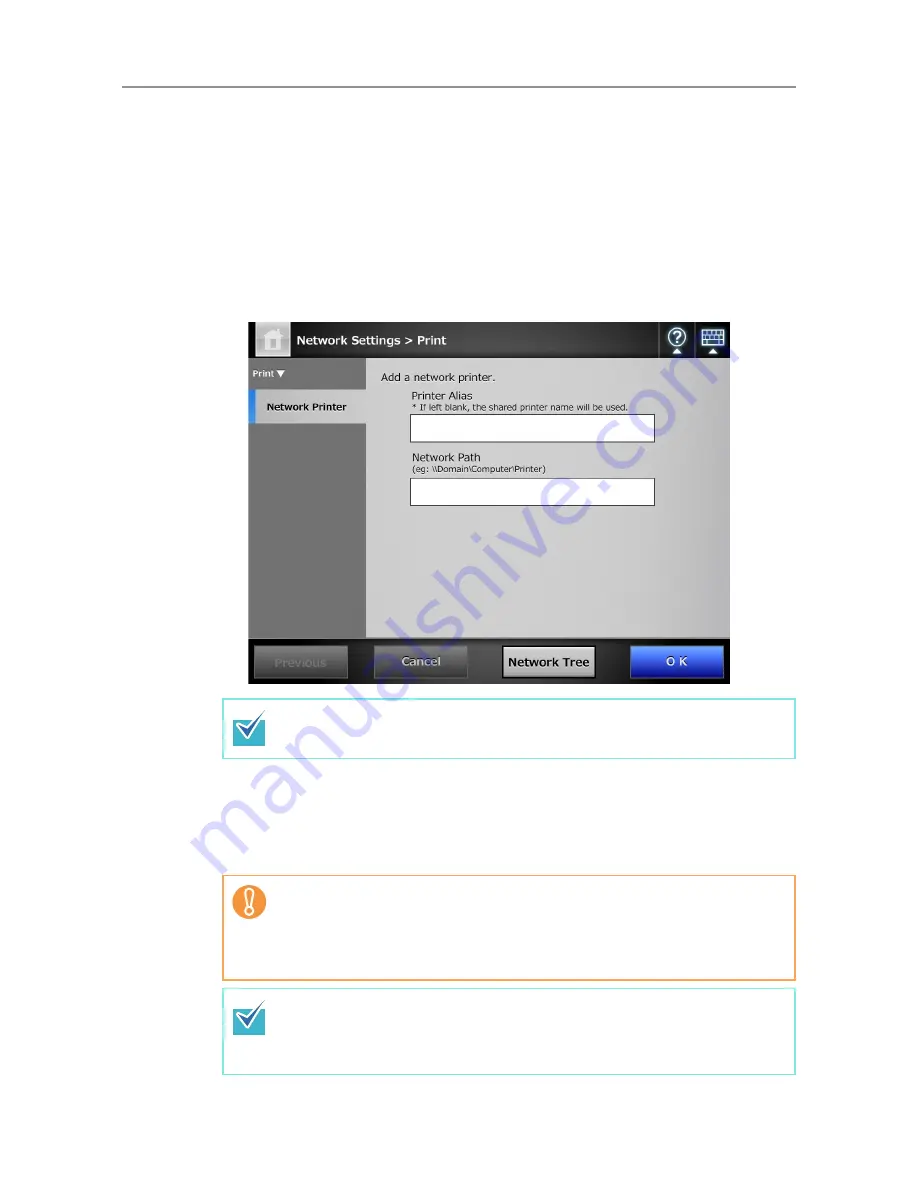
The window for adding a network printer appears.
4. Enter a network printer alias and network path.
5. Press the [OK] button.
D
The window returns to the [Network Printer] window, and the registered network
printer is added to the network printer list.
Pressing the [Network Tree] button returns to the window for selecting a
network printer from the network tree.
z
A network printer that is already registered cannot be added.
z
Once the network printer is registered, do not change the shared name or
printer alias on the print server.
z
To change the shared name or printer alias, remove the registered network
printer, change the name, and then register it again.
z
The default network printer alias will be the same as the alias selected from
the network tree. For details on changing the folder alias later, refer to
"Renaming a Network Printer" (page 168)
.
z
The authentication window may appear.
Summary of Contents for ScanSnap N1800
Page 1: ...ScanSnap N1800 Network Scanner Operator s Guide P3PC 3182 01ENZ0 ...
Page 17: ...17 ...
Page 29: ...29 ...
Page 55: ...55 ...
Page 65: ...65 ...
Page 73: ...73 ...
Page 271: ...271 7 Press the Back button D The Central Admin Console main window appears again ...
Page 355: ...355 D The Main Menu window is shown again ...
Page 415: ...415 ...
Page 441: ...441 ...
Page 481: ...481 ...
Page 492: ...492 Appendix D Scanner Specifications This appendix gives specifications for the scanner ...
Page 527: ...527 ...
Page 528: ...528 Appendix G Glossary ...
Page 533: ...533 ...
Page 535: ...535 ...


