1.4 Setting the Network Environment
39
24. Enter the gateway address in the same way
you entered the IP address (Example:
192.168.1.254), and press the <OK> button
to confirm your entry.
25. The setup is now complete.
Press the <Settings> button to close the
menu screen.
The printer automatically restarts.
26. Print the [Configuration Report] to verify
your settings.
Setting an IP Address (IPv6)
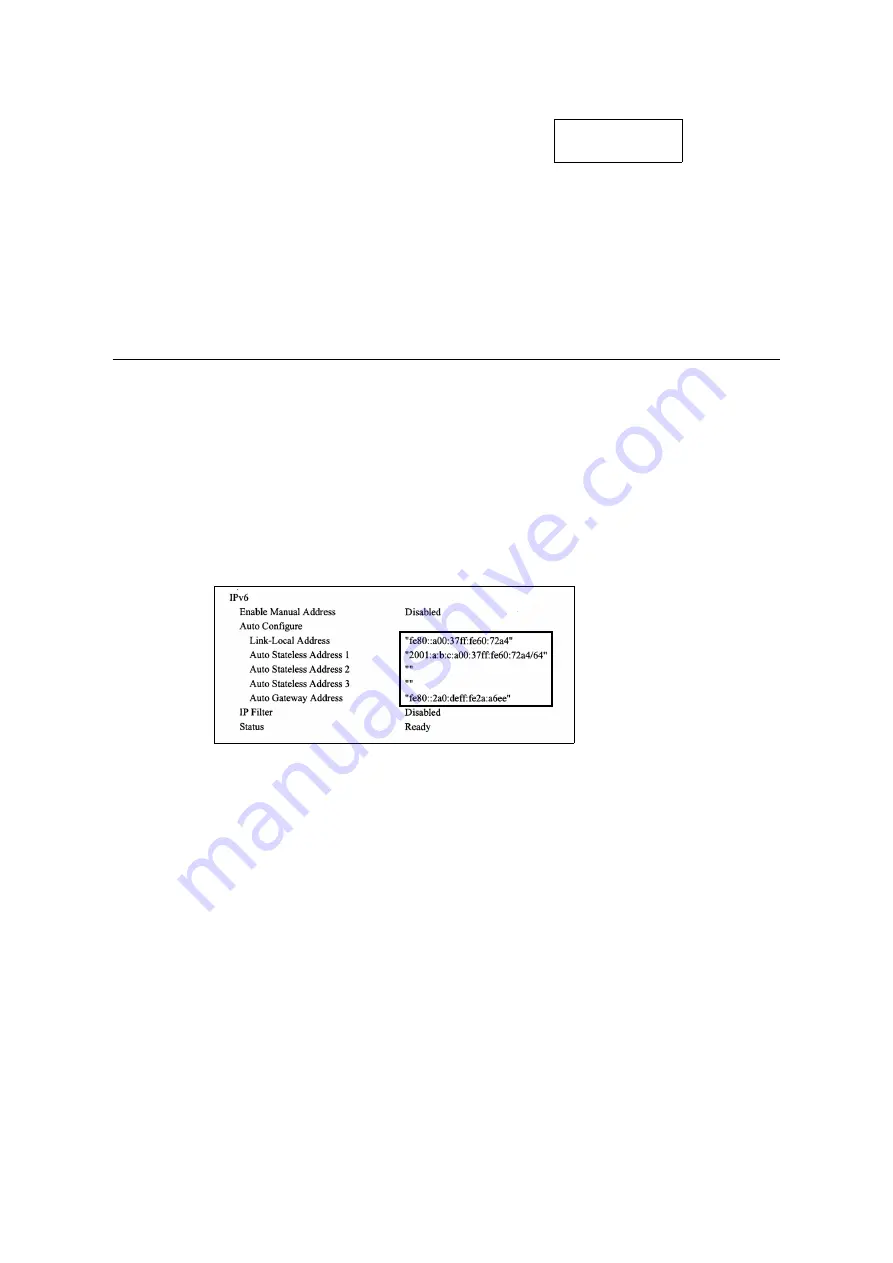
The printer can use an IPv6 address in an IPv6 network environment.
By default, the printer [IP Mode] is set to [Dual Stack] to automatically detect either IPv4 or
IPv6. If you connect the printer to an IPv6 network, an IPv6 address is automatically set.
Print the [Configuration Report] to verify the IPv6 address.
Note
• When setting the fixed IPv6 address on the printer, use CentreWare Internet Services to manually
configure the settings. Then print the [Configuration Report] to verify the automatically set address. Use
this address to access CentreWare Internet Services. Set the IPv6 address [Properties] tab >
[Connectivity] > [Protocols] > [TCP/IP]. For more information on CentreWare Internet Services, refer to
“1.6 Configuring the Printer Using CentreWare Internet Services” (P. 41). For information about your
network environment, consult with your network administrator.
Note
• For information on how to print the [Configuration Report], refer to “7.2 Printing Reports/Lists” (P. 326).
Gateway Address
•
192.168.001.254


