75
Left click and hold the mouse button down. Then move the mouse
diagonally and you will notice a box being drawn with the image inside.
If you do not have an existing data source:
Click the List Manager button.
Click New to define a new data source
Enter a name for the data source and click New.
Follow the steps for the Data Source Wizard.
Select the field you want to use and click OK to close List Manager.
Select the data source and field and click OK to close the Data Source
dialog box.
Click OK to close the Get External Picture dialog box.
The cursor will change to the Insert Picture Tool.
Move your mouse crosshair over the label.
Left click and hold the mouse button down. Then move the mouse
diagonally and you will notice a box being drawn with the image inside.
If applying as a background, click on the image and select
Format>Image>Fit to Label.
Inserting a Background Image onto our CD/DVD label:
We are now ready to apply the information from the above sections and continue with
our CD/DVD label design. First, we will insert a background image from the image
library onto our CD/DVD label. We will use the shortcut menu in Workspace Navigator.
To do this, follow the steps below:
Right-click on Version1 in the Workspace Navigator.
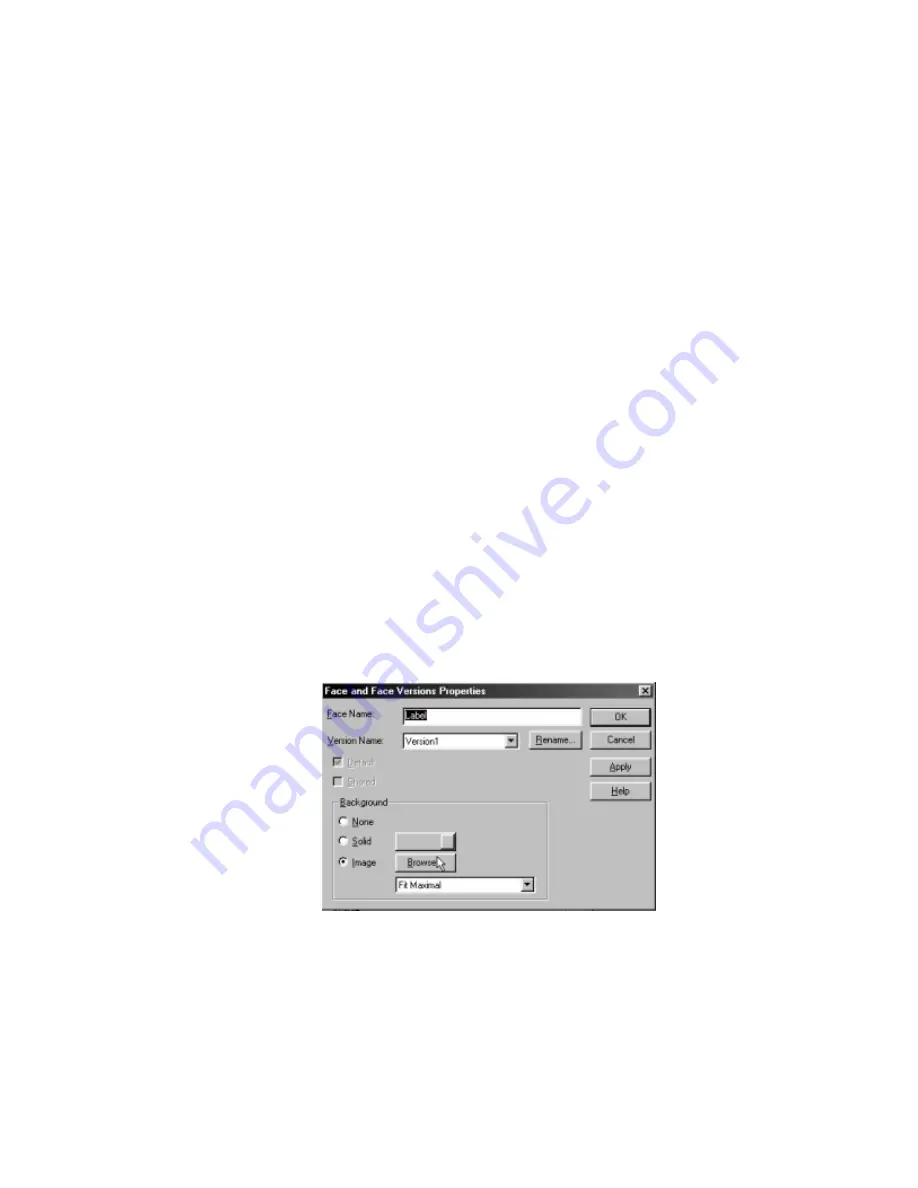
Select Properties. The Face and Face Versions dialog box will open.
In the Background section, select Image. Click Browse.
Figure 5.26 – Face and Face Versions Properties dialog box
In the MediaFACE® 4.01 folder, double-click the Settings folder.
Double-click the Images folder.
Double-click the Image Library folder.
Double-click the Cliparts folder.
Double-click the Business folder.


