60
shrinking effects on the text field. As you resize the text field, the point
position (X and Y values) will be displayed.
To scale a text field, hold down the Shift key while dragging the handle.
Scaling a text field will retain its original proportions. As you scale the text
field, the percentage value its original size will be displayed.
To rotate a text field:
Double-click on the text field. The mouse pointer changes to a small cross
hair.
Hold down the left mouse button while moving the mouse in a circular
motion. As you rotate the text field, the angle value will be displayed.
To delete a text field:
Left-click once to select the text field.
Click on the Delete button or hit the Delete key on your keyboard.
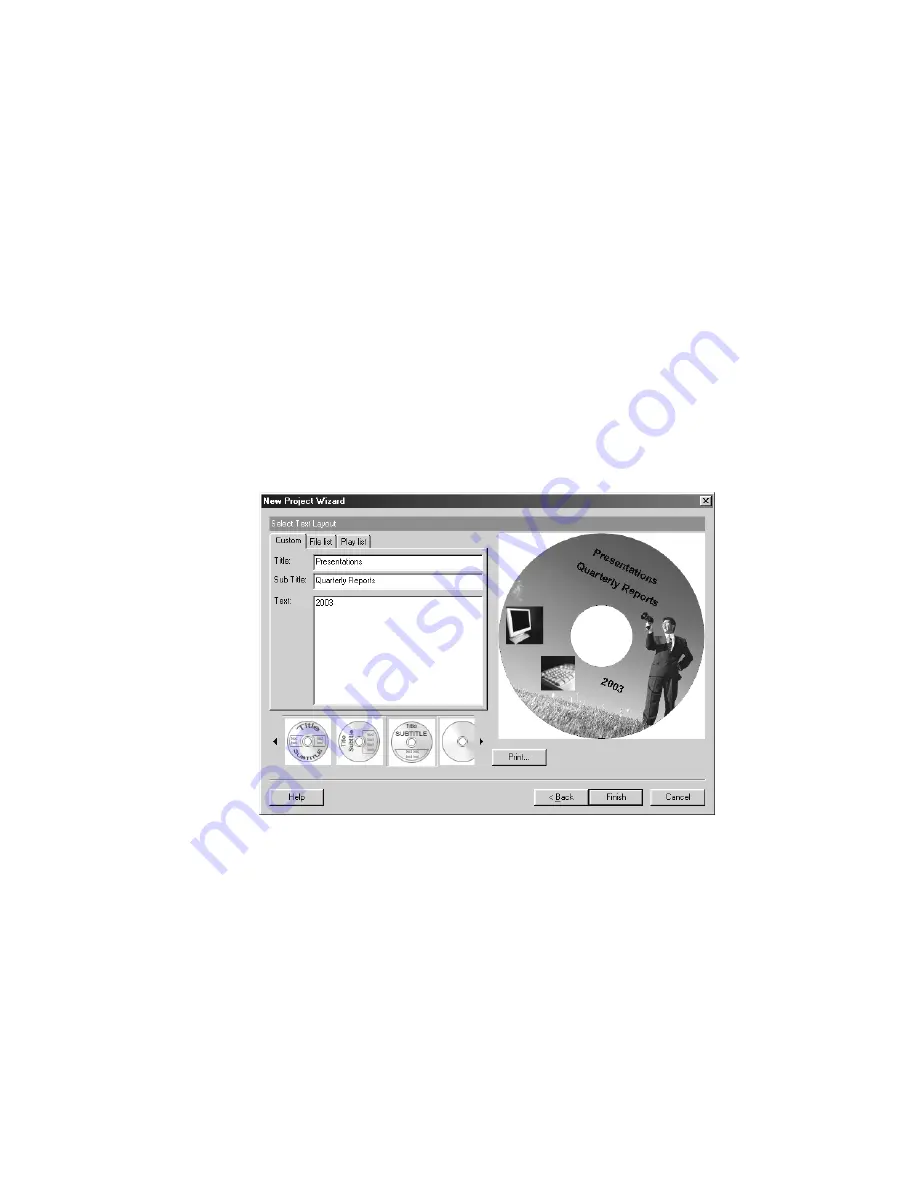
For our CD label example, shown below, the text fields were moved and rotated to
different angles:
Figure 5.12 – Rotating and resizing text fields
After you have inserted the text fields onto your label and moved them to a new position,
the next step is to print your label.
Printing
Now that we’ve designed our CD label, it’s time to print it out. While still on the Select
Text Layout screen, click the Print button located directly below the Label Workspace.
This will open the Printing plug-in screen. This screen consists of several options that
help you select the correct label paper and


