135
After setting your sorting preferences, click Next to continue. The application
now prepares all the information required for generating the data source. The
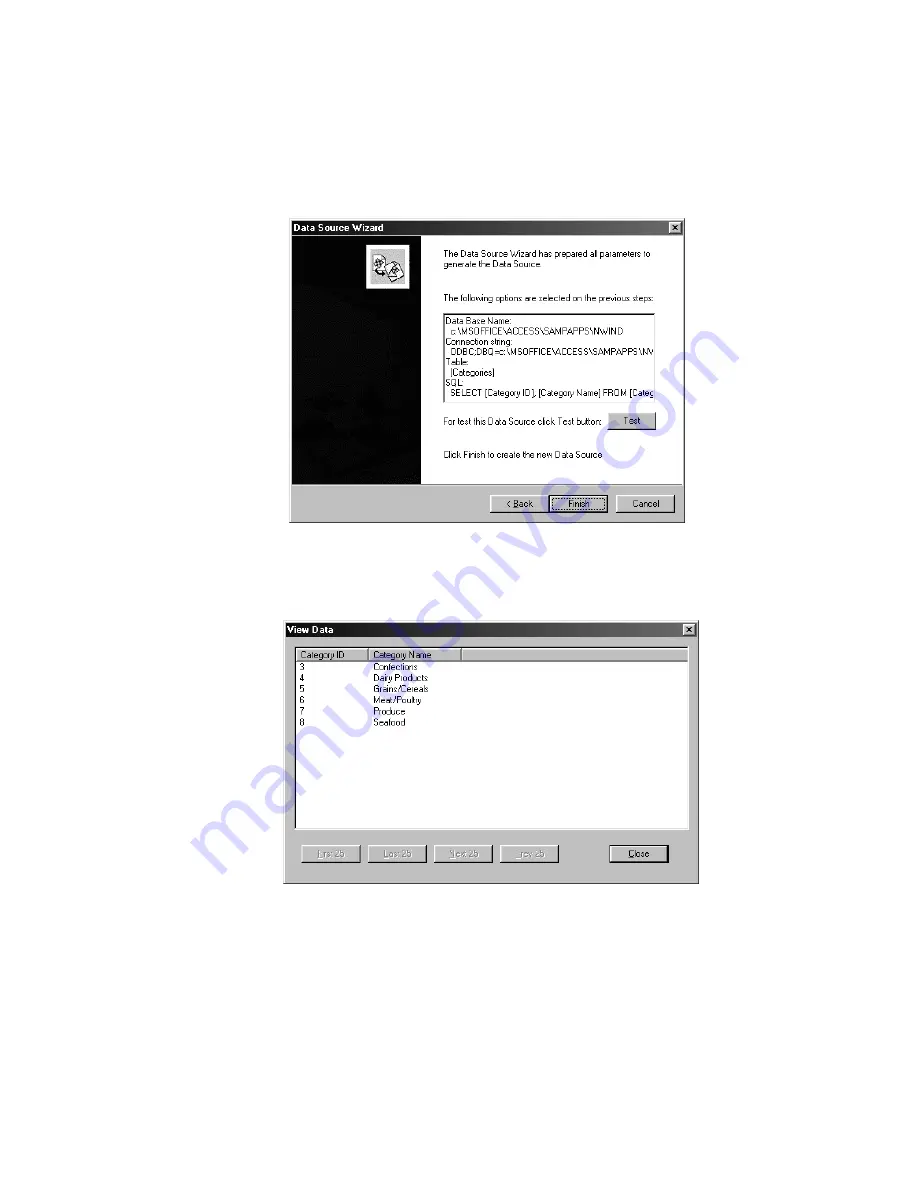
preview window displays a summary of the parameters that were set on each
screen in the Data Source Wizard, as shown below:
Figure 6.28 – Summary of parameters for data source
To test the data source, click the Test button. The View Data screen displays
the data generated by the Wizard with the given parameters, as shown below:
Figure 6.29 – View Data screen
Click Finish to create the data source. The new data source should now appear
in the Data Sources tree in the Available Lists window. Click the plus sign to
the left of Data Sources to expand the tree. Left-click the data source you just
created in the tree. The right side of the screen displays a list of fields and the
corresponding field types.
Click OK to close the List Manager dialog box.


