·34·
Operating manual
CNC 8055
CNC 8055i
1.
OVERVIEW
·T· M
ODEL
S
OFT
: V02.2
X
Ke
yb
oard la
yout
1.3
Keyboard layout
Depending on the utility of the different keys, the CNC keyboard may be considered to be laid out
as follows:
Alphanumeric keyboard for the data entry in memory, selection of axes, tool offset, etc.
[CL][CLEAR] To delete the character over which the cursor is positioned or the last one entered
if the cursor is at the end of the line.
[INS]
To select the insert or overwrite mode.
[ENTER]
To validate the CNC and PLC commands generated in the editing window.
[HELP]
To access to the help system in any operating mode.
[RESET]
To initialize the history of the program in execution, by assigning it the values
defined by machine parameters. It is necessary for the program to be stopped for
the CNC to accept this key.
[ESC]
To go back to the previous operating option shown on the monitor.
[MAIN MENU]To access the CNC's main menu directly.
[RECALL]
In conversational modes, it assigns the value of a coordinate to the selected field.
[PPROG]
In the conversational modes, it accesses the list of part-programs stored.
[F1] to [F7]
Softkeys or functions keys for selecting the different operating options shown on
the monitor.
Specific keys to select canned cycles in the MC and TC work modes.
There are also the following special keystroke sequences:
[SHIFT]+[RESET]
The result of this keystroke sequence is the same as turning the CNC off and back on. This option
must be used after modifying the CNC's machine parameters so they're assumed by the CNC.
[SHIFT]+[CL]
This keystroke sequence clears (blanks out) the CRT screen. Press any key to restore its normal
state.
If an error occurs or a PLC/CNC message is received while the screen is blank, the screen
restores its normal state.
[SHIFT]+[next page]
To display on the right hand side of the screen the position of the axes and the status of the
program in progress.
It may be used in any operating mode.
Press the same keystroke sequence to restore the previous display.
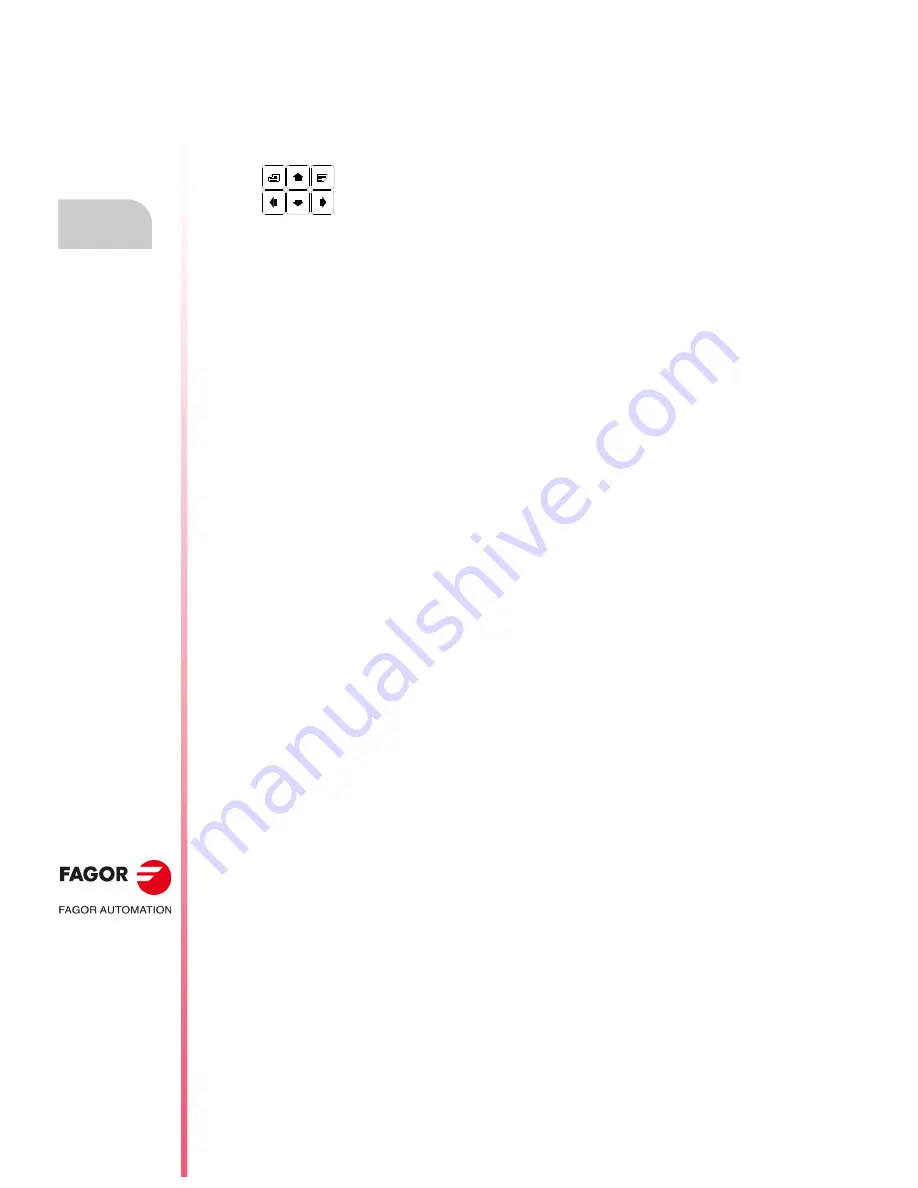
Keys which allow the information shown on screen to be moved forward or
backward, page to page or line to line, as well as moving the cursor all over the
screen.
Summary of Contents for CNC 8055
Page 1: ...CNC 8055 T Operating manual Ref 1705 Soft V02 2x...
Page 6: ...6 Operating manual CNC 8055 CNC 8055i T MODEL SOFT V02 2X...
Page 10: ...18 CNC 8055 CNC 8055i Declaration of conformity and Warranty conditions...
Page 14: ...10 CNC 8055 CNC 8055i Version history...
Page 20: ...16 CNC 8055 CNC 8055i Returning conditions...
Page 22: ...20 CNC 8055 CNC 8055i Additional notes...
Page 24: ...22 CNC 8055 CNC 8055i Fagor documentation...
Page 124: ...124 Operating manual CNC 8055 CNC 8055i 6 MANUAL T MODEL SOFT V02 2X Spindle movement...
Page 134: ...134 Operating manual CNC 8055 CNC 8055i 7 TABLES T MODEL SOFT V02 2X Tool Offset table...
Page 135: ...Operating manual CNC 8055 CNC 8055i TABLES 7 T MODEL SOFT V02 2X 135 Tool Offset table...
Page 138: ...138 Operating manual CNC 8055 CNC 8055i 7 TABLES T MODEL SOFT V02 2X Tool geometry table...
Page 196: ...196 Operating manual CNC 8055 CNC 8055i 10 PLC T MODEL SOFT V02 2X Logic analyzer...
Page 212: ...212 Operating manual CNC 8055 CNC 8055i 11 GRAPHIC EDITOR T MODEL SOFT V02 2X Modifications...
Page 240: ...240 Operating manual CNC 8055 CNC 8055i 13 DIAGNOSIS T MODEL SOFT V02 2X Interesting notes...
Page 253: ...Operating manual CNC 8055 CNC 8055i 14 T MODEL SOFT V02 2X 253...
Page 254: ...254 Operating manual CNC 8055 CNC 8055i 14 T MODEL SOFT V02 2X...
Page 255: ......


