


•
Normal preview
: To create additional marquees (up to 50, if available), click the
Copy
Marquee icon to copy the existing marquee and paste it on the preview image.
• To delete a marquee, click the marquee, then click the
Delete Marquee icon.
3.
Click inside the scan area and make any necessary settings in the EPSON Scan window.
Parent topic:
Related concepts
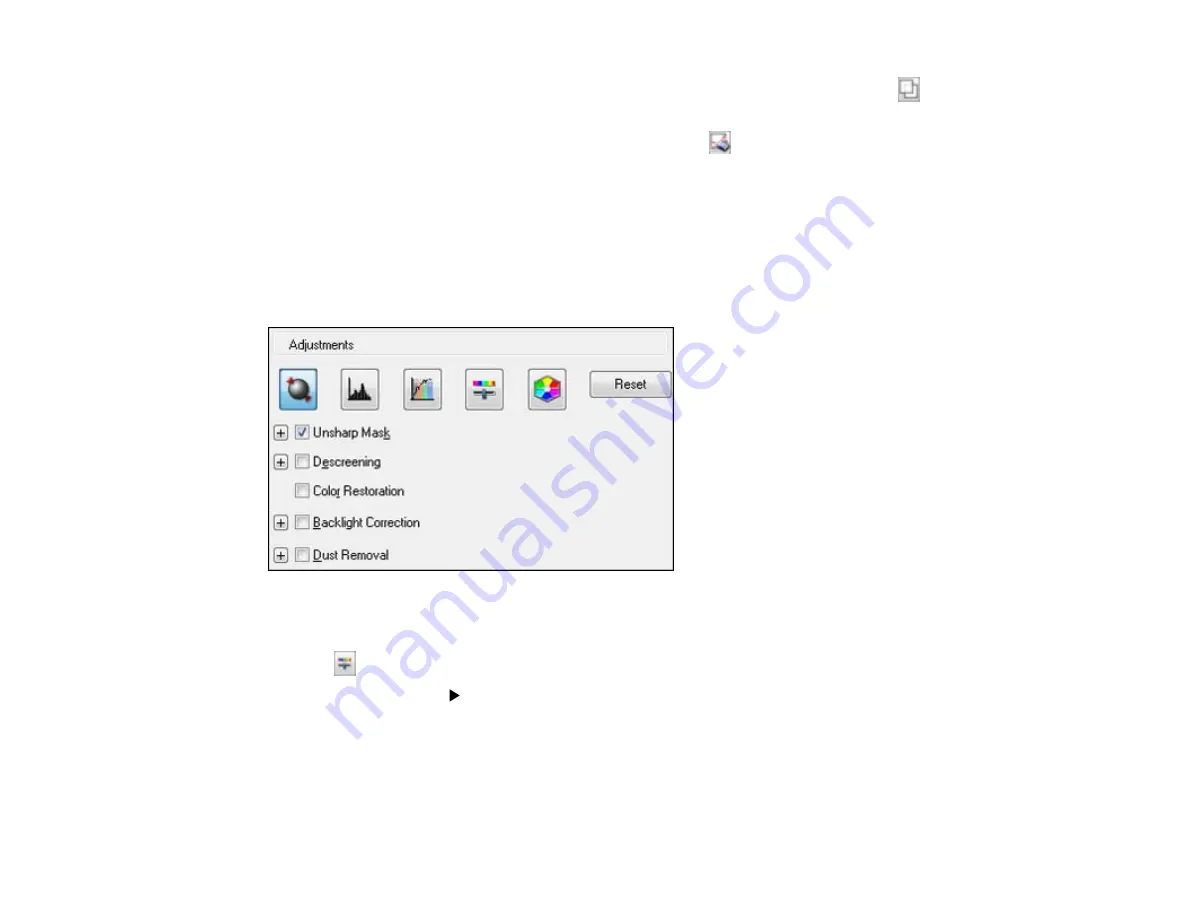
Available Image Adjustments - Professional Mode
You can select these Adjustments options in EPSON Scan Professional Mode.
Note:
Not all adjustment settings may be available, depending on the Image Type setting.
Click the
image adjustment icon to access additional settings.
Click the
+
(Windows) or
(Mac OS X) icon next to a setting to change the level of adjustment.
Unsharp Mask
Makes the edges of certain image areas clearer. Turn off this option to leave softer edges.
128
Summary of Contents for WorkForce Pro WP-4520
Page 1: ...WorkForce Pro WP 4520 WP 4533 User s Guide ...
Page 2: ......
Page 12: ......
Page 28: ...4 Load a stack of paper printable side down in the cassette as shown 28 ...
Page 50: ...Parent topic Placing Originals on the Product 50 ...
Page 123: ...123 ...
Page 176: ...5 Select Fax Settings for Printer You see this window 176 ...
Page 201: ...3 Open the front cover 4 Push the ink cartridge in then pull it out of the slot 201 ...
Page 214: ...You see one of these windows 214 ...
Page 219: ...You see one of these windows 219 ...
Page 246: ...6 Lower the document cover 7 Raise the ADF input tray 8 Carefully remove the jammed pages 246 ...


