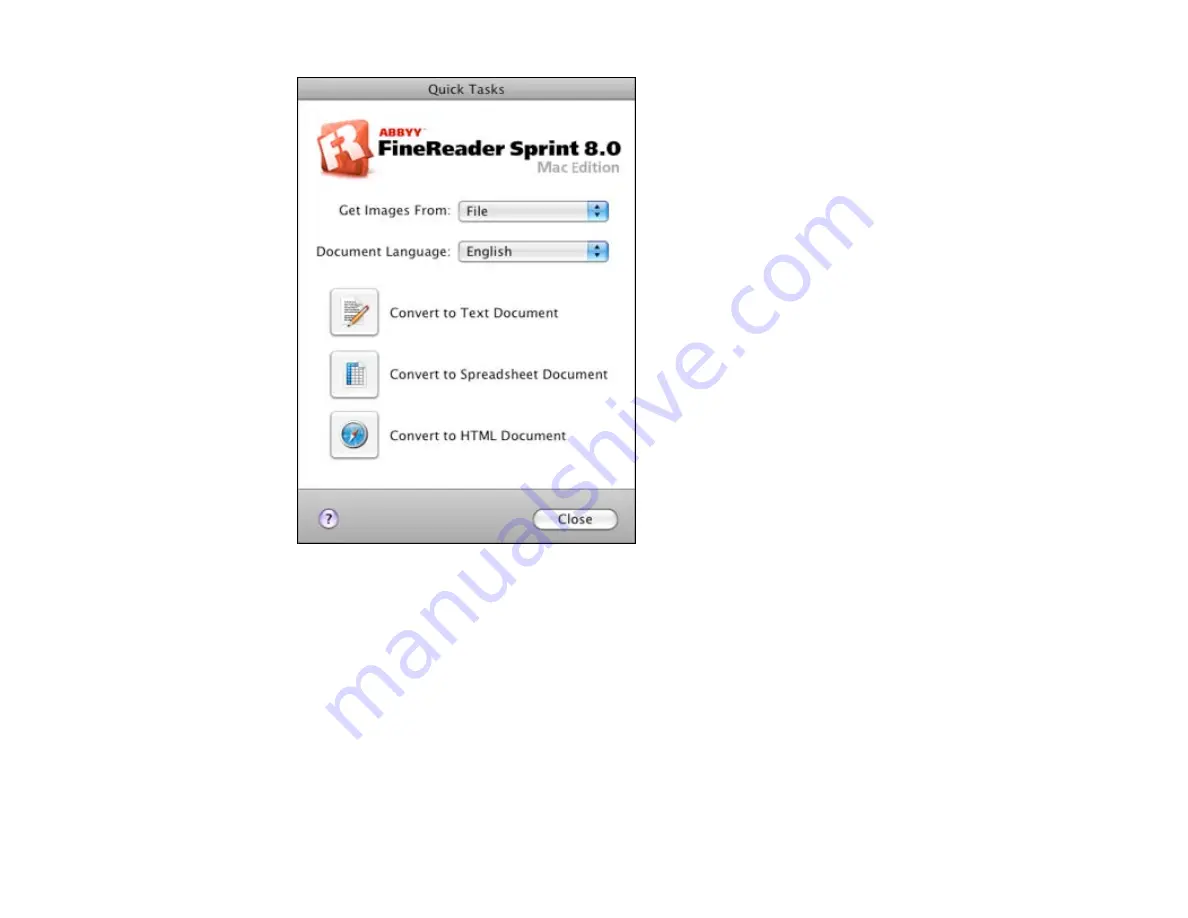
3.
Open the
Get Images From
pop-up menu and select your product.
4.
Select the language used in the document you are going to scan as the
Document Language
setting.
5.
Select the type of document you are going to scan.
EPSON Scan starts in the last scan mode you used.
6.
Select your scan settings and click
Scan
.
Your document is scanned and you see the EPSON Scan window while your document is converted
to editable text.
7.
Click
Close
to close the EPSON Scan window and Preview window, if necessary.
145
Summary of Contents for WorkForce Pro WP-4520
Page 1: ...WorkForce Pro WP 4520 WP 4533 User s Guide ...
Page 2: ......
Page 12: ......
Page 28: ...4 Load a stack of paper printable side down in the cassette as shown 28 ...
Page 50: ...Parent topic Placing Originals on the Product 50 ...
Page 123: ...123 ...
Page 176: ...5 Select Fax Settings for Printer You see this window 176 ...
Page 201: ...3 Open the front cover 4 Push the ink cartridge in then pull it out of the slot 201 ...
Page 214: ...You see one of these windows 214 ...
Page 219: ...You see one of these windows 219 ...
Page 246: ...6 Lower the document cover 7 Raise the ADF input tray 8 Carefully remove the jammed pages 246 ...


