7.
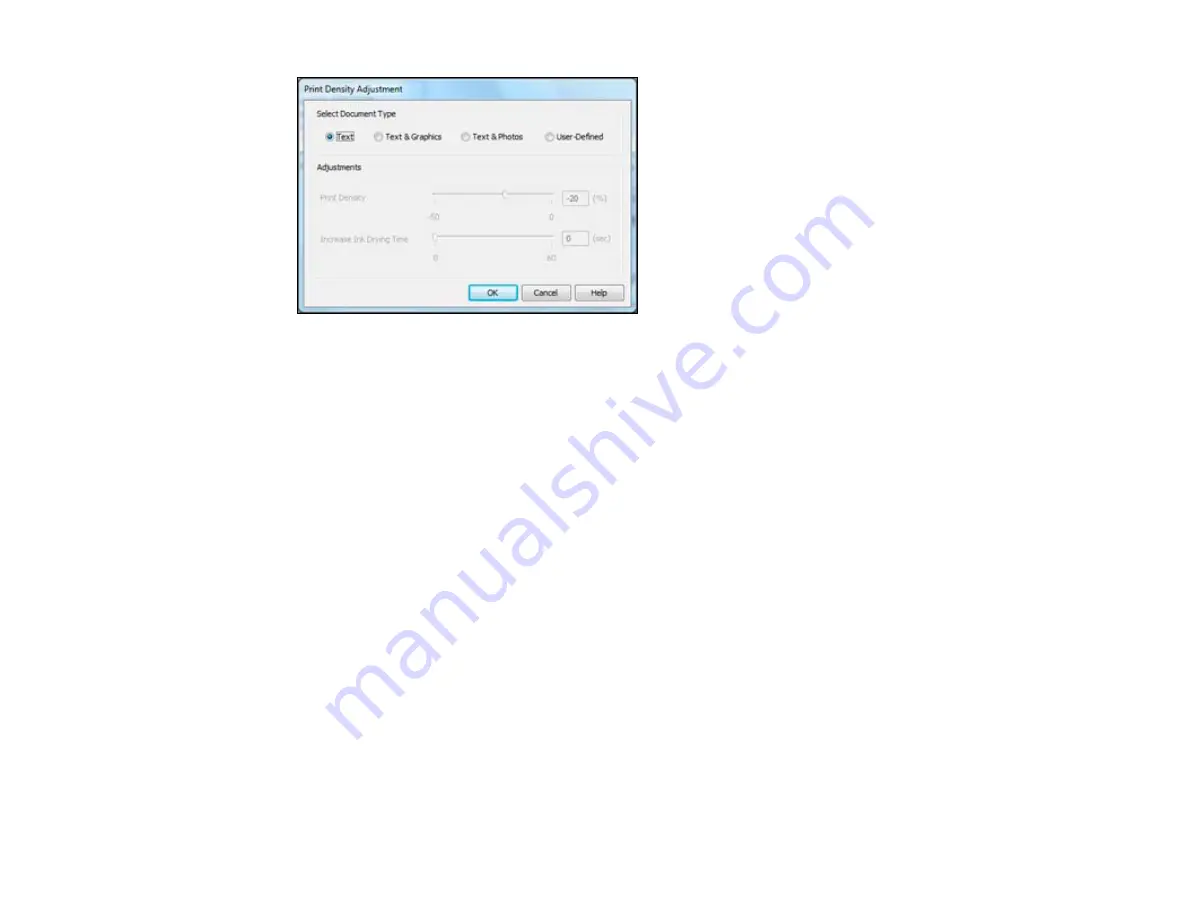
Select the type of document you are printing as the Document Type setting. The software
automatically sets the
Adjustments
options for that document type.
8.
If you selected the
User-Defined
document type, select the Adjustments options you want to use.
9.
Click
OK
to return to the Main tab.
10. Print a test copy of your double-sided document to test the selected settings.
11. Follow any instructions displayed on the screen during printing.
Double-sided Printing Options - Windows
Print Density Adjustments - Windows
Parent topic:
Double-sided Printing Options - Windows
You can select any of the available options on the 2-Sided Printing Settings window to set up your
double-sided print job.
Binding Edge Options
Select a setting that orients double-sided print binding in the desired direction.
Binding Margin Options
Select options that define a wider margin to allow for binding.
Create Folded Booklet Options
Select the
Booklet
checkbox and a binding option to print double-sided pages as a booklet.
Parent topic:
Selecting Double-sided Printing Settings - Windows
62
Summary of Contents for WorkForce Pro WP-4520
Page 1: ...WorkForce Pro WP 4520 WP 4533 User s Guide ...
Page 2: ......
Page 12: ......
Page 28: ...4 Load a stack of paper printable side down in the cassette as shown 28 ...
Page 50: ...Parent topic Placing Originals on the Product 50 ...
Page 123: ...123 ...
Page 176: ...5 Select Fax Settings for Printer You see this window 176 ...
Page 201: ...3 Open the front cover 4 Push the ink cartridge in then pull it out of the slot 201 ...
Page 214: ...You see one of these windows 214 ...
Page 219: ...You see one of these windows 219 ...
Page 246: ...6 Lower the document cover 7 Raise the ADF input tray 8 Carefully remove the jammed pages 246 ...


