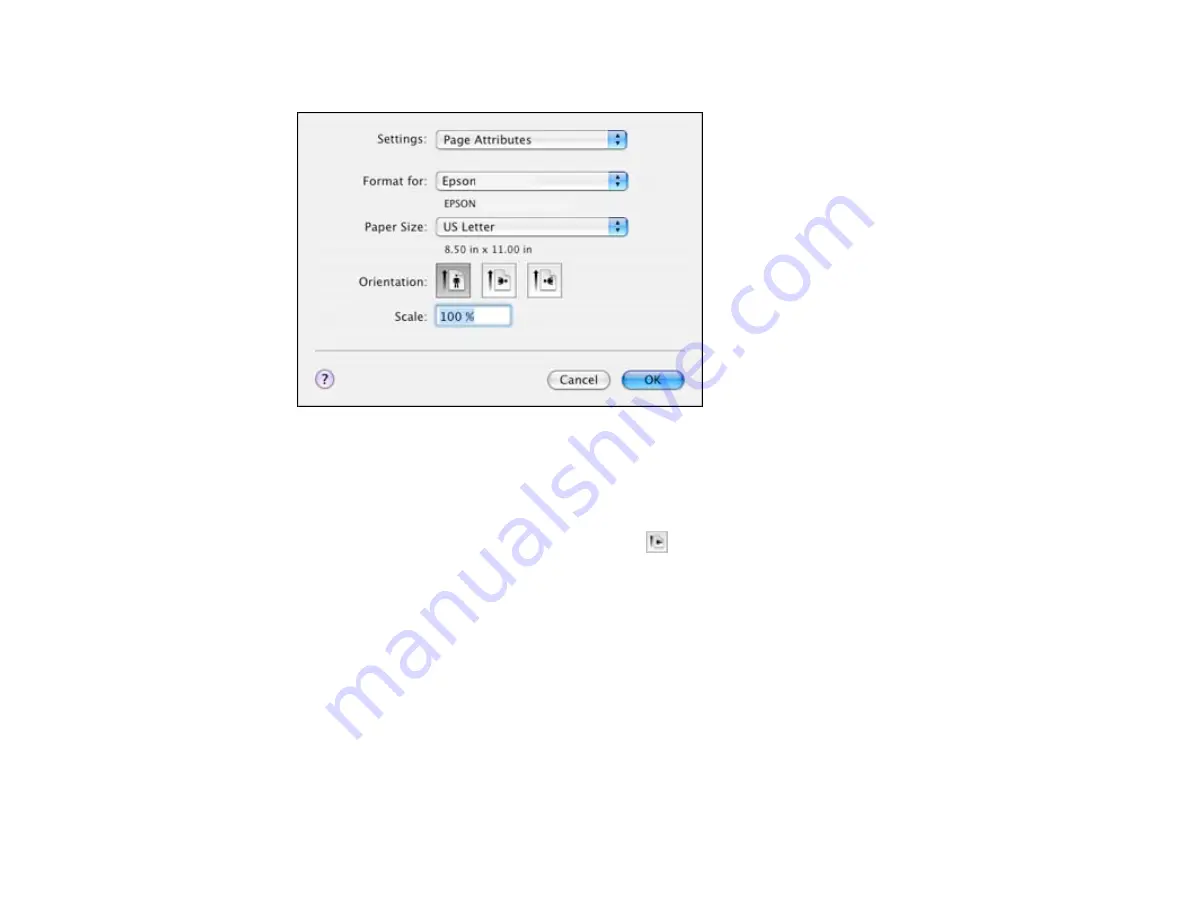
3.
Select your product as the
Format for
setting.
4.
Select the size of the paper you loaded as the
Paper Size
setting. You can also select a custom
setting to create a custom paper size.
5.
Select the orientation of your document or photo as shown in the page setup window.
Note:
If you are printing an envelope, select the
icon.
6.
To reduce or enlarge the size of the printed image, select a different
Scale
setting.
7.
Click
OK
to close the window.
Parent topic:
Related tasks
Selecting Basic Print Settings - Mac OS X 10.4
Selecting Basic Print Settings - Mac OS X 10.4
Select the basic settings for the document or photo you want to print.
87
Summary of Contents for WorkForce Pro WP-4520
Page 1: ...WorkForce Pro WP 4520 WP 4533 User s Guide ...
Page 2: ......
Page 12: ......
Page 28: ...4 Load a stack of paper printable side down in the cassette as shown 28 ...
Page 50: ...Parent topic Placing Originals on the Product 50 ...
Page 123: ...123 ...
Page 176: ...5 Select Fax Settings for Printer You see this window 176 ...
Page 201: ...3 Open the front cover 4 Push the ink cartridge in then pull it out of the slot 201 ...
Page 214: ...You see one of these windows 214 ...
Page 219: ...You see one of these windows 219 ...
Page 246: ...6 Lower the document cover 7 Raise the ADF input tray 8 Carefully remove the jammed pages 246 ...


