


152 | Dome CXtra
3 Select READ CREATE in the Community rights drop-down list. This
allows the Dome Dashboard or SNMP console application to read
and set Dome CXtra parameters on this computer.
4 Type the community name used by your SNMP console application
in the Community Name field and click Add. (NOTE: You can enter
different community names for read, read/write, and read/create,
but using the same name is recommended.)
5 Choose either Accept SNMP packets from any host or Accept SNMP
packets from these hosts. If you select the latter, then do the
following:
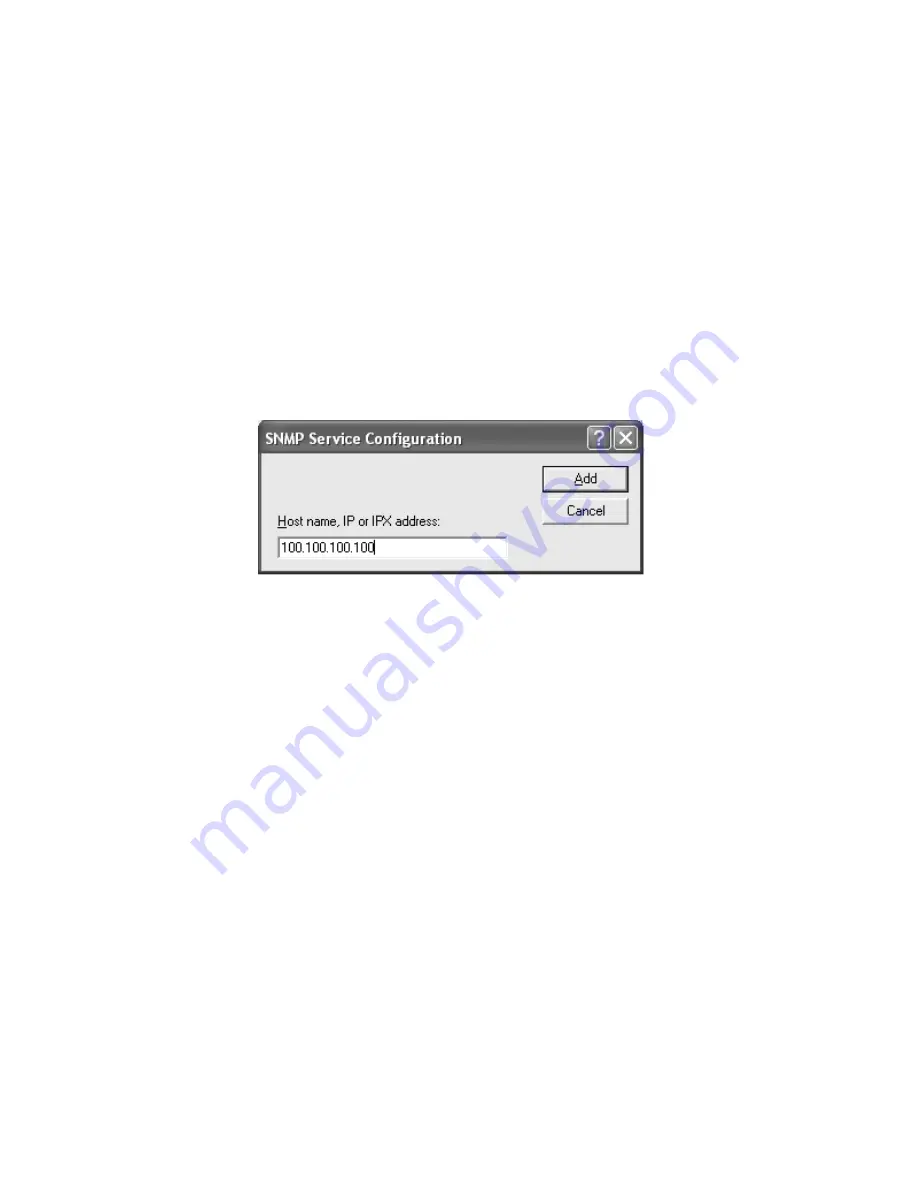
Click Add to open an SNMP Service Configuration dialog. Type the
host identifier of the computer running your SNMP console
application. Click Add.
6 Click OK to close the SNMP Service Properties dialog and
save your settings.
NOTE: Dome Dashboard defaults all community names to “public.”
To restart the SNMP service
Right-click the SNMP service name in the Services dialog and
select Restart on the pop-up menu.
NOTE: You must restart the SNMP service to activate changes
you made using the SNMP Service Properties dialog.


