


124
BHT-904B/BHT-914B
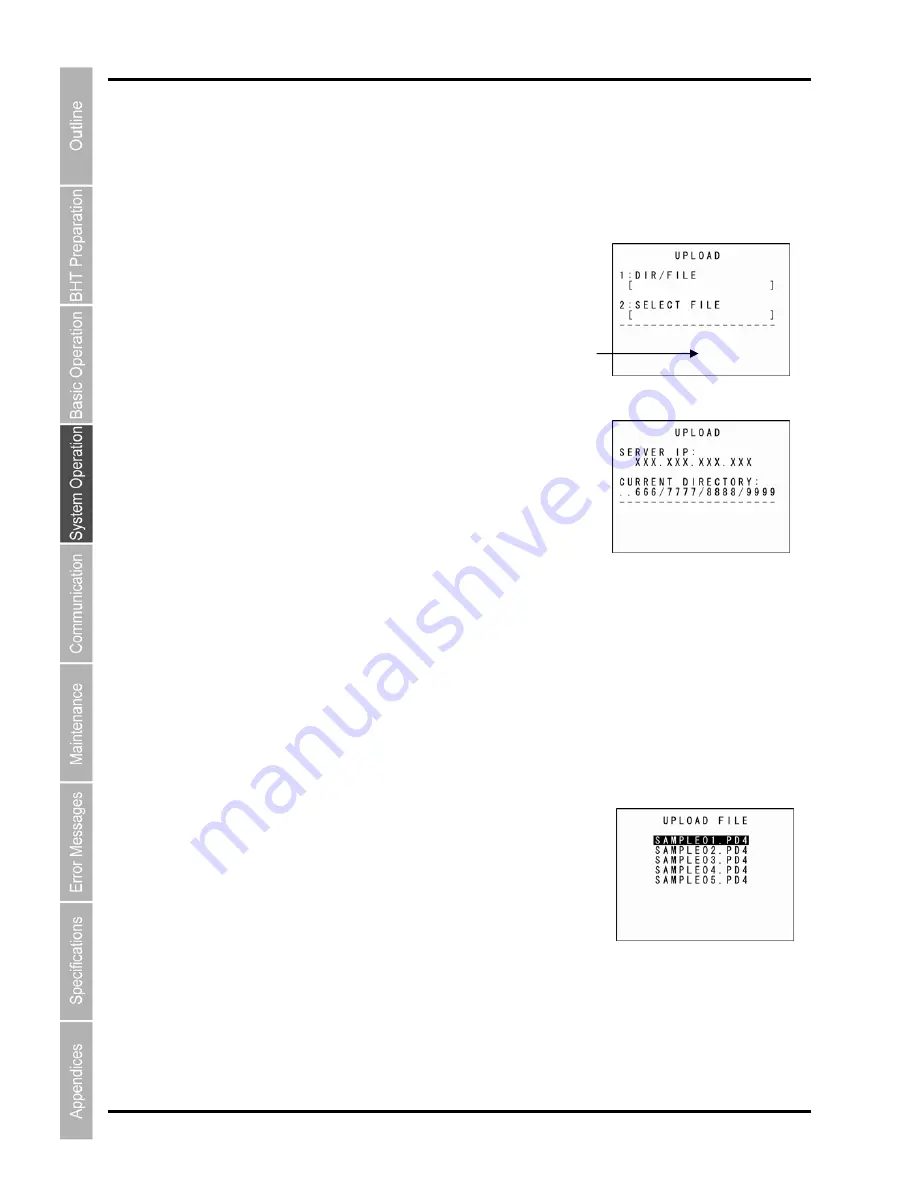
[2] Uploading by FTP
1.
the
ENT
key.
The screen displays as shown on the right if uploadable files exist.
.
RECTORY]:
Acquired current directory
2.
se the cursor keys ([
▲
] [
▼
]) to highlight the item to be set, and then press the
ENT
key.
When “1: DIR/FILE” is Selected
The mode changes to entry mode and the cursor displays, allowing directory and file names to be entered
using the numeric keys and dot key.
Press the
SF
key to change the entry mode (numeric entry (no guidance display) and alphabet entry).
To delete a single character, press the Backspace/clear key. To delete the entire entry, press and hold the
Backspace/clear key or press the
SF
and Backspace/clear keys simultaneously
When “2: SELECT FILE” is Selected
The screen displays as shown on the right.
Use the cursor keys ([
▲
] [
▼
]) to highlight the upload file and then press
the
ENT
key.
Return to the previous screen to display the selected file name in
[2: FIELDS].
Select “2: UPLOAD” at the FTP MENU and then press
[1: DIR/FILE]:
Entry box for the directory and/or file name
[2: SELECT FILE]:
File name currently selected (Nothing is displayed at the FTP client
initial status.)
A message indicating the status displays at the bottom of the screen
Press the
M2
key to display the screen on the right.
[SERVER
IP]: Set
IP
address
[CURRENT DI
Press the
M1
key to return to the previous screen.
U
Summary of Contents for BHT-904B
Page 1: ...Barcode Handy Terminal BHT 904B BHT 914B User s Manual...
Page 14: ...xiii BHT 904B BHT 914B...
Page 46: ...32 BHT 904B BHT 914B...
Page 160: ...146 BHT 904B BHT 914B...
Page 170: ...156 BHT 904B BHT 914B...
Page 197: ...183 Barcode Handy Terminal...


