


8. Commissioning
Operation and Installation Manual for SOLIVIA 2.0/2.5/3.0/3.3/3.6/5.0 EU G4 TR
44
8.6
Commissioning by Loading Settings from Other Solar Inverter
It is possible in all countries and for all grids to load the settings from another solar inverter.
ATTEnTIOn
The IP 65 degree of protection is no longer guaranteed when the USB interface protective cover is removed.
► Only remove the protective cover when necessary.
► Always use the Micro-USB stick provided. The protective cover is designed to fit over the Micro-USB stick.
1. If you have not already done so, save the settings of the
other solar inverter to a USB drive, see
“11.3 Firmware
Updating”, p. 64.
nOTE
: The STUP_###.CFG file must
be in the main directory of the USB
drive. The ### characters represent
the RS485 ID of the solar inverter
from which the data is to be loaded,
for example "001".
2. Check all connections and cables for damage and correct
seating. Correct the installation if necessary.
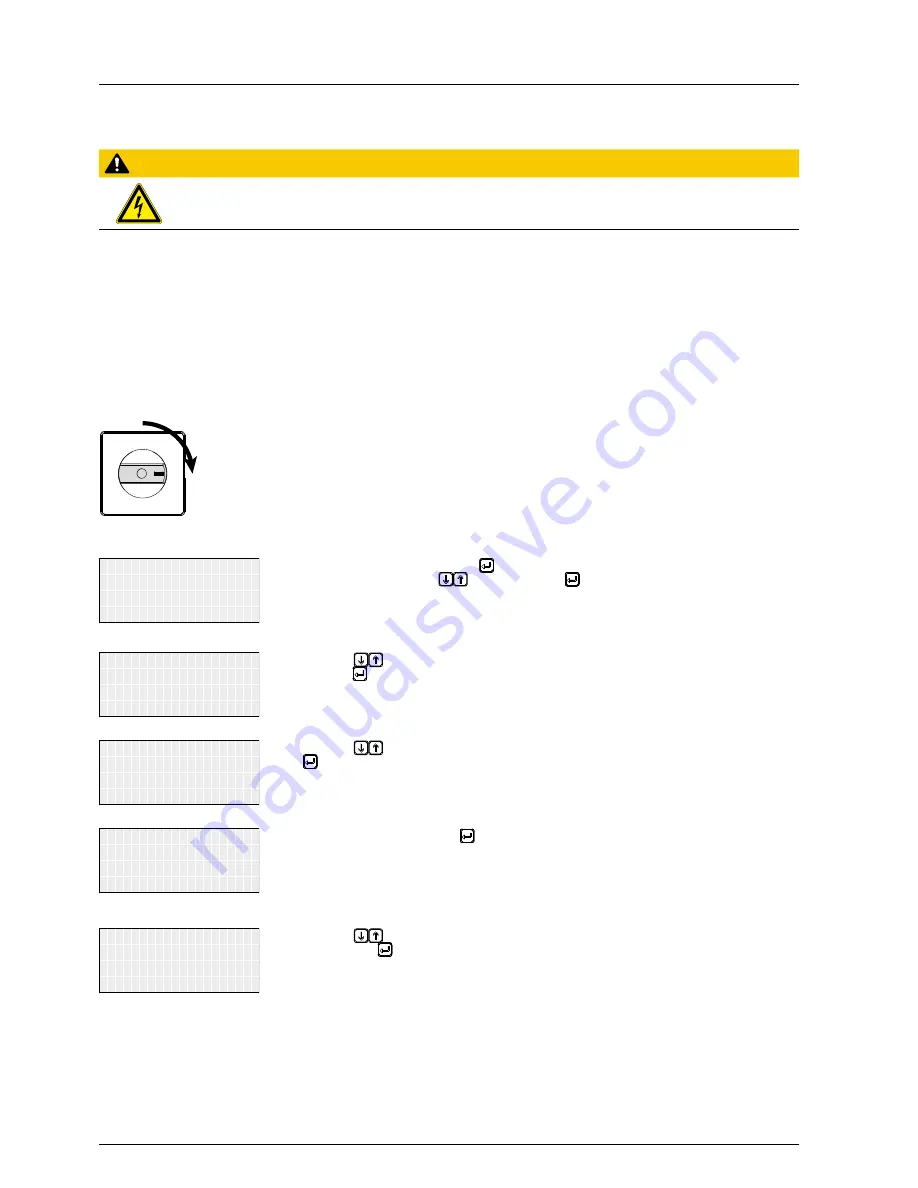
DC DISCONNECT
OFF
ON
3. Switch on the DC isolating switch.
→ The startup process of the solar inverter will begin.
After the startup process and the automatic self-test,
the commissioning procedure of the inverter starts
and the
Installation
menu is displayed.
➔
continue
Language: English
-------------------
Installation
4. To change the language, press the button and then
set the language using the
buttons. Press the
button to apply the language.
Available languages:
Czech | Danish | Dutch | English |
French | German | Italian | Polish |
Portuguese | Romanian | Slovak |
Slovenian | Spanish
➔
-------------------
continue
Language: English
-------------------
Installation
5. Press the
buttons to select
continue
and then
press the button.
→ This displays the
Load USB Data
menu.
➔
No
Yes
-------------------
Load USB data
6. Press the
buttons to select
Yes
and then press the
button.
and press ENTER
Insert USB Pendrive
Load USB data
7. Insert USB pendrive and press .
nOTE
: The STUP_###.CFG file must
be in the main directory of the USB
drive. The ### characters represent
the RS485 ID of the solar inverter
from which the data is to be loaded,
for example "001".
➔
Load swap data
Load settings
-------------------
Load USB data
8. Press the
buttons to select
Load Settings
and
then press the button.
→ The solar inverter will then search for files on the
USB drive.
When files are found, the
Select RS485 ID
menu is
displayed.
nOTE
: If the message
No files
found
is displayed, make sure the
files are in the main directory of the
USB drive.


