180
Adding and Replacing Parts
In the Microsoft
®
Windows
®
XP operating system
, click
Start
→
Shut
Down
→
Shut down
.
In the Microsoft
®
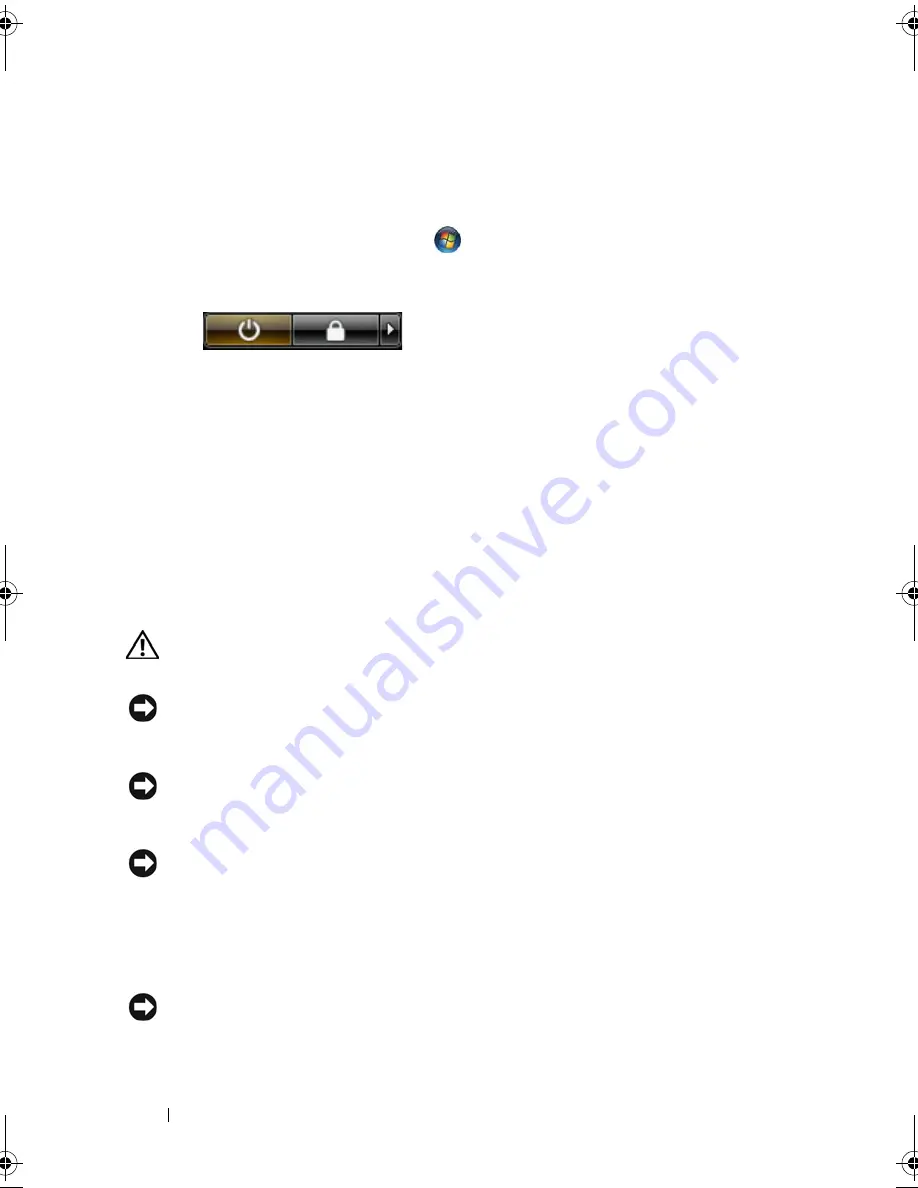
Windows Vista™operating system,
click the
Windows Vista Start button
, click the arrow in the lower-right
corner of the Start menu as shown below, and then click
Shut Down
.
The computer turns off after the operating system shutdown process is
complete.
2
Ensure that the computer and all attached devices are turned off. If your
computer and attached devices did not automatically turn off when you
shut down your operating system,
press
and
hold
the power button for
about 4 seconds to turn them off.
Before Working Inside Your Computer
Use the following safety guidelines to help protect your computer from
potential damage and to help to ensure your own personal safety.
CAUTION:
Before you begin any of the procedures in this section, follow the
safety instructions in the
Product Information Guide
.
NOTICE:
Handle components and cards with care. Do not touch the components
or contacts on a card. Hold a card by its edges or by its metal mounting bracket.
Hold a component such as a processor by its edges, not by its pins.
NOTICE:
Only a certified service technician should perform repairs on your
computer. Damage due to servicing that is not authorized by Dell is not covered by
your warranty.
NOTICE:
When you disconnect a cable, pull on its connector or on its pull-tab, not
on the cable itself. Some cables have connectors with locking tabs; if you are
disconnecting this type of cable, press in on the locking tabs before you disconnect
the cable. As you pull connectors apart, keep them evenly aligned to avoid bending
any connector pins. Also, before you connect a cable, ensure that both connectors
are correctly oriented and aligned.
NOTICE:
To avoid damaging the computer, perform the following steps before you
begin working inside the computer.
book.book Page 180 Tuesday, August 28, 2007 10:20 AM
Summary of Contents for Precision M6300
Page 1: ...Dell Precision Mobile Workstation M6300 User s Guide ...
Page 14: ...14 Contents ...
Page 22: ...22 Finding Information ...
Page 23: ...Finding Information 23 ...
Page 24: ...24 Finding Information ...
Page 25: ...Finding Information 25 ...
Page 26: ...26 Finding Information ...
Page 27: ...Finding Information 27 ...
Page 28: ...28 Finding Information ...
Page 29: ...Finding Information 29 ...
Page 30: ...30 Finding Information ...
Page 31: ...Finding Information 31 ...
Page 32: ...32 Finding Information ...
Page 51: ...Setting Up Your Computer 51 ...
Page 52: ...52 Setting Up Your Computer ...
Page 62: ...62 Using a Battery ...
Page 63: ...Using a Battery 63 ...
Page 64: ...64 Using a Battery ...
Page 65: ...Using a Battery 65 ...
Page 66: ...66 Using a Battery ...
Page 67: ...Using a Battery 67 ...
Page 68: ...68 Using a Battery ...
Page 69: ...Using a Battery 69 ...
Page 70: ...70 Using a Battery ...
Page 71: ...Using a Battery 71 ...
Page 72: ...72 Using a Battery ...
Page 73: ...Using a Battery 73 ...
Page 74: ...74 Using a Battery ...
Page 84: ...84 Using the Display ...
Page 109: ...Using Multimedia 109 ...
Page 110: ...110 Using Multimedia ...
Page 122: ...122 Setting Up and Using Networks ...
Page 128: ...128 Using Cards 1 smart card slot 2 smart card 3 ExpressCard slot 1 2 3 ...
Page 160: ...160 Troubleshooting ...
Page 193: ...Adding and Replacing Parts 193 1 securing clips 2 2 mini card 2 1 ...
Page 250: ...250 Adding and Replacing Parts ...
Page 252: ...252 Dell QuickSet ...
Page 256: ...256 Traveling With Your Computer ...
Page 264: ...264 Getting Help ...
Page 291: ...Glossary 291 ...
Page 292: ...292 Glossary ...


