


102
Installing System Components
6
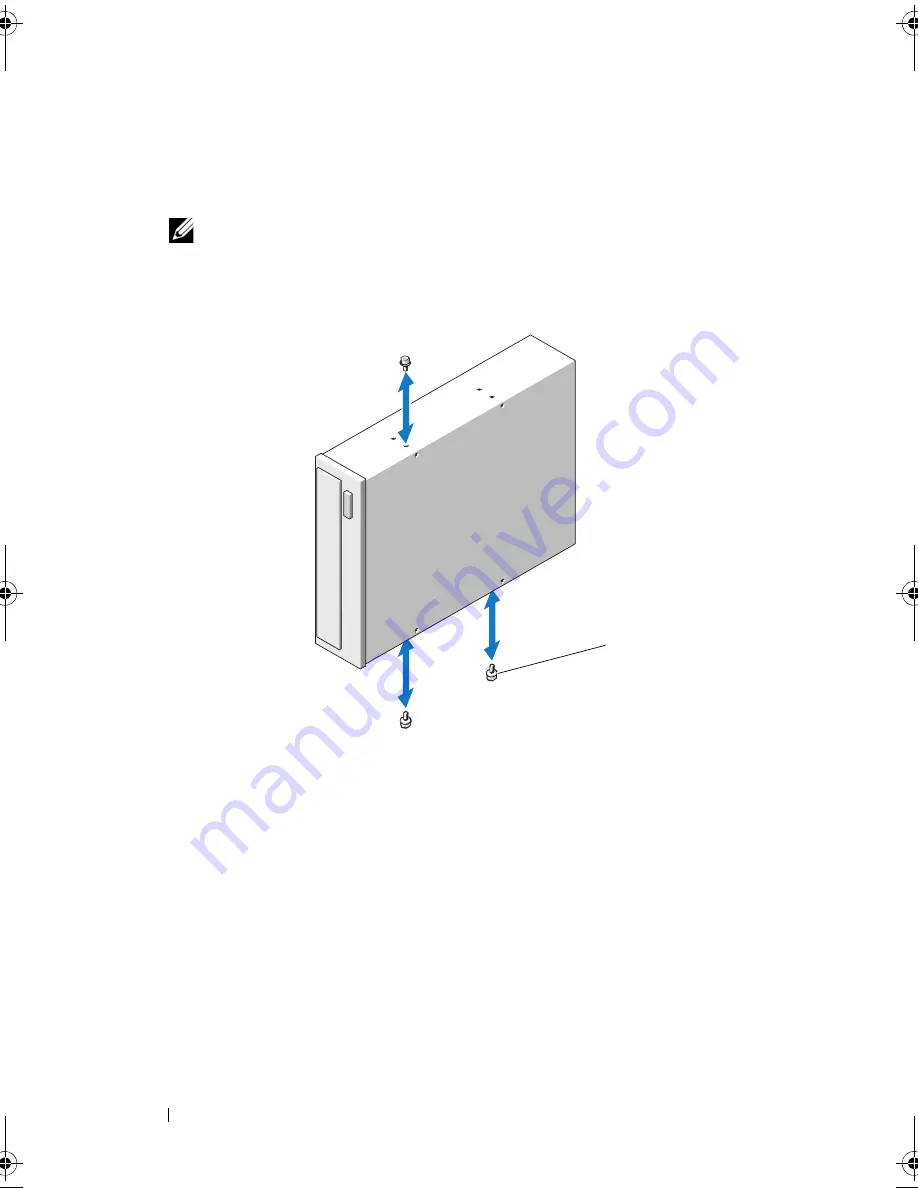
Attach the three shoulder screws to the drive, one screw on the lower front
screw hole on the right side and two screws on the lower screw holes on the
left side. See Figure 3-13.
NOTE:
If the optical or tape drive you are installing does not have shoulder
screws, remove the three shoulder screws from the old drive or the back of
the 5.25-inch front bezel insert.
Figure 3-13.
Installing Optical or Tape Drive Shoulder Screws
7
From the front of the system, align the shoulder screws with the slots in
the chassis and slide the drive into the drive bay until the shoulder screws
snap into place. See Figure 3-12.
8
Attach the power and data cables to the drive.
9
Replace the front bezel. See "Installing the Front Bezel" on page 82.
10
Close the system. See "Closing the System" on page 86.
1
shoulder screws (3)
1
book.book Page 102 Wednesday, August 19, 2009 4:40 PM
Summary of Contents for PowerEdge T310
Page 1: ...Dell PowerEdge T310 Systems Hardware Owners Manual ...
Page 56: ...56 About Your System ...
Page 78: ...78 Using the System Setup Program and UEFI Boot Manager ...
Page 146: ...146 Installing System Components ...
Page 176: ...176 Jumpers and Connectors ...
Page 178: ...178 Getting Help ...
Page 188: ...188 Glossary ...
Page 194: ...194 Index ...


