42
Using the Keyboard and Touch Pad
Touch Pad
The touch pad detects the pressure and movement of your finger to allow you to move the cursor on the
display. Use the touch pad and touch pad buttons as you would use a mouse.
•
To move the cursor, lightly slide your finger over the touch pad.
•
To select an object, position the cursor on the object and lightly tap once on the surface of the touch
pad or use your thumb to press the left touch-pad button.
•
To select and move (or drag) an object, position the cursor on the object and tap twice on the touch
pad. On the second tap, leave your finger on the touch pad and move the selected object by sliding
your finger over the surface.
•
To double-click an object, position the cursor on the object and tap twice on the touch pad or use your
thumb to press the left touch-pad button twice.
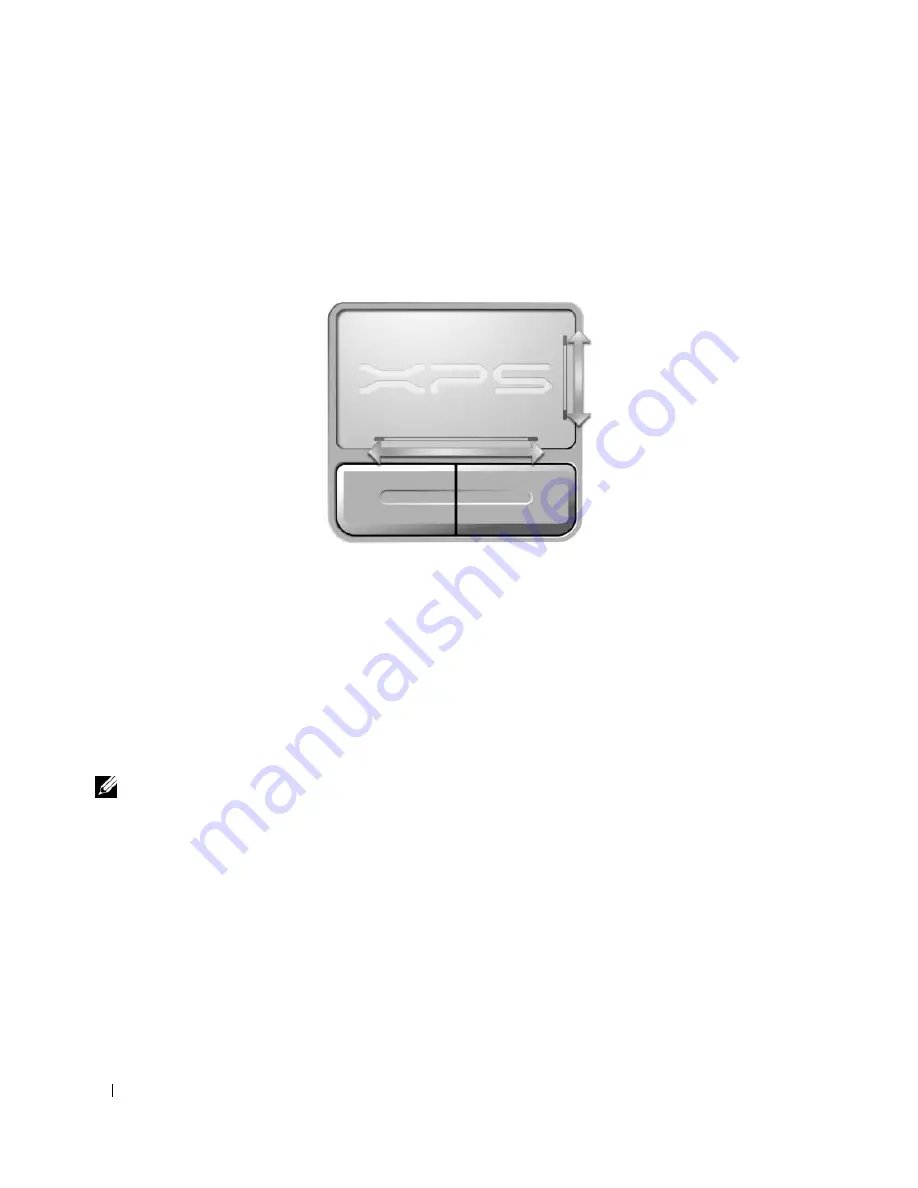
The touch pad has silk screening on the right side and the bottom to indicate scrolling abilities. Scrolling
is enabled by default. To disable this feature, modify the mouse properties within the Control Panel.
NOTE:
The scroll zones may not work with all applications. For the scroll zones to function properly, the application
being used must take advantage of the touch pad scroll feature.
Customizing the Touch Pad
1
You can use the
Mouse Properties
window to disable the touch pad or adjust their settings.
Open
the Control Panel, click
Printers and Other Hardware
, and then click
Mouse
. For information about
the Control Panel, see the Windows Help and Support Center. To access the Help and Support Center,
see "Windows Help and Support Center" on page 13.
2
In the
Mouse Properties
window, click the
Touch Pad
tab to adjust touch pad settings.
3
Click
OK
to save the settings and close the window.
Summary of Contents for INSPIRON PP05XB
Page 1: ...w w w d e l l c o m s u p p o r t d e l l c o m Dell XPS M1710 Owner s Manual Model PP05XB ...
Page 28: ...28 A Tour of Your Computer ...
Page 36: ...36 Setting Up Your Computer ...
Page 50: ...50 Dell QuickSet Features ...
Page 77: ...Using Cards 77 1 smart card slot 2 smart card 3 ExpressCard slot 1 2 3 ...
Page 78: ...78 Using Cards ...
Page 116: ...116 Troubleshooting ...
Page 144: ...144 Specifications ...
Page 172: ...172 Contacting Dell ...
Page 184: ...184 Glossary ...
Page 190: ...90 Index 190 Index ...


