Profiler User Guide
4-53
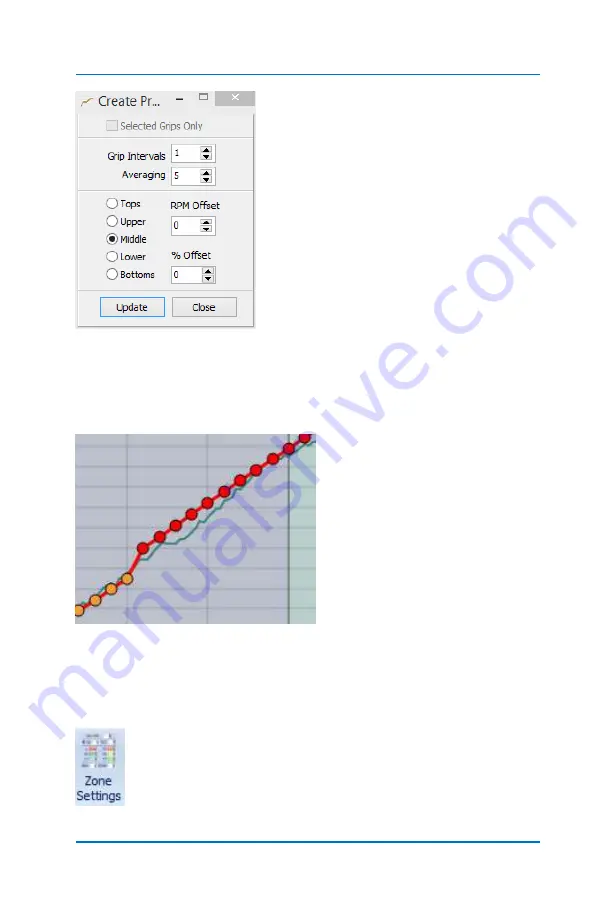
Select >
Create Profile
from the upper
Chart Tools menu. The system will ask
you if you wish to make a copy of the
Profile before proceeding. It’s usually a
good idea to do this in case you want to
revert back to the original. Notice that
at the top of the popup window
“
Selected Grips Only
” is now available.
You can either enter your desired offset
in the
RPM Offset
box or use the up and
down arrows which will show positive or
negative values in 10 RPM increments.
You also have the option to use
% Offset
. Enter a % or use arrows
for plus or minus .1% increments.
Here is the result of Offsetting
the selected grips. You can
then use the Smoothing
function to blend this section in
with the surrounding grips.
Next, let’s add some
zones
which is a powerful feature of Profiler.
As described earlier, multiple zones can be applied to a Profile, each
with its own set of properties.
To view Zones, click on the
Zone Settings
icon in the tool
bar.
Summary of Contents for Profiler
Page 1: ......
Page 76: ...Profiler User Guide 4 30...
Page 124: ...Profiler User Guide Appendix 15 6 Click Advanced Options 7 Click Windows Startup Settings...
Page 138: ...Profiler User Guide Appendix 29...
Page 139: ...Profiler User Guide Appendix 30...
Page 140: ...Profiler User Guide Appendix 31...
Page 141: ...Profiler User Guide Appendix 32...
Page 142: ...Profiler User Guide Appendix 33...
Page 144: ...Profiler User Guide Appendix 35...
Page 145: ...Profiler User Guide Appendix 36...
Page 146: ...Profiler User Guide Appendix 37...
Page 147: ...Profiler User Guide Appendix 38...
Page 148: ...Profiler User Guide Appendix 39...
Page 149: ...Profiler User Guide Appendix 40...
Page 150: ...Profiler User Guide Appendix 41...
Page 151: ...Profiler User Guide Appendix 42...
Page 152: ...Profiler User Guide Appendix 43...


