Profiler User Guide
2-20
2.4
Hardware Installation
Before beginning installation of the hardware and wiring, ensure you
have everything required. Whatever you need should be packaged
in the kit except for the basic wiring tools.
Mounting
Before mounting the Profiler, its a good idea after loading the
Profiler PC software to use the USB supplied cable to connect your
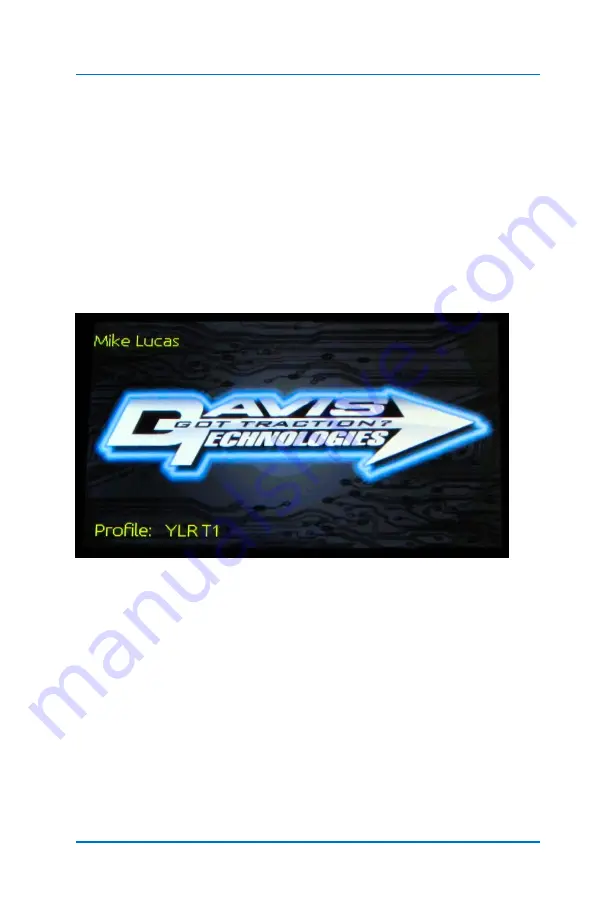
PC to the Profiler box. When you do this, the Profiler will be
powered up and the splash screen becomes active.
Before units are shipped, each one is configured with the licensed
customer’s name.
When powered up the Profiler will display your
name in the upper left corner of the screen. When a Profile file has
been loaded, the name of the file that is currently loaded is
displayed, a very nice feature. (your unit may indicate a test Profile
has been loaded prior to shipping)
If everything appears to be working, go ahead and mount the box.
You will be doing some installation setup, so wherever you mount it,
be sure you can clearly see and access
the screen. Sometimes it’s
easier to mount it permanently
after
the main configuration is
completed.
Summary of Contents for Profiler
Page 1: ......
Page 76: ...Profiler User Guide 4 30...
Page 124: ...Profiler User Guide Appendix 15 6 Click Advanced Options 7 Click Windows Startup Settings...
Page 138: ...Profiler User Guide Appendix 29...
Page 139: ...Profiler User Guide Appendix 30...
Page 140: ...Profiler User Guide Appendix 31...
Page 141: ...Profiler User Guide Appendix 32...
Page 142: ...Profiler User Guide Appendix 33...
Page 144: ...Profiler User Guide Appendix 35...
Page 145: ...Profiler User Guide Appendix 36...
Page 146: ...Profiler User Guide Appendix 37...
Page 147: ...Profiler User Guide Appendix 38...
Page 148: ...Profiler User Guide Appendix 39...
Page 149: ...Profiler User Guide Appendix 40...
Page 150: ...Profiler User Guide Appendix 41...
Page 151: ...Profiler User Guide Appendix 42...
Page 152: ...Profiler User Guide Appendix 43...


