90
Chapter 5 Configuring the xStack Storage Array
Table 5-15. Configure System iSNS Settings Box
Setting
Description
iSNS Enable
Check this box to enable the other settings in the dialog box. If this box is not checked,
the other settings in this dialog box are ignored.
iSNS Server IP Address
Enter the IP address of the server running the iSNS service.
iSNS Server Subnet Mask
Enter the subnet mask of the server running the iSNS service.
iSNS Server Port Number
Enter the port number on which the server running the iSNS service s listening. The
default port number is 3205.
Heartbeat IP Address
Enter the IP address from which the iSNS heartbeat originates. Typically, this address is
the same as the iSNS server IP address, though it may be different.
Heartbeat Subnet Mask
Enter the subnet mask from which the iSNS heartbeat originates. Typically, this subnet
mask is the same as the iSNS server subnet mask, though it may be different.
5.4.14
Creating Scheduled Tasks
You can use the management console to set up tasks you want the xStack Storage Array to
perform, such as parity or media scans. When you create a task, you specify the day and time
when it is to be performed and whether the task will repeat (recur). As you create scheduled
tasks, record the information in Appendix B.
1.
On the
View
menu, click
Create Task
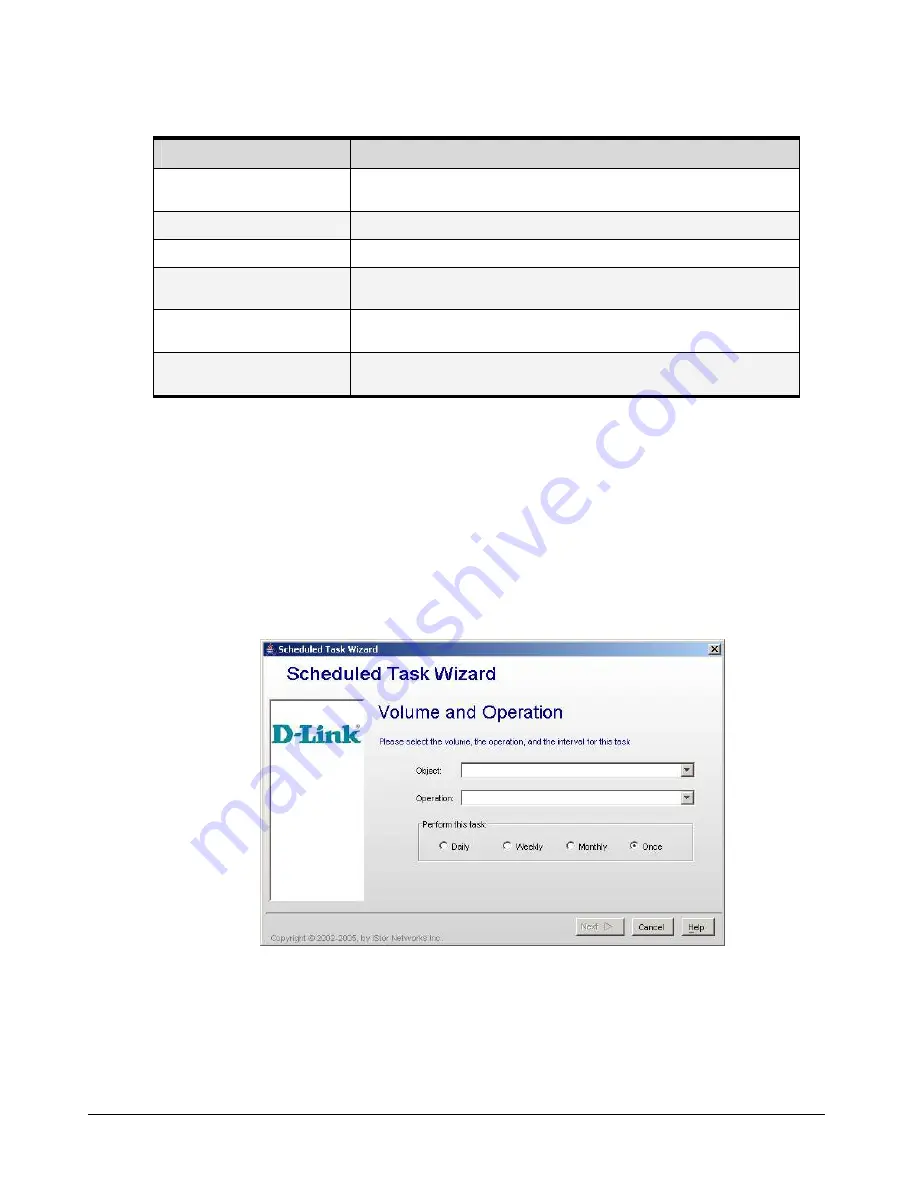
. The Scheduled Task Wizard launches and the Volume
and Operation screen appears (see Figure 5-42).
Figure 5-42 Scheduled Task Wizard – Volume and Operation
2.
Complete the fields in the screen (see Table 5-16).
3.
Click
Next
. The Select Date and Time screen appears (see Figure 5-43).
Summary of Contents for DSN-2100-10 - xStack Storage Area Network Array Hard...
Page 10: ...x Contents...
Page 20: ...20 Chapter 2 Identifying Hardware Components Figure 2 6 Press Lever Inwards Until it Locks...
Page 26: ...26 Chapter 2 Identifying Hardware Components...
Page 42: ...42 Chapter 4 Starting the xStack Storage Array for the First Time...
Page 101: ...xStack Storage User s Guide 101...
Page 115: ...xStack Storage User s Guide 115 Figure 6 12 Viewing SMART Attributes...
Page 158: ...158 Appendix D Replacing and Upgrading FRUs...
Page 162: ...162 Appendix F Hardware Enclosures...


