


Send
ng Documents
4-66
3
Specify the destination.
Use the numerc keys, one-touch keys, coded dal codes or [Address Book] key to specfy destnatons.
Only one destnaton can be specfed usng the numerc keys.
4
Repeat step 3 to enter all required recipients.
If you want to enter a fax number or e-mal address usng the numerc keys n the mddle of the
procedure, press [Fax/Send], select the sendng method, and then enter the number or address.
To check all the specfed destnatons, press [
] or [
] to scroll the dsplay.
If e-mal addresses and fle server addresses are ncluded n the destnatons, you can enter the send
settngs by pressng [OK] after specfyng destnatons. All the addresses wthout fax wll use the same
send settngs. For detals, see “Send Settngs (E-Mal/I-Fax/Fle Server) (LASER CLASS 830 Only),” on p. 4-
8.
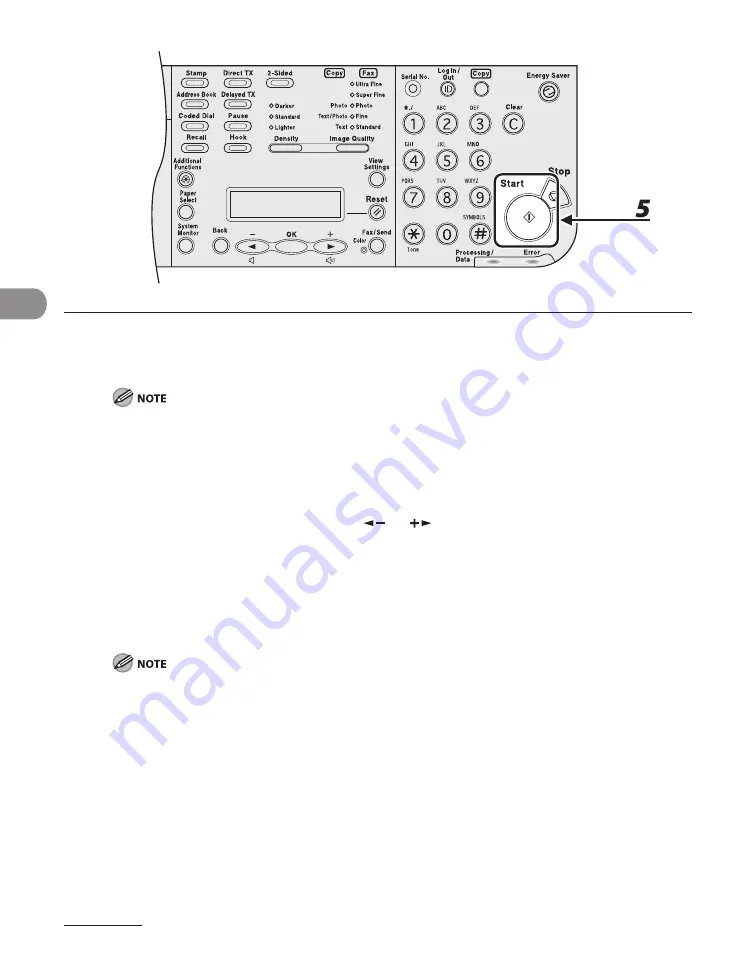
5
Press [Start].
When <TIME OUT> s set to <ON> n <TX SETTINGS> n <FAX SETTINGS> n <TX/RX SETTINGS>, and f
you have specfed the destnaton by any other method than usng numerc keys, the machne starts
scannng automatcally wthout pressng [Start], after the preset tme for ths settng s elapsed.
Summary of Contents for Laser Class 810
Page 2: ......
Page 96: ...Copying 3 22 ...
Page 184: ...Sending Documents 4 88 ...
Page 216: ...Receiving Documents 5 32 ...
Page 222: ...Printing 6 6 ...
Page 223: ...PC Faxing 7 PC Faxing PC Faxing 7 2 ...
Page 226: ...PC Faxing 7 4 ...
Page 227: ...Remote UI 8 Remote UI Remote UI 8 2 ...
Page 230: ...Remote UI 8 4 ...
Page 241: ...9 11 System Manager Settings 16 Press Stop to return to the standby mode ...
Page 290: ...Maintenance 10 28 ...
Page 410: ...Appendix 13 16 ...
Page 411: ......


