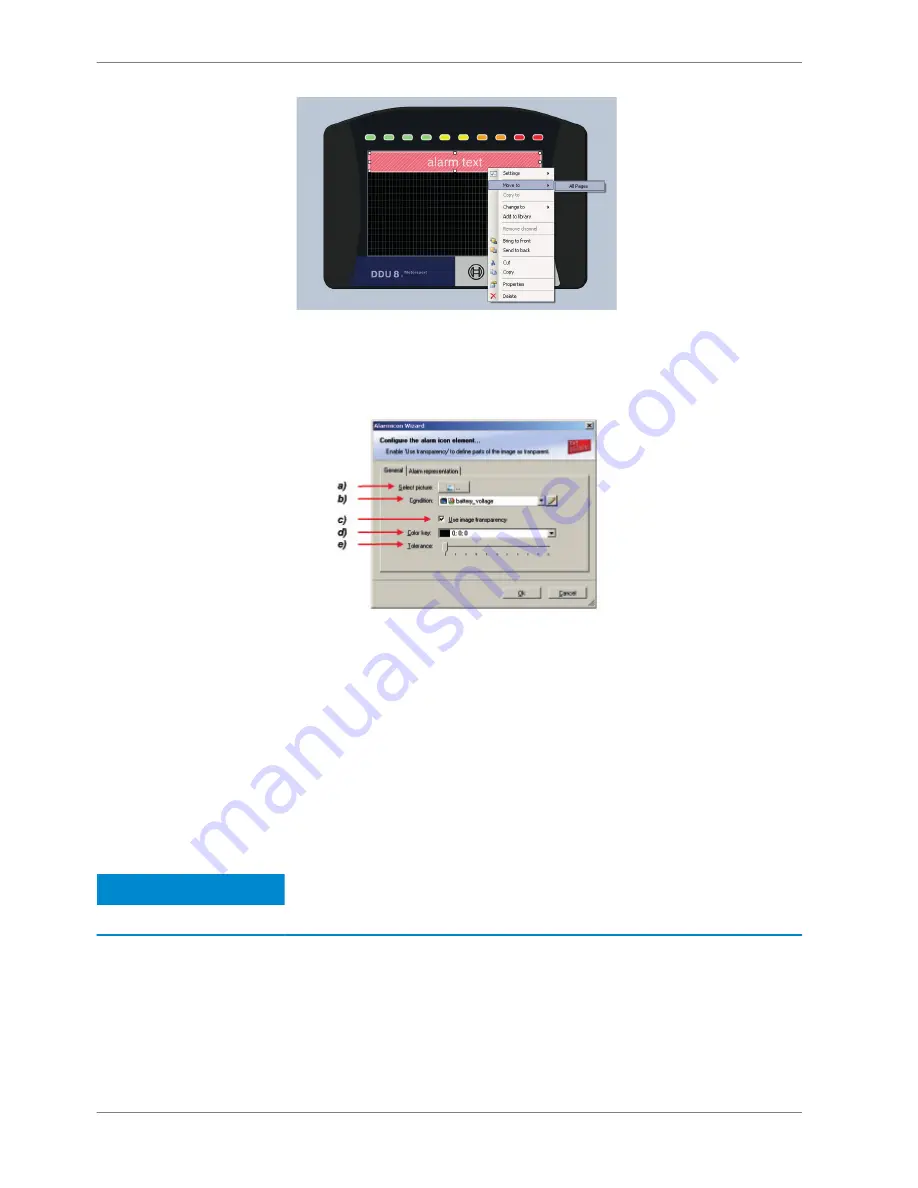
Configuring an ‘Alarm Icon’ (image) display element
1. Double‐click on the ‘Alarm Icon’ display element.
The Alarm Icon Wizard window opens.
a) Select the image from the hard drive that is shown in case of an alarm.
b) Choose the condition when the alarm will be activated:
• Create a condition using the Condition Creator. For more information see chapter ‘Creating a new
condition channel’.
• Choose an existing condition
The ‘Alarm Icon’ is displayed if function is ‘TRUE’, i.e. result of the calculation is >0.
c) Enable the checkbox if you want to define parts of the image as transparent.
d) Select the basic transparent color key. This means that any pixel of the image near (depending of the
tolerance value) to this color gets transparent.
e) Select a tolerance in percent to define parts of the image as transparent.
2. Switch to the tab ‘Alarm representation’. It is configured in the same way as
the ‘Alarm’ text display element.
3. Click ‘OK’ when done.
Notice
If several active alarms in the display overlap, each alarm is in
the foreground for 2 seconds.
8 | Display Configuration
40 / 160
DDU 8 Manual
Bosch Motorsport


