


User Connectivity
139
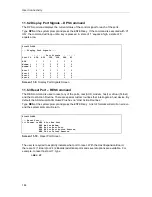
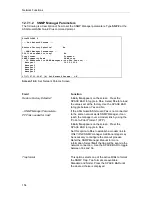
--- ASG Guard - User Authentication ---
Please Enter User ID ->TOM
--- ASG Key Authentication ---
Challenge =853-2446
Response ->
Screen 11-4. ASG Key Authentication Screen
3.
Turn on your ASG Key by pressing the ON/C button. A zero ( 0 ) appears in the display
window.
4.
Press the red button on your ASG Key. ENTER PIN is displayed in the window.
5.
Enter your PIN into the ASG Key and then press the equal ( = ) button.
6.
Enter the seven-digit challenge number displayed on your terminal into the ASG Key and
then press the equal button.
NOTE:
Do not include the hyphen ( - ) in the challenge.
The ASG Key will then display a response number in the window.
7.
Enter the response displayed in the ASG Key window into your terminal and press the
ENTER key. If the response is correct, the ASG Guard/ASG Guard Plus will signify that the
authentication has been successfully completed and you will either be connected to the ASG
Guard/ASG Guard Plus or to the host, depending on your Access Class:
•
If you are connected to the ASG Guard/ASG Guard Plus (Sysop session), you can
perform all of the operations to which your Access Class entitles you.
•
If you are connected to the host port (Host Session), you will have to perform all of the
normal host login procedures.
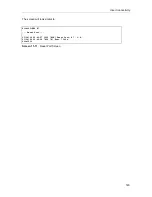
--- ASG Guard - User Authentication ---
Please Enter User ID ->TOM
--- ASG Key Authentication ---
Challenge =853-2446
Response ->1829782
--- Authentication Complete ---
09/21/93 10:19:17 [M] User: TOM - Connected to Sysop
>
Screen 11-5. ASG Key Authentication Screen
If you entered the response incorrectly, the ASG Guard/ASG Guard Plus sends a second
challenge, giving you another opportunity to enter the correct response. Enter your PIN
again, and then the second challenge in to the ASG Key and press the equal button.
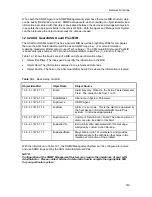
Summary of Contents for Lucent Technologies Access Security Gateway Guard
Page 12: ...x Page intentionally left blank ...
Page 28: ...ASG Guard Overview 16 Page intentionally left blank ...
Page 36: ...Physical Connections 24 Page intentionally left blank ...
Page 60: ...Modem Port Setup 48 Page intentionally left blank ...
Page 82: ...Modifying the User Database 70 Page intentionally left blank ...
Page 120: ...Action and Event Tables 108 Page intentionally left blank ...
Page 158: ...User Connectivity 146 Page intentionally left blank ...
Page 188: ...Log Functions 176 Page intentionally left blank ...
Page 236: ...Troubleshooting 224 Page intentionally left blank ...
Page 252: ...Internal Battery Replacement 240 Page intentionally left blank ...
Page 258: ...Glossary of Command References 246 Page intentionally left blank ...