


Troubleshooting
5-18
Clearing Paper Jams
Provided that you follow the recommendations in this guide on use of
print media, and you keep the media in good condition prior to use,
your printer should give years of reliable service. However, paper
jams occasionally do occur, and this section explains how to clear
them quickly and simply.
Jams can occur due to paper misfeeding from a paper tray or at any
point on the paper path through the printer. When a jam occurs,
the printer immediately stops, and the Alert LED on the Status
Panel (together with the Status Monitor) informs you of the event.
If printing multiple pages (or copies), do not assume that, having
cleared an obvious sheet, others will not also be stopped
somewhere along the path. These must also be removed in order to
clear the jam fully and restore normal operation.
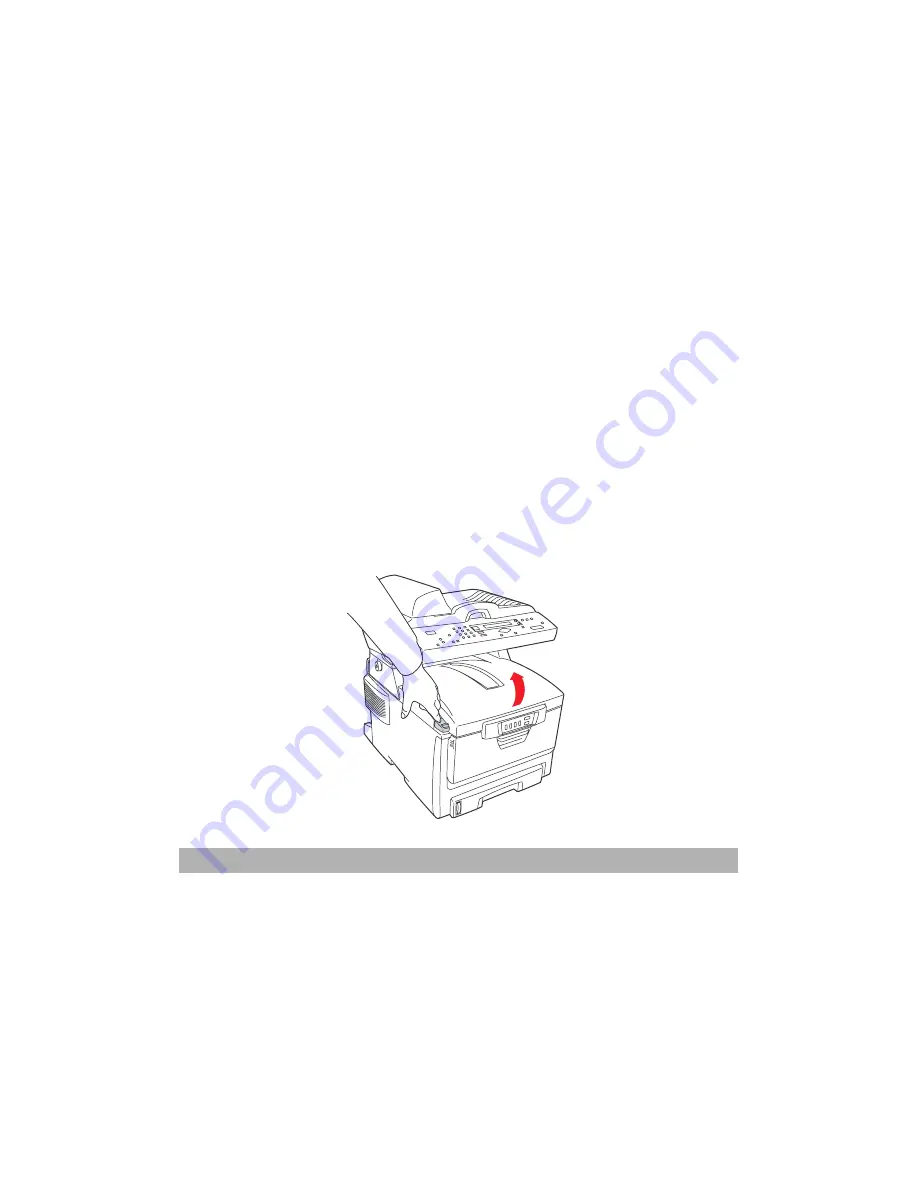
1.
If a sheet is well advanced out of the top of the printer, simply
grip it and pull gently to draw it fully out. If it does not remove
easily, do not use excessive force. It can be removed from the
rear later.
2.
Press the cover release and open the printer’s top cover fully.
Summary of Contents for AM6120
Page 1: ...AM6120 Color MFP...
Page 34: ...Installing Your Machine 2 6 7 Place the printer upon the installation base 26...
Page 35: ...2 7 8 Turn the lock switch to Unlocked position...
Page 37: ...2 9 11 Remove the tape and paper 12 Close the multi purpose tray...
Page 38: ...Installing Your Machine 2 10 13 Open the protective plastic bag...
Page 39: ...2 11 14 Place the AM6120 scanner to the support of the printer and move it backward...
Page 40: ...Installing Your Machine 2 12 15 Move the lock switch to Locked position...
Page 41: ...2 13 16 Turn the lock switch on the scanner to the Unlcoked position...
Page 42: ...Installing Your Machine 2 14 17 Press the release button to open the cover...
Page 43: ...2 15 18 Pull the release lever to raise the image drum 5...
Page 44: ...Installing Your Machine 2 16 19 Open the image drum 20 Remove paper and protective film...
Page 45: ...2 17 21 Close the drum and move 4 levers to the p position 5 22 Close the printer top cover...
Page 47: ...2 19 25 Insert the printing paper 26 Make sure the paper size properly fit in the tray...
Page 48: ...Installing Your Machine 2 20 27 Gently pull back the paper tray...


