


Operation
3-32
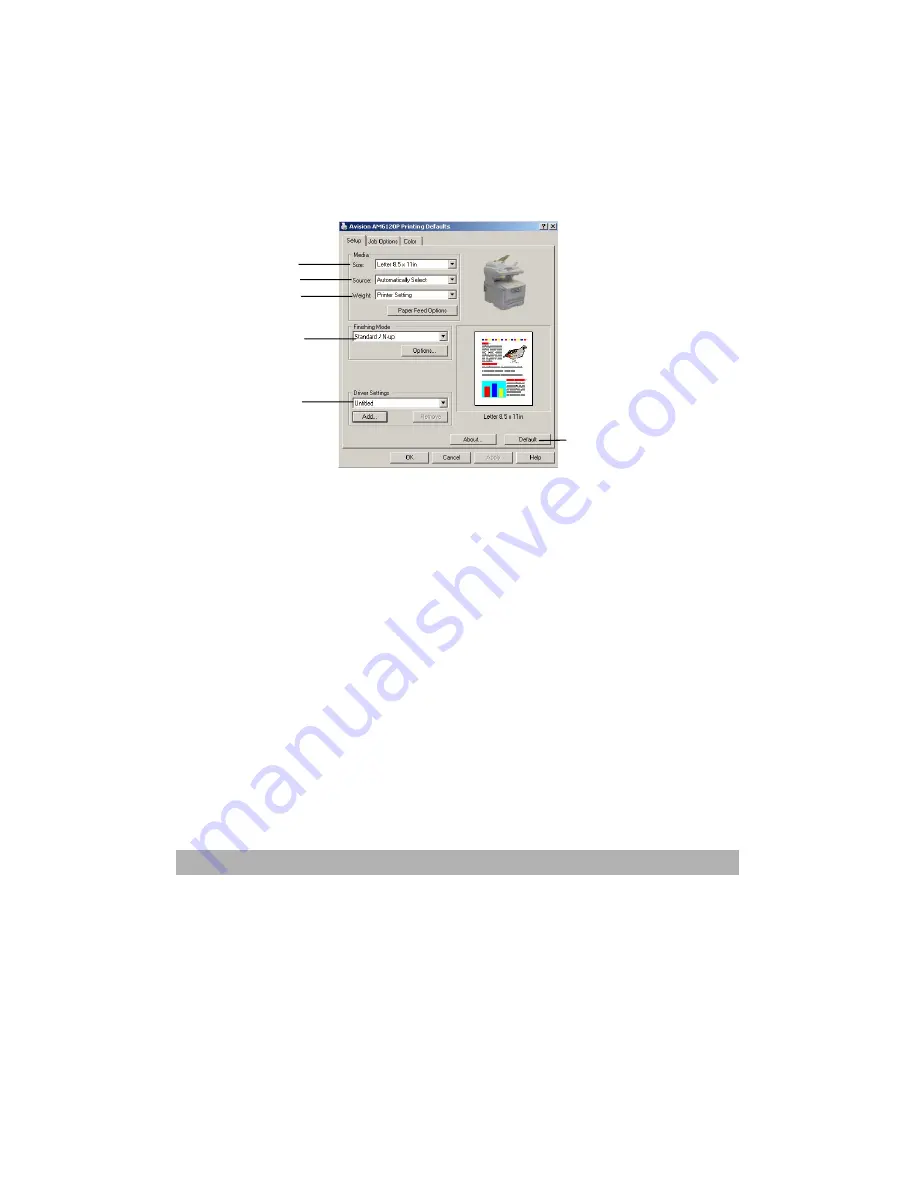
“Setup”Tab
When you click the
Properties
button from your application’s
Print dialogue, the driver window opens
1
to allow you to specify
your printing preferences for the current document.
1.
Paper size should be the same as the page size of
5
your
document (unless you wish to scale the printout to fit another
size), and should also be the same as the size of paper you
will feed into the printer.
2.
You can choose the source of the paper to feed, which may be
Tray 1 (the standard paper tray) or the multi purpose feeder.
You can also click on the appropriate part of the screen
graphic to select your preferred tray.
3.
The setting for paper weight should match the type of paper
on which you intend to print.
4.
A variety of document finishing options can be selected, such
as normal one page per sheet, or N-up (where N can be a
maximum of 16) for printing scaled down pages at more than
one page per sheet. Poster printing will print large pages as
tiles spread over multiple sheets.
5.
If you have changed some printing preferences before and
saved them as a set, you can recall them to avoid having to
set them individually each time you need them.
6.
A single on-screen button restores the default settings.
1
2
3
4
5
6
Summary of Contents for AM6120
Page 1: ...AM6120 Color MFP...
Page 34: ...Installing Your Machine 2 6 7 Place the printer upon the installation base 26...
Page 35: ...2 7 8 Turn the lock switch to Unlocked position...
Page 37: ...2 9 11 Remove the tape and paper 12 Close the multi purpose tray...
Page 38: ...Installing Your Machine 2 10 13 Open the protective plastic bag...
Page 39: ...2 11 14 Place the AM6120 scanner to the support of the printer and move it backward...
Page 40: ...Installing Your Machine 2 12 15 Move the lock switch to Locked position...
Page 41: ...2 13 16 Turn the lock switch on the scanner to the Unlcoked position...
Page 42: ...Installing Your Machine 2 14 17 Press the release button to open the cover...
Page 43: ...2 15 18 Pull the release lever to raise the image drum 5...
Page 44: ...Installing Your Machine 2 16 19 Open the image drum 20 Remove paper and protective film...
Page 45: ...2 17 21 Close the drum and move 4 levers to the p position 5 22 Close the printer top cover...
Page 47: ...2 19 25 Insert the printing paper 26 Make sure the paper size properly fit in the tray...
Page 48: ...Installing Your Machine 2 20 27 Gently pull back the paper tray...


