


3-33
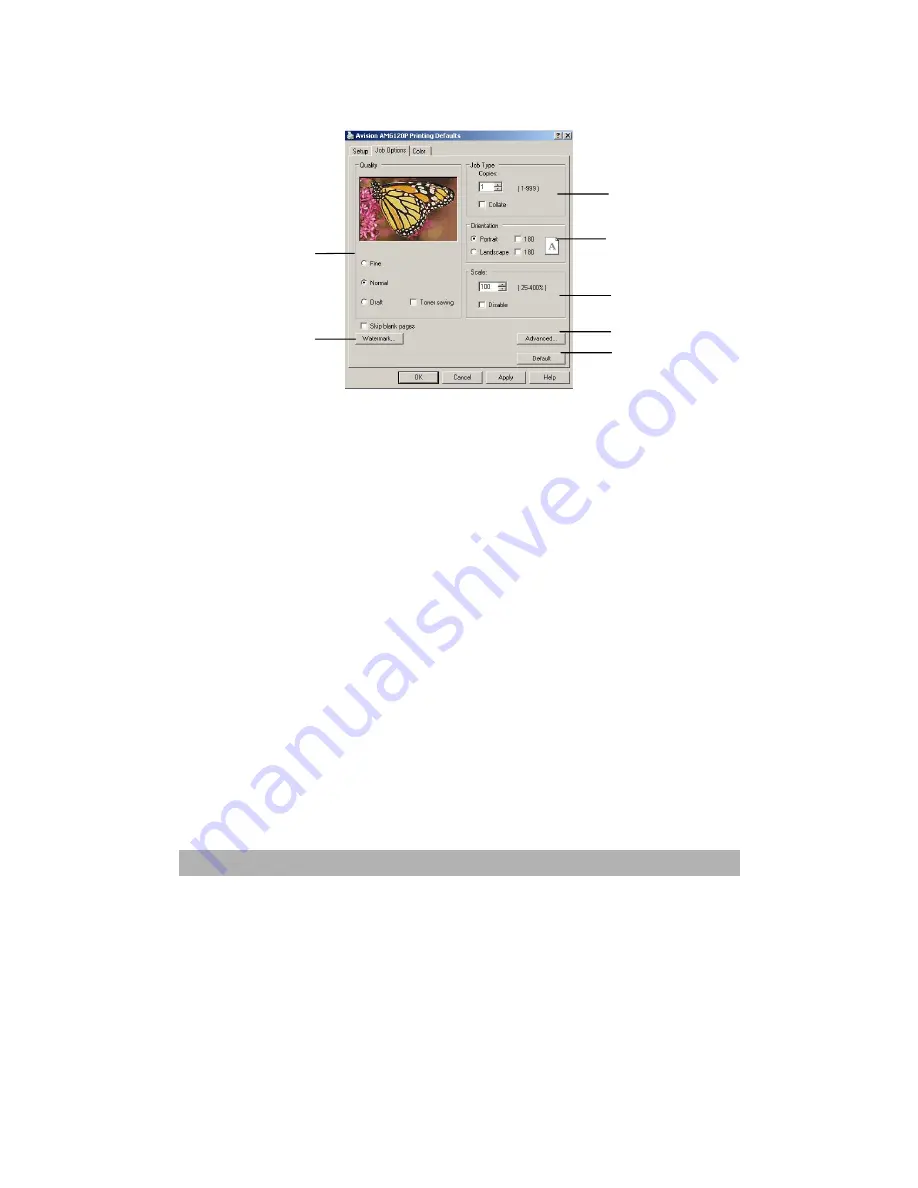
“Job Options” Tab
1. The output resolution of the printed page can be set as follows.
y
The highest quality setting prints at 1200 x 600dpi. This option
requires the most printer memory and takes the longest to print.
y
The normal setting prints at 600 x 600dpi and is adequate for all
but the most discerning applications.
y
The draft setting prints at 300 x 300dpi and is suitable for draft
documents, where print quality is less critical.
2. You can print watermark text behind the main page image. This is
useful for marking documents as draft, confidential, etc.
3. You can select up to 999 copies to print consecutively, although you
will need to top up the paper tray during such a long print run.
4. Page orientation can be set to either portrait (tall) or landscape
(wide).
5. Your printed pages can be scaled to fit larger or smaller stationery.
6. Clicking the Advanced button gives you access to further settings. For
example, you can elect to have black areas printed using 100%K toner
(a more matte appearance).
7. A single on-screen button restores the default settings.
1
2
3
4
5
6
7
Summary of Contents for AM6120
Page 1: ...AM6120 Color MFP...
Page 34: ...Installing Your Machine 2 6 7 Place the printer upon the installation base 26...
Page 35: ...2 7 8 Turn the lock switch to Unlocked position...
Page 37: ...2 9 11 Remove the tape and paper 12 Close the multi purpose tray...
Page 38: ...Installing Your Machine 2 10 13 Open the protective plastic bag...
Page 39: ...2 11 14 Place the AM6120 scanner to the support of the printer and move it backward...
Page 40: ...Installing Your Machine 2 12 15 Move the lock switch to Locked position...
Page 41: ...2 13 16 Turn the lock switch on the scanner to the Unlcoked position...
Page 42: ...Installing Your Machine 2 14 17 Press the release button to open the cover...
Page 43: ...2 15 18 Pull the release lever to raise the image drum 5...
Page 44: ...Installing Your Machine 2 16 19 Open the image drum 20 Remove paper and protective film...
Page 45: ...2 17 21 Close the drum and move 4 levers to the p position 5 22 Close the printer top cover...
Page 47: ...2 19 25 Insert the printing paper 26 Make sure the paper size properly fit in the tray...
Page 48: ...Installing Your Machine 2 20 27 Gently pull back the paper tray...


