


50
Name
Function
(15) Select cameras
to view
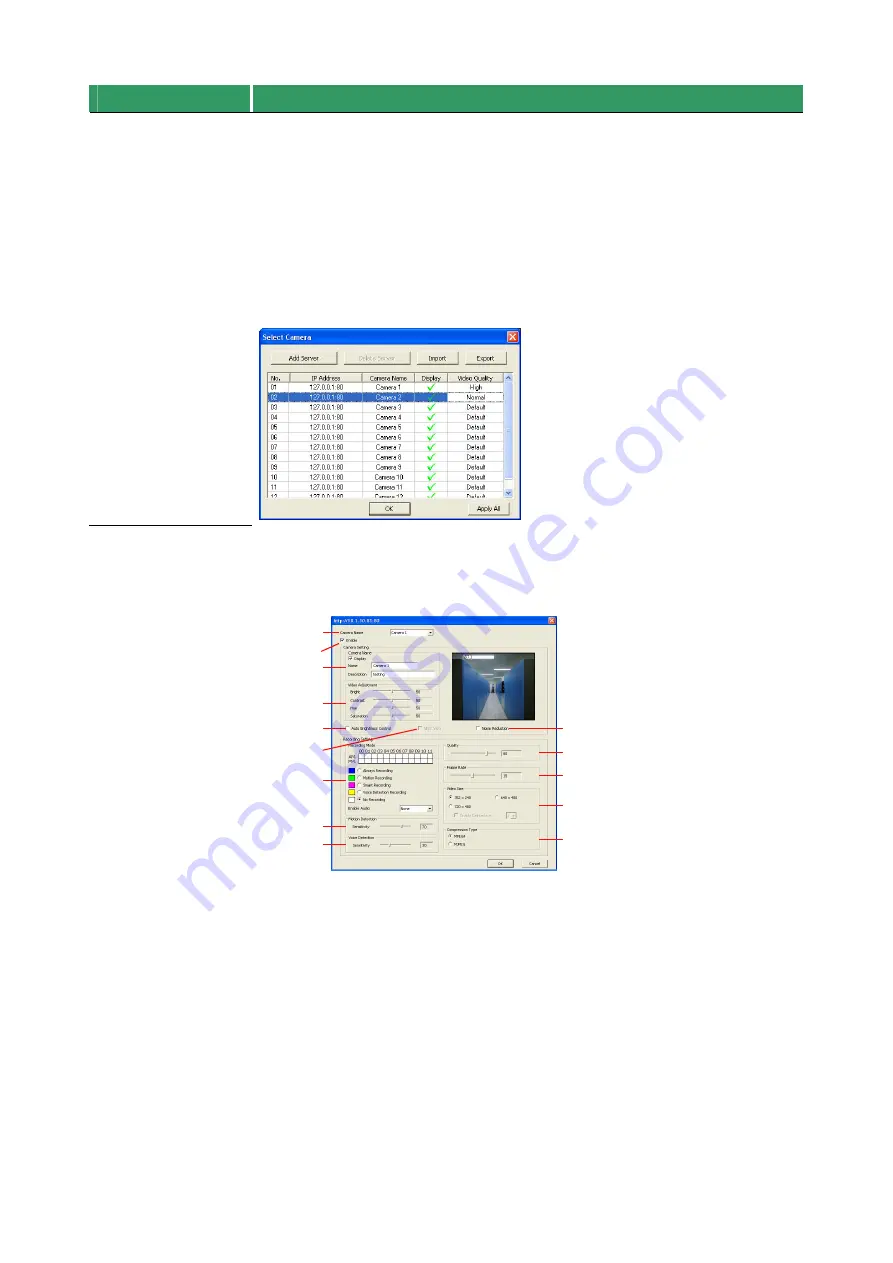
Select to the view camera from different server. In Select Camera dialog box,
Display column, click to enable/disable viewing the camera. In Video Quality
column, click to select between High, Normal or Low.
Click Add Server and select the server type between DVR and IP Cam to add.
Click Delete Server to delete the selected item.
Click Import to replace it with the previous saved list.
Click Export to save the list.
Click Apply All to change all the camera video quality based on the selected
setting.
Click OK to exit.
7.1.1 To Setup Remote System Setting
Click
OK
to exit and save the setting and
Cancel
to exit without saving the setting. The
setting here applies to Remote DVR only.
(11)
(12)
(13)
(14)
(10)
(1)
(9)
(8)
(7)
(6)
(5)
(4)
(3)
(2)
(1) Camera Name
Select the camera you want to adjust the settings.
(2) Enable
Set to enable/disable the selected camera. When there is no video source on the camera,
we suggest disabling it so that the system won’t detect it as video loss error.
(3) Camera Setting
-
Display
Enable/disable to show the video. Even if the video of the selected camera is hidden
you can still record the video and preview it in playback mode.
-
Name
Change the camera name.
-
Description


