


10
Name
Function
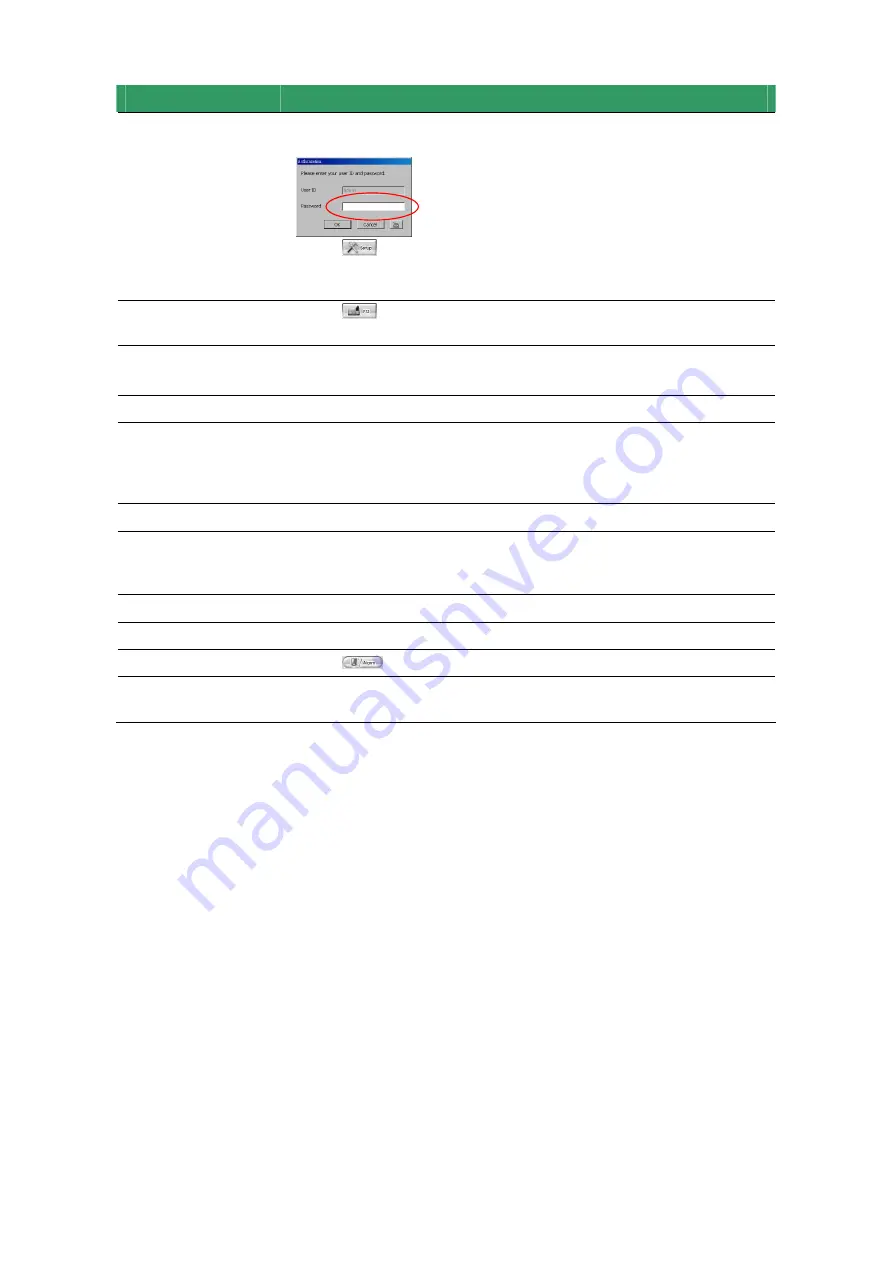
(7) Setup
When setting up the system for the first time, in the Password text box,
type the word “admin” to access.
Click
button to configure settings for cameras, recording,
network, scheduler, backup, sensors, relays, alarms and user
authentication.
(8) PTZ
Click
to pop-up a PTZ setup dialog to configure an appointed
PTZ camera.
(9) Preview
(10) Playback
Click it to switch between Advanced/Preview Screen and Playback
Screen.
(11) Status Bar
It shows the current time, and the hard disk’s free space.
(12) Camera ID
Click a desired icon to play the desired channel. After you click the
icon, it turns yellow. If you assign a split display mode and appoint a
camera number, the icon group of the cameras will turn yellow
altogether.
(13) Snapshot
Catch a static recording image and save it as a BMP or a JPG file.
(14) Event log
Click it to pop-up the Event Log Viewer dialog to check Event,
Operation, POS (Point of Sales), System and Network logs. You can
select a desired date and a log item to show all logs data in the table.
(15) AutoScan
Click it to start Auto Scan.
(16) Full screen
Click it to turn to full screen mode.
(17) Alarm
Click
to view the status or advanced alarm information.
(18) On Screen
Keyboard
If the keyboard is not available, you may use the Virtual Keyboard.


