AEQ
PHOENIX STRATOS
97
•
Verify that the “SYNC“ LED beneath the “CALL“ button corresponding to that channel is
lighted in green to indicate that the communication has been successfully established.
•
Press the “ON AIR“ button to allow the transmission of full-duplex audio for that
channel.
•
Send audio from one equipment to another verifying that the “Tx” and “Rx” audio
presence indicators change to green.
•
If necessary, adjust the output levels in the “att” box at OUTPUTS block in
“Configuration”
”General” screen. You can also make an additional adjustment from
the windows you access by pressing “In gain” button in “ENCODER” green window and
“Out gain” button in “DECODER” green window.
6.7.3. Establishing an IP communication in DIRECT SIP mode.
•
Ensure that the equipment is powered up and controlled by the software.
•
Establish the appropriate audio configuration (analog/digital input mode, gains, routing
of inputs to the codec, suitable encoding, analog output mode).
•
Check that there is incoming audio to the channel (CH1 or CH2) we are going to use to
establish the communication: the “Tx“ indicator in the individual codec control window
, in the general configuration screen
and in the list view
will change to green .
•
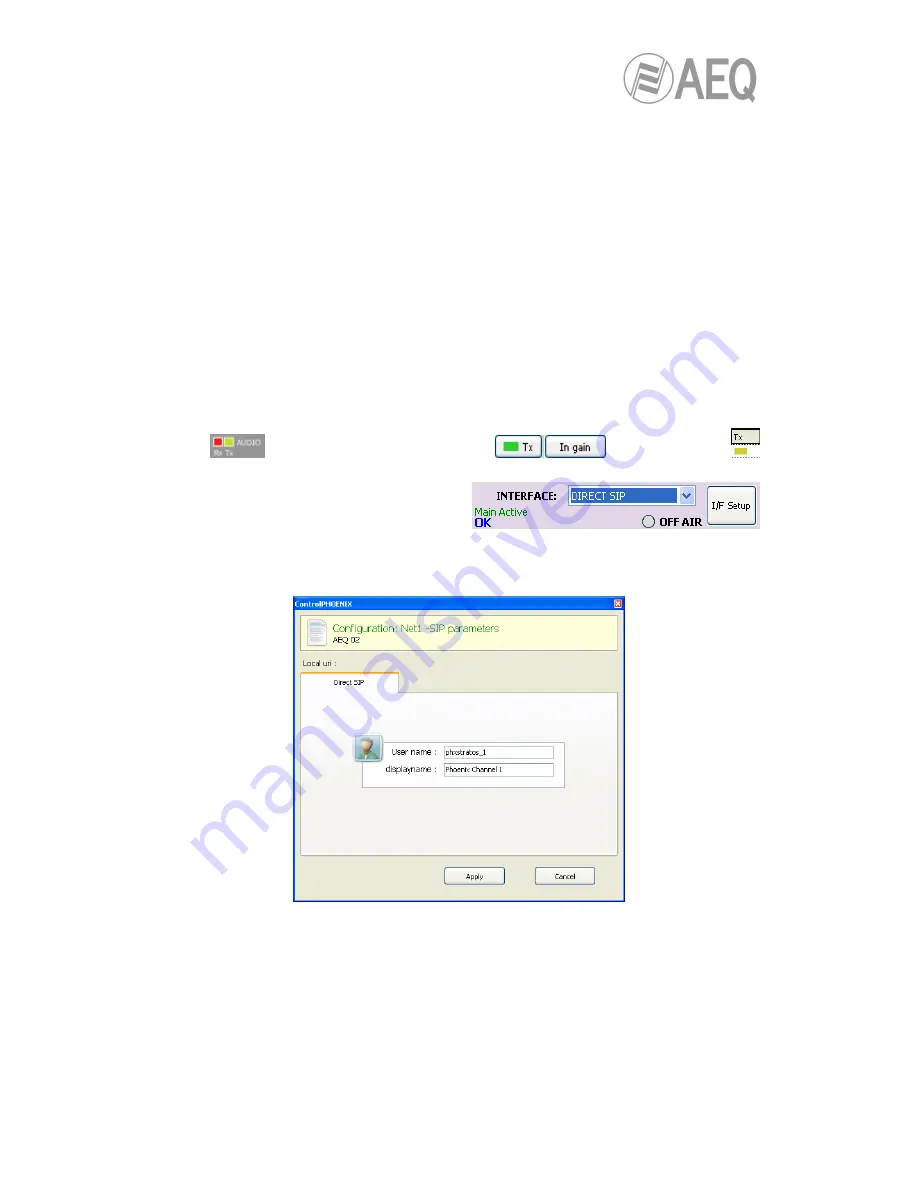
Go to general configuration screen and
configure “INTERFACE” as “DIRECT
SIP”.
•
Enter “I/F Setup“ and click on “SIP Parameters”. Check that “User Name” and “Display
name” are configured. User name and IP address constitute the equipment’s required
connection information.
•
Select the working mode to traverse NAT devices (“NAT Traversal”) that is more
adequate for the network the unit is connected to.
NOTE: It is recommended that you follow Application Notes 0-A or 0-C, according to the
type of equipment’s connection.
•
At “I/F Setup“ fill in the “Local media port” (where the unit expects to receive RTP audio
traffic at). If you enable Symmetric RTP mode, the unit will send audio to the same port
where it is receiving it from. This is sometimes useful to overcome NAT routers.


