AEQ
PHOENIX STRATOS
78
o
Select the working mode and the reception buffer size (see section 4.4 in order
to select the optimal buffer configuration depending on your application).
o
You have the possibility of using the backup option, with its corresponding
configuration submenu in BACK UP:
Activate or not the backup option.
Select the interface to use as a backup.
Select the encoding mode. Make sure that the mode you select is
compatible with the communications interface selected.
Define the minimum time interval for the connection to be considered
down and the communication interface switching to be performed.
Select the number of retries to be made before considering the
communication down.
Define the minimum time interval for the connection to be considered
down if synchronization is not performed, and for the communication
interface switching to be performed.
Define the destination toward which the backup connection is to be
launched. Depending on the communication interface you have
selected as a backup, this destination will be defined by an ISDN
subscriber number, a SIP identifier (URI) or an IP address.
o
Enter the IP identifier (URI) of the contact to be called, either manually or from
the internal phone book in CALL BOOK. Enter the IP identifier in the following
format:
<unit_name>@<SIP_server_domain>
(for
instance,
“[email protected]”); when the unit you’re calling to is registered in the
same SIP server as the unit that’s calling, it’s enough just to use <name_unit>.
VERY IMPORTANT: <unit_name> must be no longer than 19 characters.
•
Press the CALL button on the front panel again, or select the DIAL option on screen, to
make the call.
If you select the number to call from the phone book, you can perform the same action
by using the contextual button associated with the DIAL option.
•
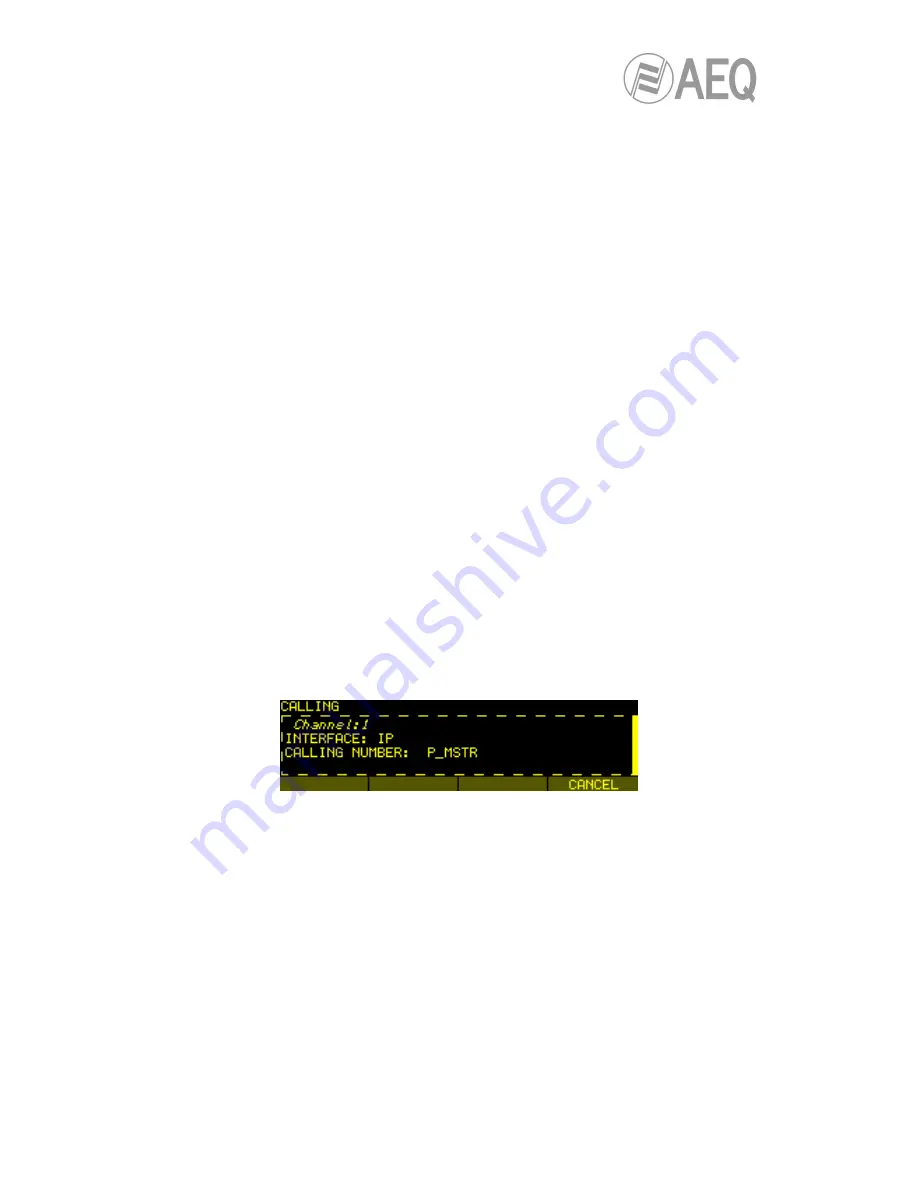
You can monitor the status of the call on the OLED screen:
o
CALLING.
o
CONNECTING (depending on the communication interface and the network
status, this may be a status of extremely brief duration).
o
SYNCHRONIZING (depending on the communication interface and the network
status, this may be a status of extremely brief duration).
o
CONNECTED.
Detail of Phoenix STRATOS calling
•
Verify that the SYNC LED beneath the CALL button is lighted in green to indicate that
the communication has been successfully established.
•
Press the ON AIR button associated with that communications channel to enable audio
to be transmitted over that interface in full duplex mode.
•
Once the connection has been established with the remote end, confirm the presence
of transmitted and received audio by checking the VUmeters on the front panel.
o
If necessary, adjust the levels in AUDIO SETTINGS
CODEC CHANNEL1
SETTINGS (or CODEC CHANNEL2 SETTINGS) menu or in ANALOG AUDIO
SETTINGS menu, according to the desired signal type.
•
If you register the unit in the SIP server but there is no audio communication, please
check the NAT TRAVERSAL configuration (see section 3.1.5.2.4).
5.5.2.1. Finalizing an IP communication in PROXY SIP mode.
•
To finalize the communication, simply press the CALL button associated with the
communications channel currently being used on the front panel of the unit.


