6 U s i n g t h i rd - p a r t y a p p li c a t i o n s
IA Album LE
78
3
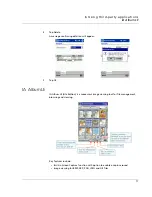
In the Perform Capture Using field, select the desired button or time-delay from the
drop-down list.
If you select a button, that button on your handheld will be used as your Screen
Capture button. The buttons in the drop-down list refer to the hardware buttons on
your handheld.
If you select a Delay Time value from the list, the screen capture will take place after
the chosen number of seconds passes.
4
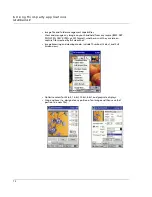
In the File Resolution field, you can select a different pre-defined resolution from the
drop-down list box.
Your screen captures will be saved to the resolution you choose in this field. However,
you cannot change the resolution if you choose to save screen captures in the GIF
format.
5
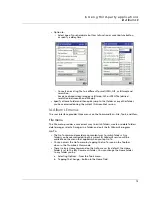
Choose whether or not you want a Confirmation screen to appear each time you
create a screen-capture file.
By default, the Confirm Before File Saving check box is selected. If you remove the
check from this check box, the screen capture process will take place immediately with
no confirmation.
6
Choose whether or not you want to trigger a sound each time you perform a screen
capture. If so, check the Enable Capture Sound check box.
7
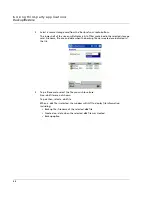
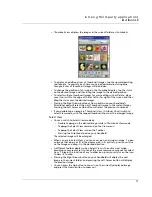
In the bottom half of the screen, a default name and default location for the screen-
capture file is automatically specified. The default location is the \My Documents
folder.
If you want to specify a different folder in which to save the screen-capture file, tap
the Change... button next to the Folder field and select the desired folder in the
screen that appears.
8
Likewise, if you want to specify a different filename prefix or suffix, tap the Change...
button next to the Filename field and make the desired change.
The name iasnap001 will be given to the first screen-capture file by default. The next
screen-capture file would be sequentially named iasnap002, etc.
9
By default, screen-capture files will be saved in the Bitmap (.bmp) format. You can
optionally choose to save screen-capture files in the JPEG or GIF format.
JPEG format is suitable for saving a screen on which a photo or video is displayed.
GIF can produce the smallest file size when used to store regular screen shots.
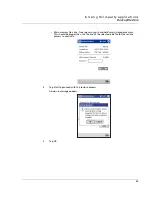
Specify the desired format in the Select the capture file format field. When finished,
tap OK in the upper right corner. This will return you to the previous screen.
10
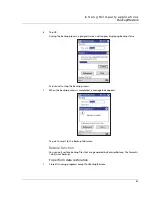
Tap OK.
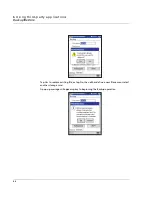
Capturing screens
• As long as the Enable Screen Capture check box is selected, and IA Album LE
is running (even in the background), you can perform a Screen Capture
anytime you want, just by pressing the "capture" button you have specified.
When IA Album LE is not running, the original function of that handheld
button will be restored.
• If the Confirm Before File Saving check box is checked in the initial Screen
Capture setup screen, a confirmation screen will appear and ask you to
confirm the filename and destination after you press your "capture" button.
Summary of Contents for N10
Page 1: ...Manual for Acer n10 Handheld ...
Page 4: ... iv ...
Page 28: ...1 Getting started Command interface 16 ...
Page 38: ...2 Entering data in your Acer n10 Using My Text 26 ...
Page 98: ...6 Using third party applications PocketTVTM 86 ...
Page 118: ...10 Using Microsoft Pocket Internet Explorer Using Pocket Internet Explorer 106 ...
Page 136: ...11 Customising your handheld Adding and removing programs 124 ...
Page 140: ...128 ...


