Page 1-13
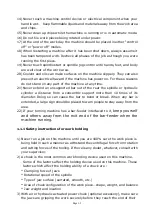
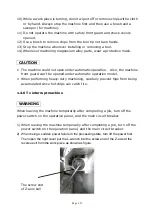
Drop saddle cover removed. Put the L-wrench into the screw end of the X-axis, at the
reverse exit from the work piece as shown as figure.
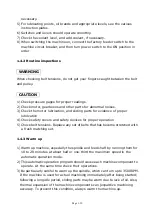
1.4.7 Completing a job
CAUTION
1)
Always clean the machine or equipment. Remove and dispose of chips and
clean cover, guard and windows, etc.
2)
Do not clean the machine or equipment before it has been stopped.
3)
Return each machine component to its initial condition.
4)
Check wipers for breakage. Replace broken wipers.
5)
Check coolant, hydraulic oil and lubricant for contamination. Change
them if
they are seriously contaminated.
6)
Check coolant, hydraulic oil and lubricant levels. Add, if necessary.
7)
Before leaving the machine at the end of the shift, turn off the power switch
on the operating panel, machine main circuit breaker and factory feeder
switch in that order.
8)
Clean the oil pan filter.
9)
Do not clean machine with an air hose. Do not remove chips with hands.
Use a hook or similar device and make certain that all machine
movement have ceased.
10)
The disposal of wastes, such as oil, coolant, and chips, must comply the
local regulations.
COVER
The screw end
of X-axis ball
Summary of Contents for ATL 1820E
Page 5: ...1 SAFETY INSTRUCTIONS ...
Page 22: ...Page 1 17 ...
Page 24: ...2 MACHINE SPECIFICATIONS ...
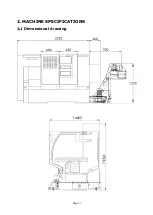
Page 25: ...Page 2 1 2 MACHINE SPECIFICATIONS 2 1 Dimensional drawing ...
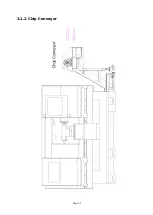
Page 27: ...Page 2 3 2 1 2 Chip Conveyor ...
Page 31: ...3 INSTALLATION ...
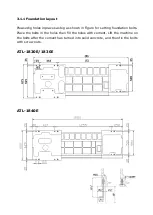
Page 34: ...3 1 2 Layout floor plan Following is a top view drawing ...
Page 43: ...4 MAINTENANCE ...
Page 55: ...5 CHUCK ...
Page 64: ...Page 7 3 7 1 HEADSTOCK 1 HEADSTOCK _ 18 SPINDLE BORE 58mm 2 ...
Page 65: ...Page 7 4 18 SPINDLE BORE 58mm 2 ...
Page 69: ...Page 7 8 7 2 BED Z AXIS TRANSMISSION ...
Page 71: ...Page 7 10 7 3 CARRIAGE CROSS SLIDE ...
Page 74: ...Page 7 13 7 4 TAILSTOCK MANUAL TAILSTOCK _ 18 ...

