Network Settings
41-001343-02 REV05 – 07.2014
4-40
6.
In the
Cert. Validation
checkbox, press the
button to enable the feature.
Enable/Disable HTTPS Validate Certificate Expiration
7.
In the
Check Expires
checkbox, press the
button to enable the feature.
Enable/Disable HTTPS Validate Hostname
8.
In the
Check Hostnames
checkbox, press the
button to enable the feature.
9.
Press the
Save
softkey.
10.
Restart the phone for the selection to take affect.
Aastra Web UI
1.
Click on
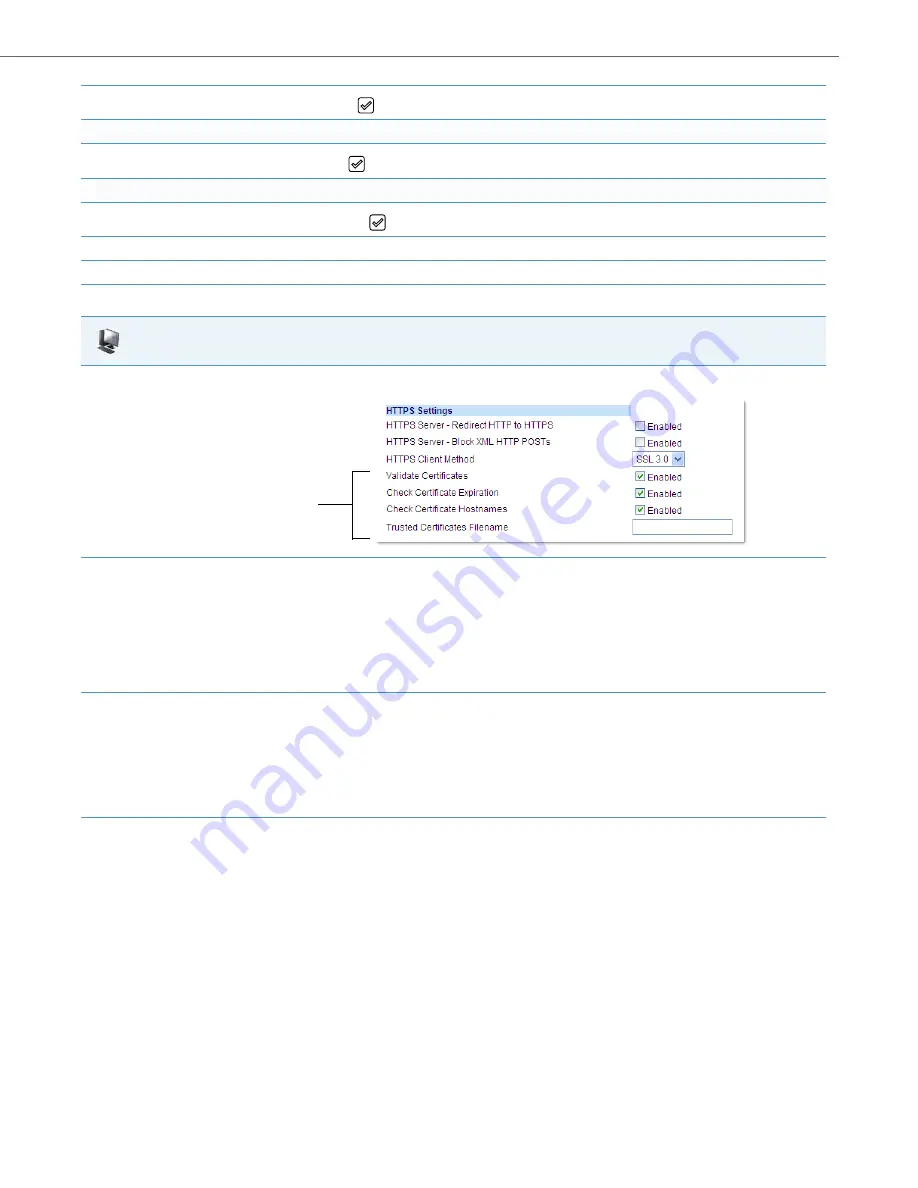
Advanced Settings->Network->HTTPS Settings.
2.
The
“Validate Certificates”
field is enabled by default. To disable validation of certificates, click the check mark in the box to clear the
check mark.
When this parameter is enabled, the HTTPS client performs validation on SSL certificates before accepting them.
Notes:
•
This parameter is immediately applied after clicking the
SAVE SETTINGS
button.
• If you are using HTTPS as a configuration method, and use a self signed certificate, you must disable (uncheck) this field before
upgrading to Release 2.3 of the IP Phones.
3.
The
“Check Certificate Expiration
” field is enabled by default. To disable validation of certificate expiration, click the check mark in the box
to clear the check mark.
When this parameter is enabled, the HTTPS client verifies whether or not a certificate has expired prior to accepting the certificate.
Notes:
•
This parameter is immediately applied after clicking the
SAVE SETTINGS
button.
•
If the “
Check Certificates Expiration
” parameter is set to
Yes
, the clock on the phone must be set for the phone to accept the certificates.
4.
The
“Check Certificate Hostnames
” field is enabled by default. To disable validation of hostnames, click the check mark in the box to clear
the check mark.
Note:
This parameter is immediately applied after clicking the
SAVE SETTINGS
button.
HTTPS Validation
Certificate
Parameters


