Removal and Replacement Procedures
7 - 191
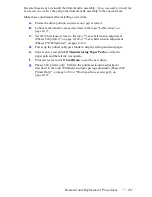
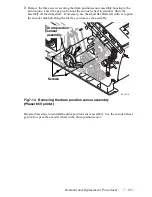
Reverse these steps to reinstall the drum/transfix assembly.
Upon reassembly, install the
hex-keyed screws first
; they align the drum/transfix assembly to the engine frame.
Make these adjustments after installing a new drum.
a.
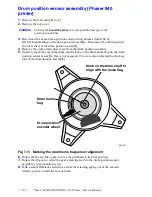
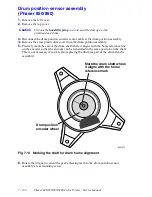
Ensure the drum position encoder sensor gap is correct.
b.
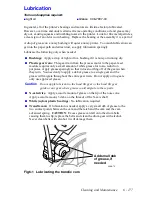
Lubricate the transfix cam as described in the topic "Lubrication", on
page 6-177.
c.
Set the Y-belt tension; refer to the topic "Y-axis belt tension adjustment
(Phaser 840 printer)", on page 4-142 or "Y-axis belts tension adjustment
(Phaser 850/860 printer)", on page 4-144.
d.
Power up the printer in Bypass Mode to skip the startup and mud pages.
e.
Select service test print
10: Manufacturing Paper Path
to verify the
paper path and that all ink jets operate.
f.
Print service test print
9: Seal Drum
to seal the new drum.
g.
Phaser 840 printer only: Perform the printhead-to-drum adjustment
described in the topic "Printhead-to-drum spacing adjustment (Phaser 840
Printer Only)", on page 4-146 or "Drum position encoder gap", on
page 4-152
Содержание Phaser 840
Страница 2: ......
Страница 12: ...vi Phaser 840 850 860 8200 Color Printer Service Manual ...
Страница 52: ...1 36 Phaser 840 850 860 8200 Color Printer Service Manual ...
Страница 88: ...2 72 Phaser 840 850 860 8200 Color Printer Service Manual Blank Page ...
Страница 134: ...3 118 Phaser 840 850 860 8200 Color Printer Service Manual ...
Страница 174: ...4 158 Phaser 840 850 860 8200 Color Printer Service Manual ...
Страница 188: ......
Страница 250: ...8 234 Phaser 840 850 860 8200 Color Printer Service Manual ...
Страница 286: ...270 Phaser 840 850 860 8200 Color Printer Service Manual ...
Страница 287: ...071 0723 00 ...

