122
Changing the Origin of the Page
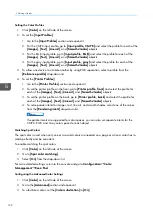
1.
Click [[EEd
diitt]] on the left side of the screen.
2.
Go to [[IIm
ma
ag
gee ooffffsseett]] under [[A
Alliig
gnnm
meenntt]].
3.
Select the [[IIm
ma
ag
gee ooffffsseett]] check box.
4.
You can set the same values for front and back by selecting the [[A
Ap
pp
pllyy tthhee ssa
am
mee iim
ma
ag
gee ooffffsseett
ffoorr ffrroonntt a
annd
d b
ba
acckk]] check box.
5.
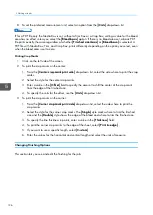
Enter a value as a positive or negative number with up to three decimals in the [[FFrroonntt::]] and
[[B
Ba
acckk::]] fields.
6.
Select the unit of measure from the [[U
Unniittss]] drop-down list.
• When the sheet is rotated for display purposes, the image offset rotates with the sheet.
• The X and Y arrows on the coordinate system, displayed in the bottom right corner below the
exception pages, indicate the image offset direction for positive values.
Setting the Layout
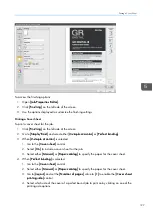
You can select different layouts for printing on each side.
1.
Click [[EEd
diitt]] on the left side of the screen.
2.
Go to [[IIm
mp
poossiittiioonn]] and click to expand the section.
3.
From the [[N
Nuum
mb
beerr ooff p
pa
ag
geess]] drop-down list select how many pages to place on each printed
side.
4.
Select the method for the imposition by selecting a value from the [[IIm
mp
poossiittiioonn]] drop-down list.
5.
To set the direction for the pages, go to [[PPa
ag
gee oorrd
deerr]] and select a specific value.
6.
To set how to individually rotate one of the two pages on the sheet, use the [[PPa
ag
gee RRootta
attiioonn]]
option. Depending on the option you set, the selected edges are the cutting edges for both pages
when they are printed. The rotation is valid for both sides of the paper.
The [[PPa
ag
gee RRootta
attiioonn]] option is available only when the value of the [[N
Nuum
mb
beerr ooff p
pa
ag
geess]] option is
set to
2
and the value of the [[IIm
mp
poossiittiioonn]] control is set to [[RReep
peea
att]].
If you select [[LLeefftt oorr TToop
p]] or [[RRiig
ghhtt oorr B
Boottttoom
m]] from the [[PPa
ag
gee RRootta
attiioonn]] drop-down list, the
[[RRootta
attiioonn d
deeg
grreeeess]] and [[IIm
ma
ag
gee ooffffsseett]] settings are not supported.
Creating a New Custom Layout
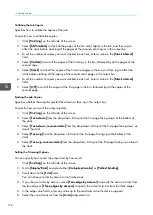
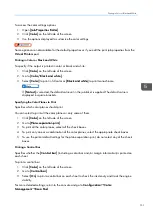
To add a new custom layout:
1.
Click [[EEd
diitt]] on the left side of the screen.
2.
Go to [[IIm
mp
poossiittiioonn]] and expand the section.
3.
Click [[A
Ad
dd
d C
Cuussttoom
m......]] to create a new custom layout.
Содержание Print Server R-60
Страница 2: ......
Страница 14: ......
Страница 56: ......
Страница 62: ...2 60 ...
Страница 102: ...4 100 ...
Страница 150: ...5 148 ...
Страница 162: ...6 160 ...
Страница 172: ...7 170 ...
Страница 178: ...8 176 ...
Страница 198: ...10 196 ...
Страница 208: ...206 ...
Страница 218: ...Copyright 2015 2015 Ricoh Company Ltd All rights reserved ...
Страница 219: ......


