Chapter C: Alternate Sonos System Setup
C-11
7.
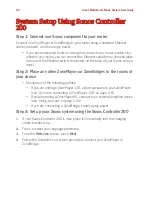
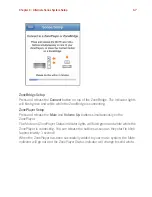
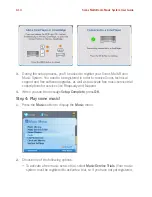
During the setup process, you’ll be asked to register your Sonos Multi-Room
Music System. You need to be registered in order to receive Sonos technical
support and free software upgrades, as well as to activate free music service trial
subscriptions for services like Rhapsody and Napster.
8.
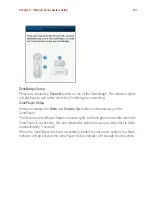
When setup is complete, touch
Done
.
9.
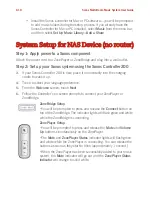
Connect the NAS device to your computer, and then access the Web
Configuration utility (see your product documentation for instructions on setting
a static IP). Through this interface, specify a static IP address for the NAS of
169.254.x.x (e.g. 169.254.10.100) and a subnet mask of 255.255.0.0.
10.
Save these settings.
11.
Disconnect the NAS box from your computer, and connect it to one of the
Ethernet ports on the back of the ZonePlayer or ZoneBridge.
12.
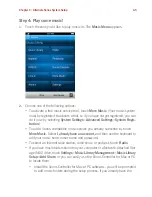
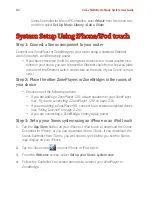
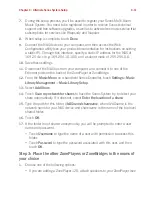
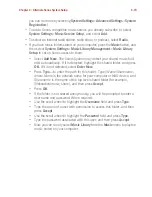
From the
Music Menu
on a handheld Sonos Controller, touch
Settings
>
Music
Library Management
>
Music Library Setup
.
13.
Select
Add Share
.
14.
Touch
Scan my network for shares
to have the Sonos System try to detect your
share automatically. If it does not, select
Enter the location of a share.
15.
Type the path for this folder,
\\NASname\sharename
, where
NASname
is the
network name for your NAS device and
sharename
is the name of the top level
shared folder.
16.
Touch
OK
.
17.
If the folder is not shared anonymously, you will be prompted to enter a user
name and password.
• Touch
Username
to type the name of a user with permission to access this
folder.
• Touch
Password
to type the password associated with this user, and then
touch
OK
.
Step 3: Place the other ZonePlayers or ZoneBridges in the rooms of
your choice
1.
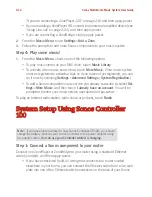
Choose one of the following options:
• If you are adding a ZonePlayer 120, attach speakers to your ZonePlayer (see
Содержание ZonePlayer 120
Страница 1: ...Sonos Multi Room Music System User Guide ...
Страница 21: ...Chapter 2 System Setup 2 5 ...

