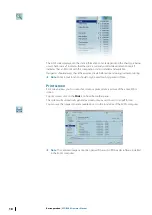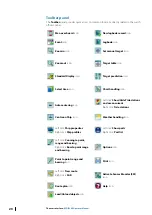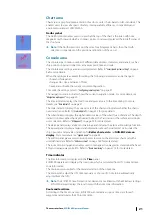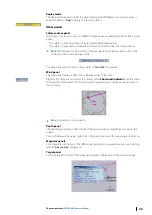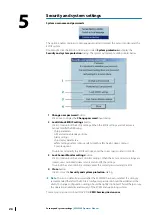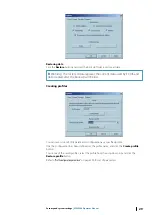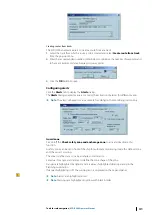
Creating a new display area manually
To create a position of a chart area manually, click the
New area by keyboard
button and
input the desired name, LAT, LON and scale. Click the
OK
button to save the changes.
Ú
Note:
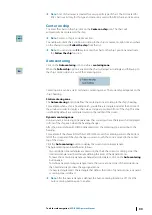
To switch the current chart area to a new chart area, double click the chart name
or select the chart name and click the
Center on
button.
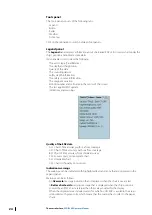
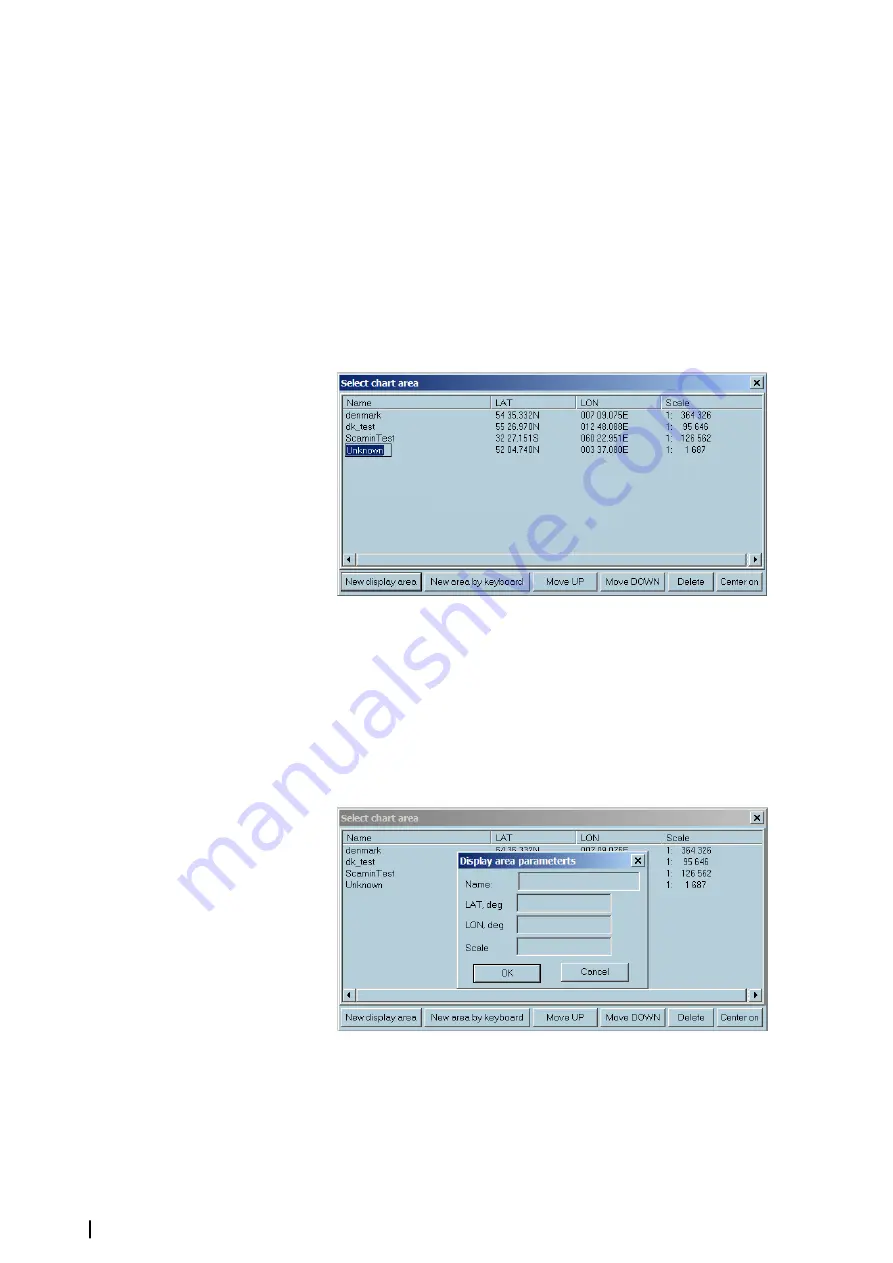
Creating a new display area
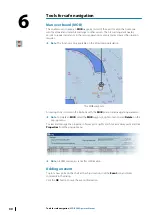
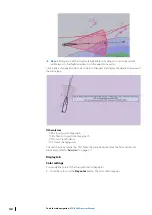
To set a new display area of the charts, follow the steps below:
1.
Move the chart to the desired position and select a preferred scale.
2.
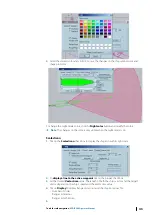
Click the
Select area
icon once to display the
Select chart area
dialog.
3.
Click the
New display area
button once. An
Unknown
chart name is automatically
created with the geographical center and scale.
4.
Change the auto populated chart name to desired chart name.
5.
Close the window.
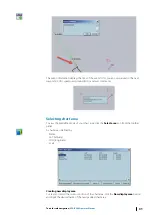
Creating new area by keyboard
To set a new chart area using keyboard, follow the steps below:
1.
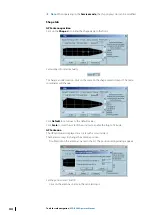
Click the
New area by keyboard
button once to display the
Display area parameters
dialog.
2.
Enter the name, the latitude and longitude of the point center of the screen, and the
scale.
3.
Click the
OK
button to save the newly created display preferences or
Cancel
button to
exit or discard the changes.
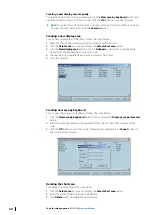
Deleting the chart area
To delete a chart area, follow the steps below:
1.
Click the
Select area
icon once to display the
Select chart area
dialog.
2.
Select the name of the chart area to be deleted.
3.
Click
Delete
button to delete the selected area.
32
Tools for safe navigation
| ECDIS900 Operator Manual

